Hi guys! I’ve been slowly working my way through blogging about our Watts Street Renovation. So far, I’ve shared about our kitchen, breakfast nook and the living room. Today I wanted to share possibly the biggest transformation in our house, the master bathroom.
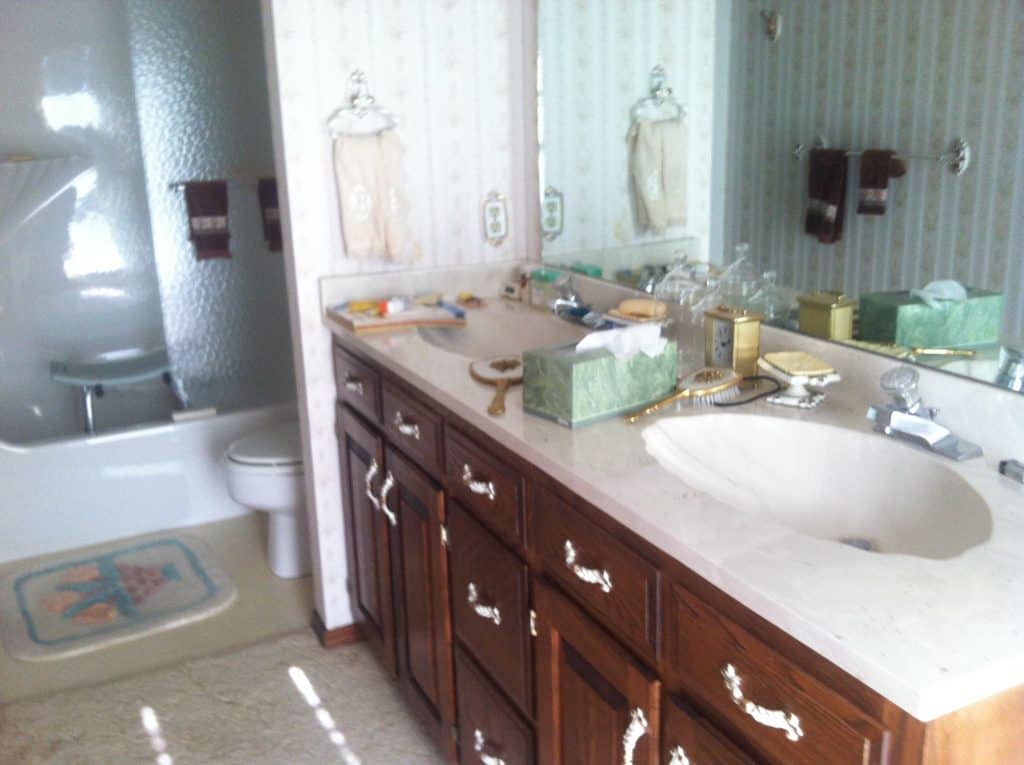
Bathrooms are the hardest rooms to photograph because of their typically tight spaces. My before photos aren’t the greatest, and it’s hard to get a sense of the space and layout. Basically though, the below photo sums up the before state of our master bathroom.
It was long and very narrow. Sure, it functioned fine, but spatially and stylistically it was not good!
This is a picture of the closet. The before closet was really great actually! It was really huge, and most people would’ve taken a huge master closet over a bigger bathroom I would guess.
But for my husband and I, we just don’t really need or want a huge closet.
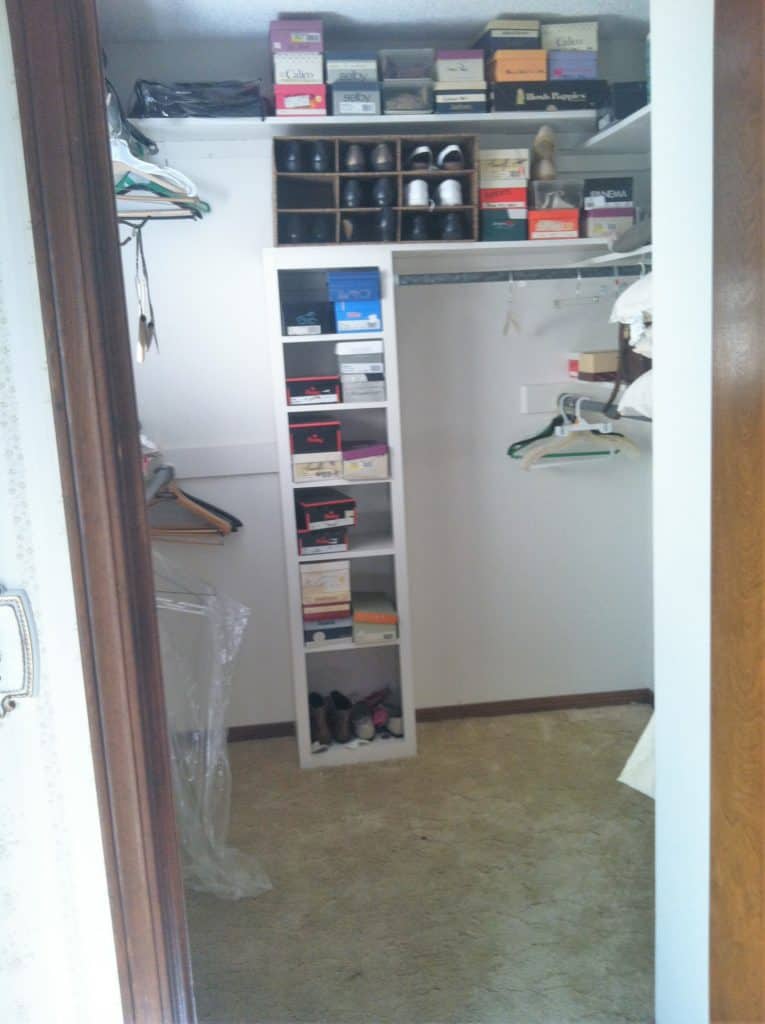
Ok, so I took these two above photos from standing in the same spot. I took the photo of the bathroom, then turned to my left 90 degrees and took the picture of the closet. Hopefully that can give you an idea of the layout.
I put a lot of thought into how this space could be better utilized for our needs and wants. The lesser expensive route would’ve been to just update the fixtures and flooring and paint the walls, BUT in the end we decided that the layout of the room just wasn’t going to work.
We decided to tear out the closet, shower and toilet areas. The only thing that we kept in its original place was the vanity. In fact, we kept the same vanity. I painted the cabinet and we replaced the countertop!
Our plan was to flip the closet and shower. This allowed us to add in a huge walk-in shower! The new closet was added where the old toilet and shower were. This still gave us a decent size walk-in closet that fits our needs perfectly.
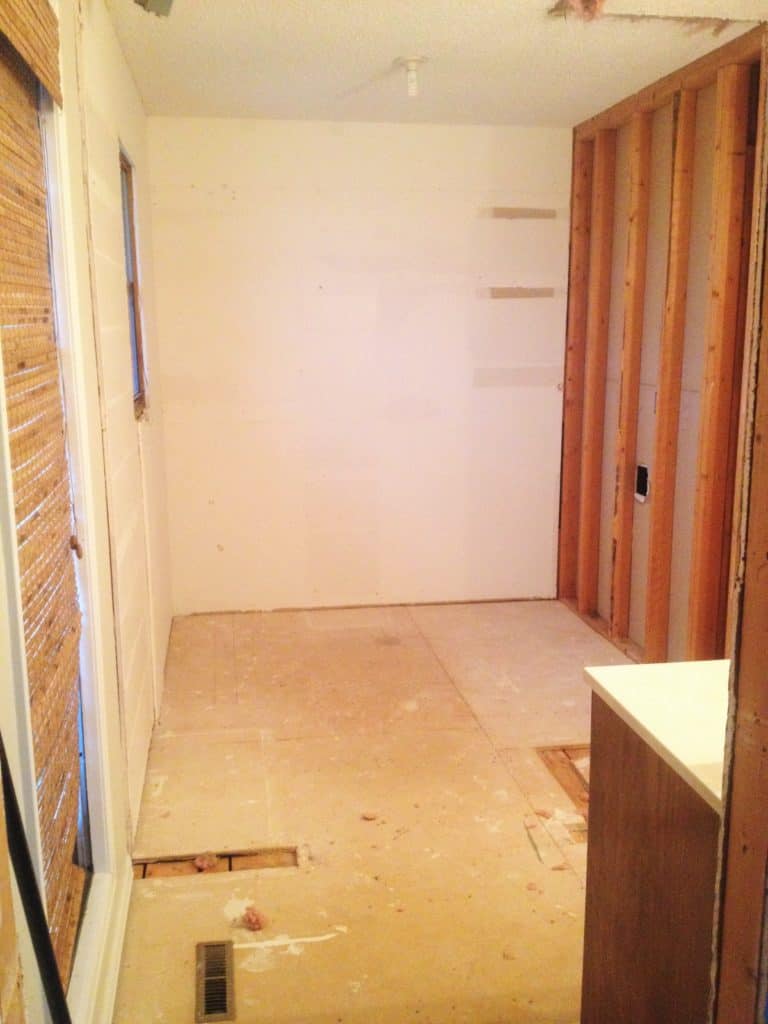
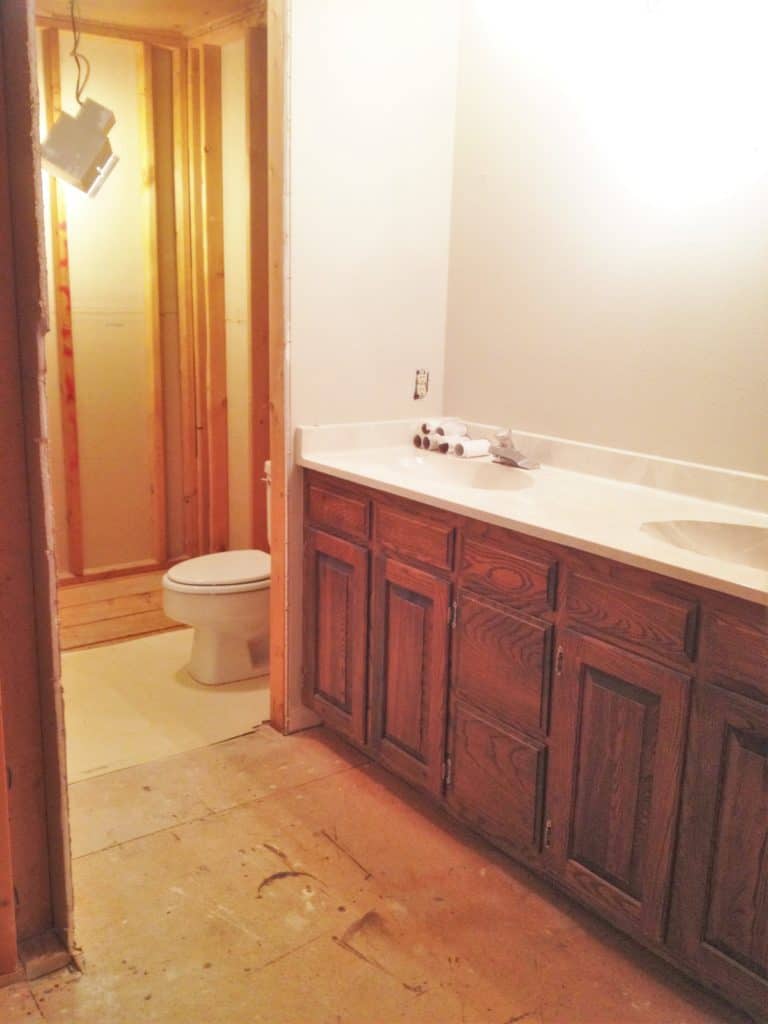
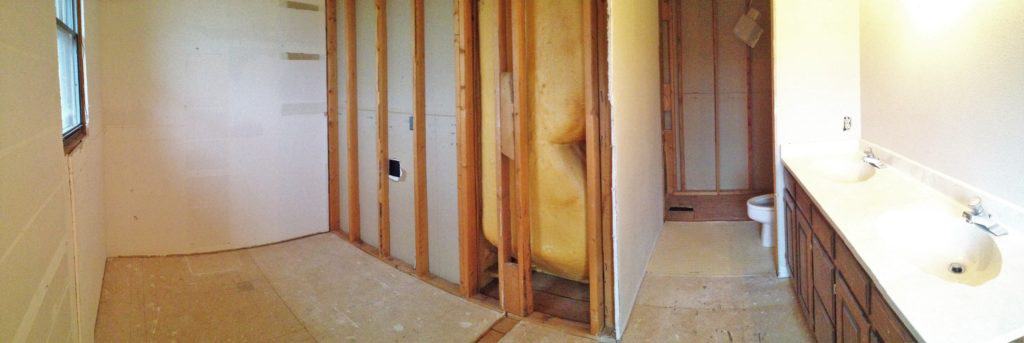
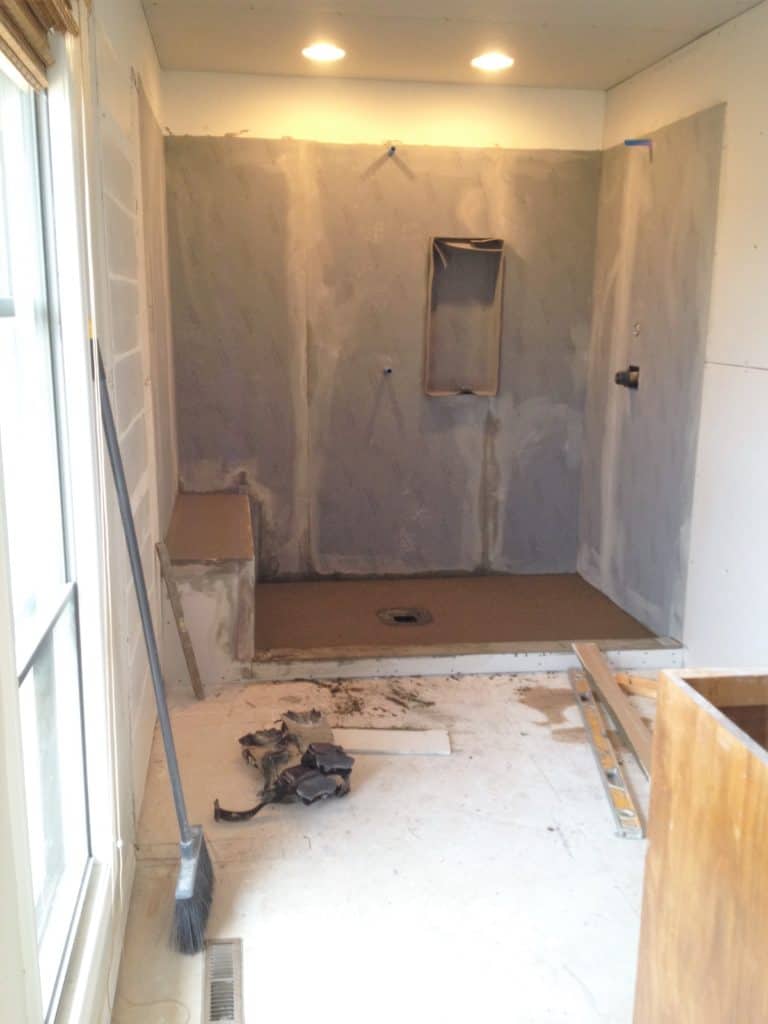
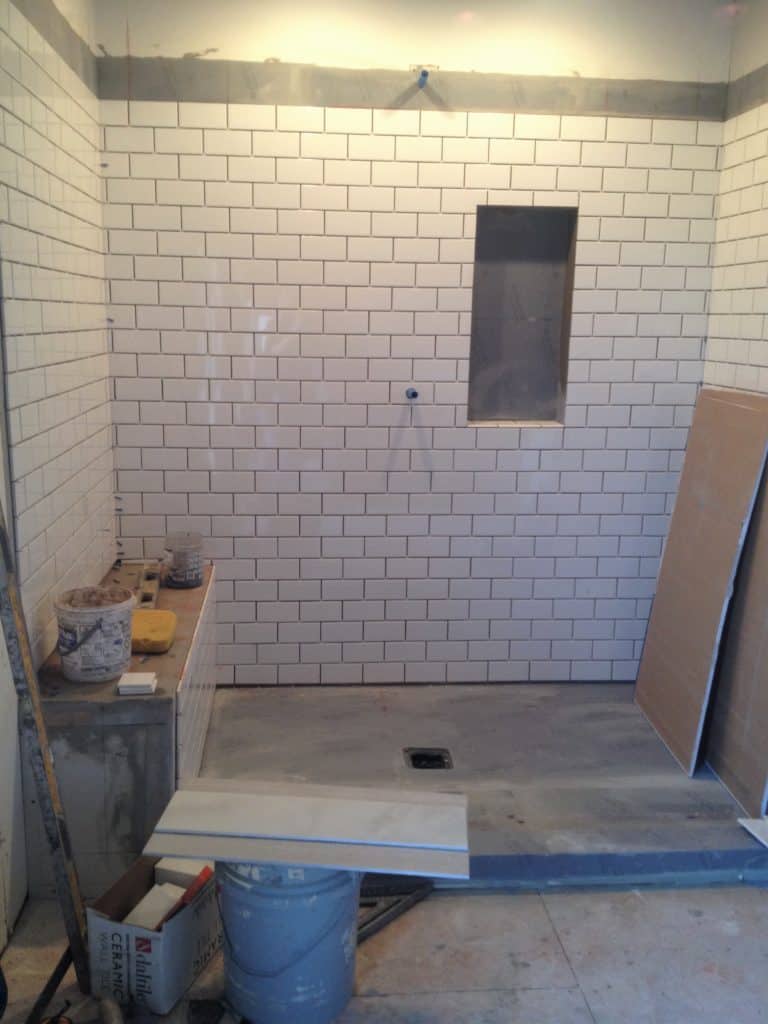
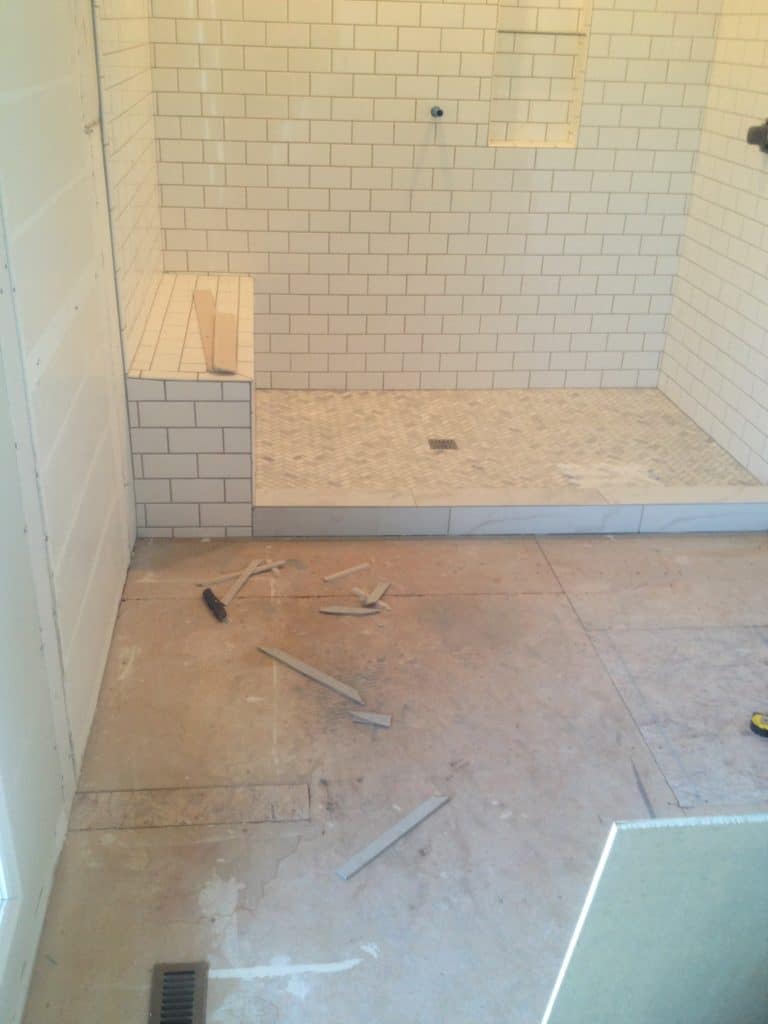
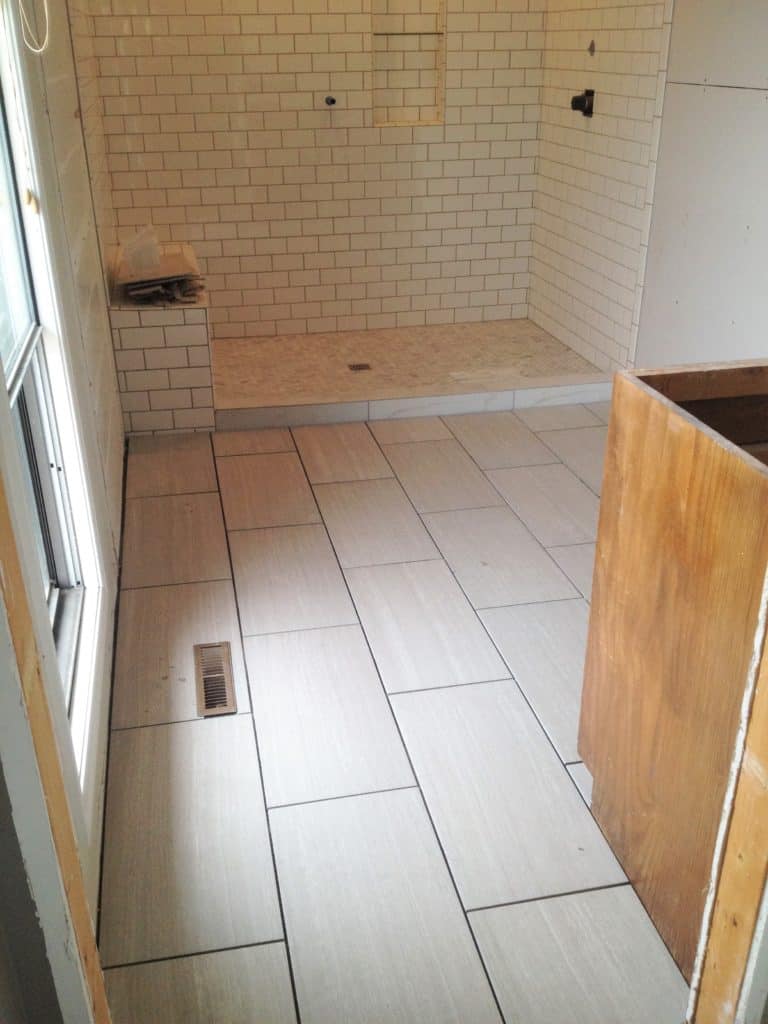
I thought it was important to add some progress photos because I think sometimes it’s easy to see an ugly before photo then a nice after photo in a blog post and think “wow, just snap your fingers and it’s perfect”.
In reality, there are weeks (and in our case months and years) of mess and construction before you get to the final result. If you’re in the middle of a reno or maybe close to getting started on one, try to be patient with the process because no one can just wiggle their nose and have it finished.
Our before photos were taken in January of 2014 and our after photos in August of 2016 if that helps you know the time scope of this reno!
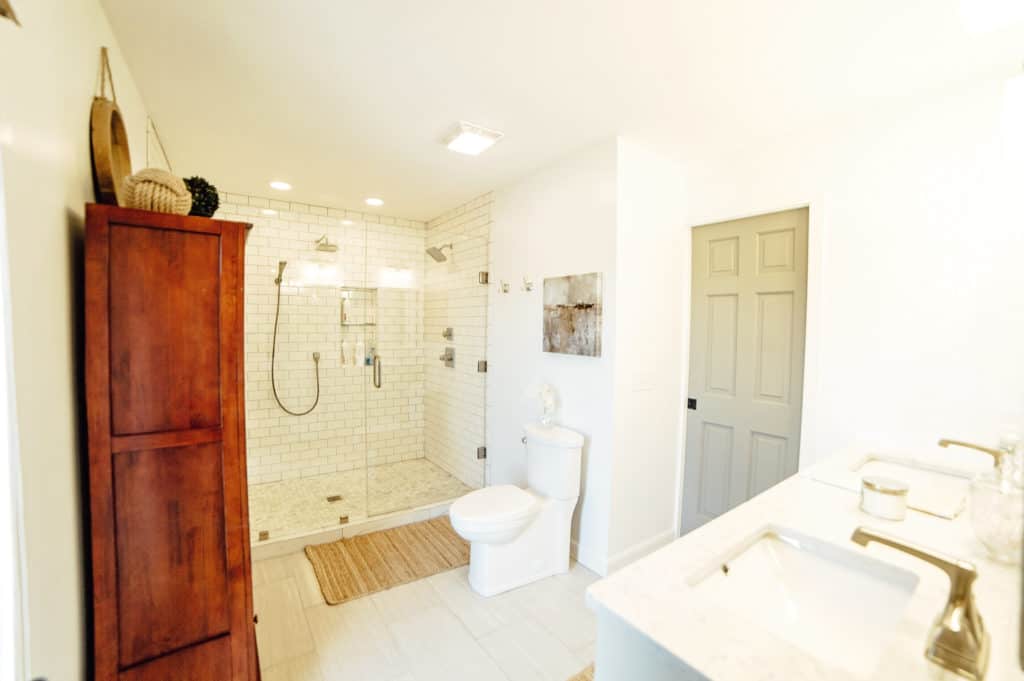
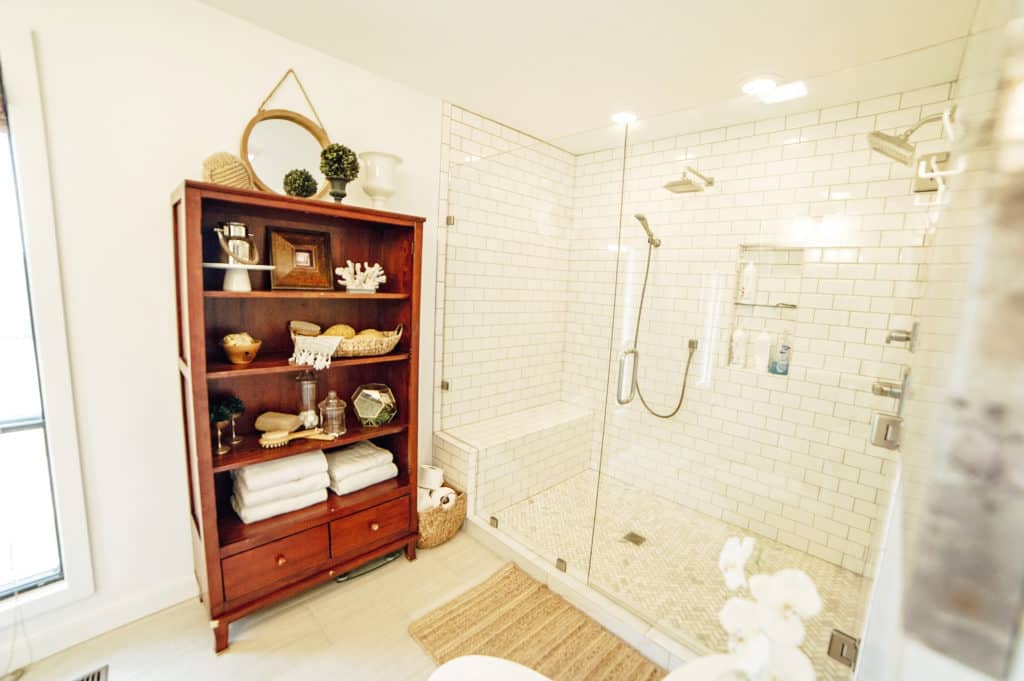
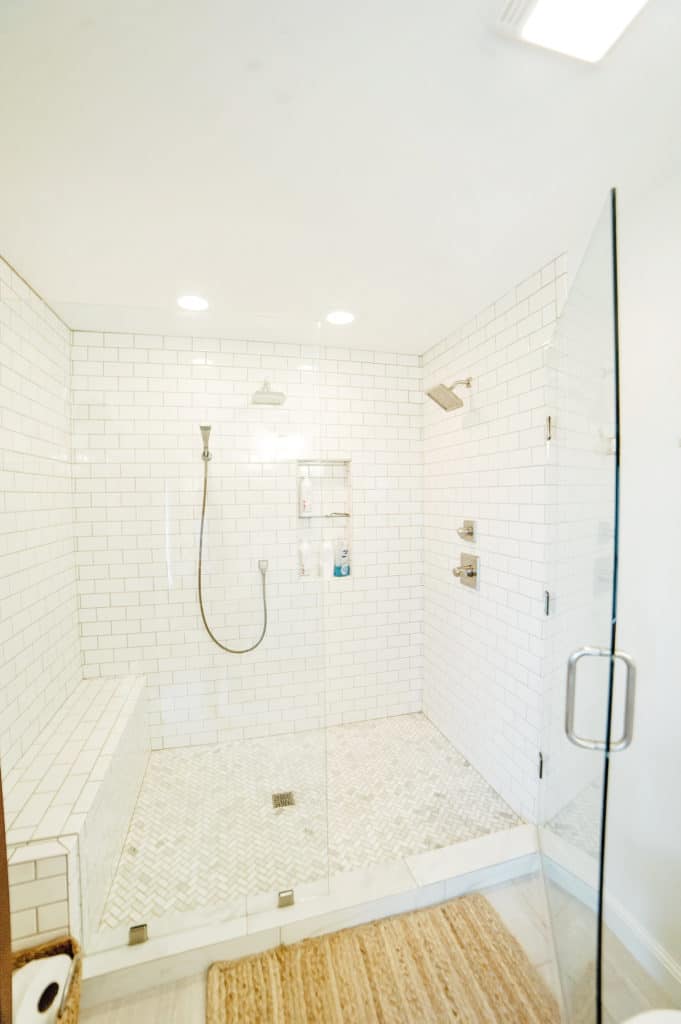
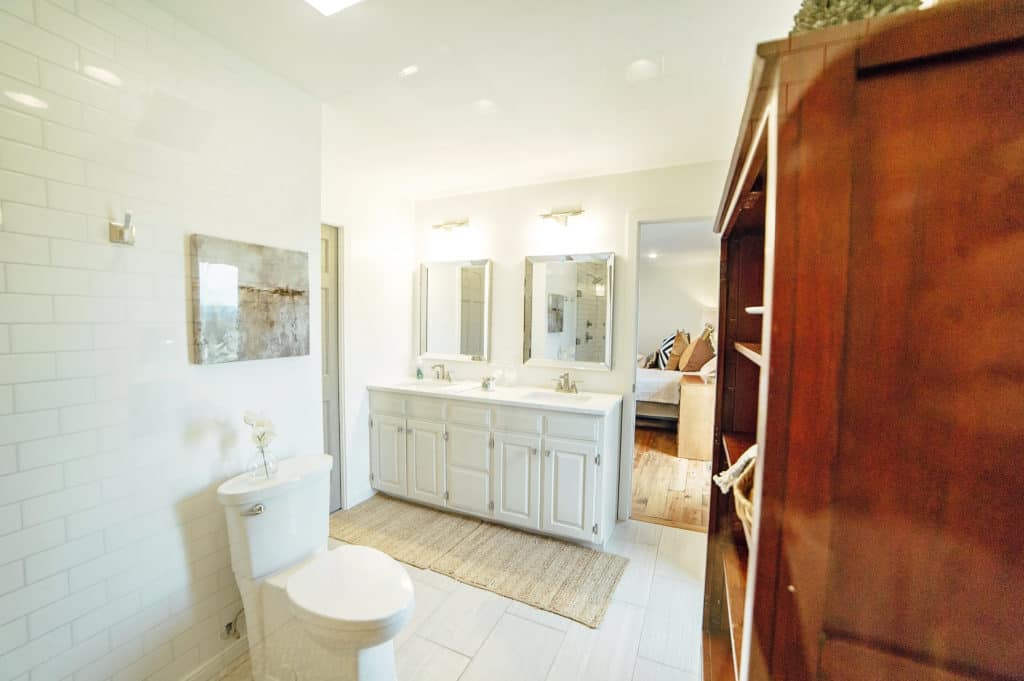
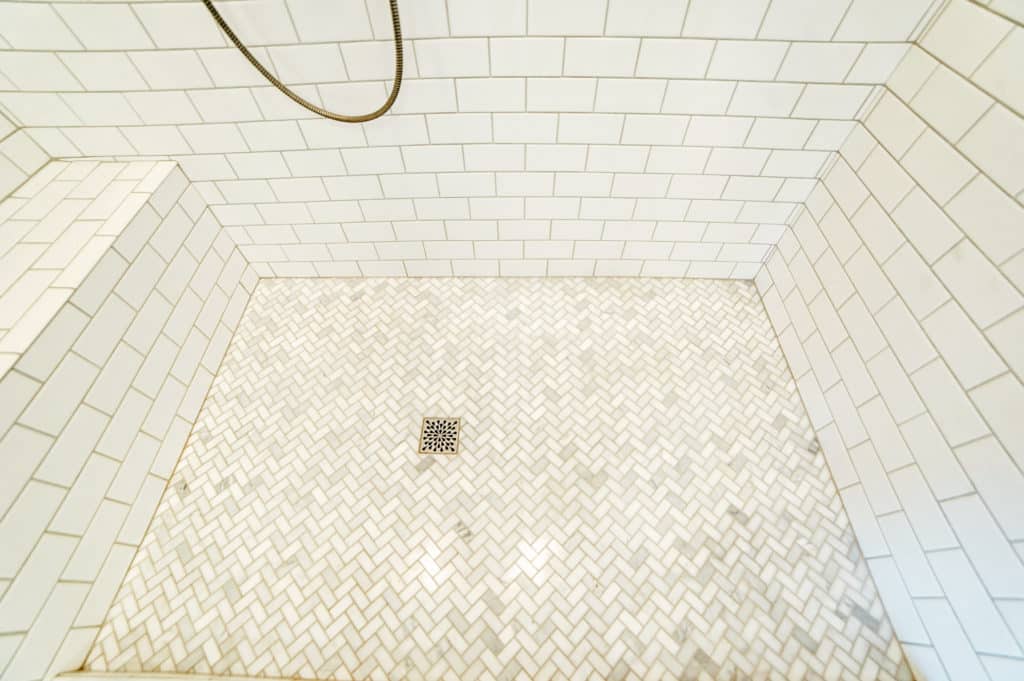
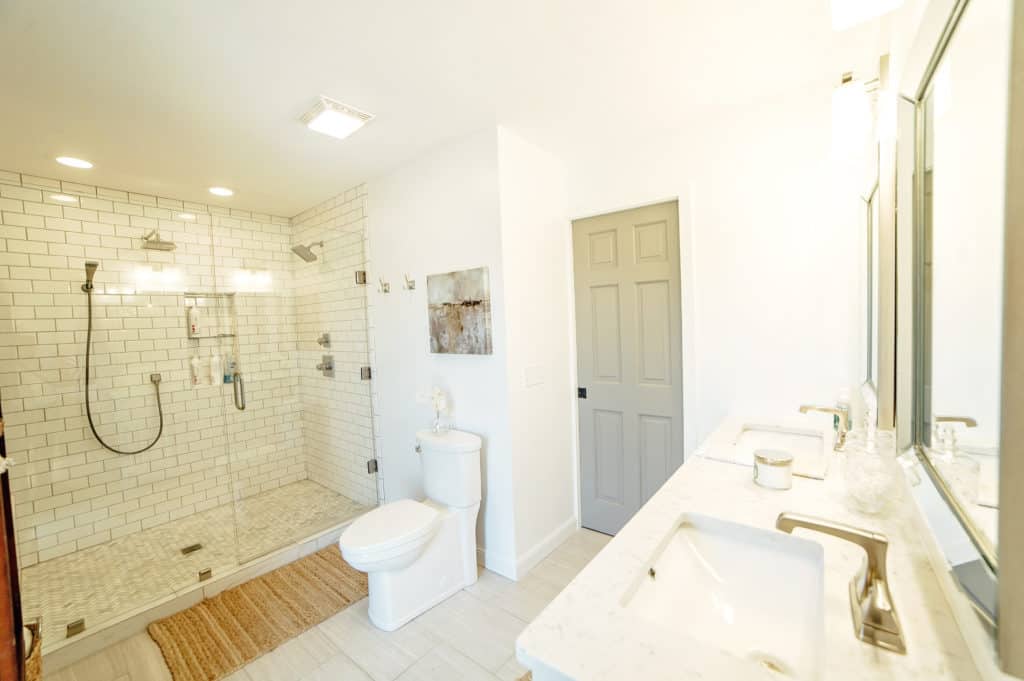
Can you even believe it is the same room!? The shower is to die for! It was a no-brainer for us to trade the huge closet for a huge shower!
Hope you enjoyed the transformation, friends:)
Counter tops: Quartz (so sorry, I don’t know the name of the pattern)
Vanity Color: Benjamin Moore Collingwood
Wall color: Sherwin Williams Untinted White (straight white out of the can)
Curio Cabinet: Thrifted
Leave a Reply