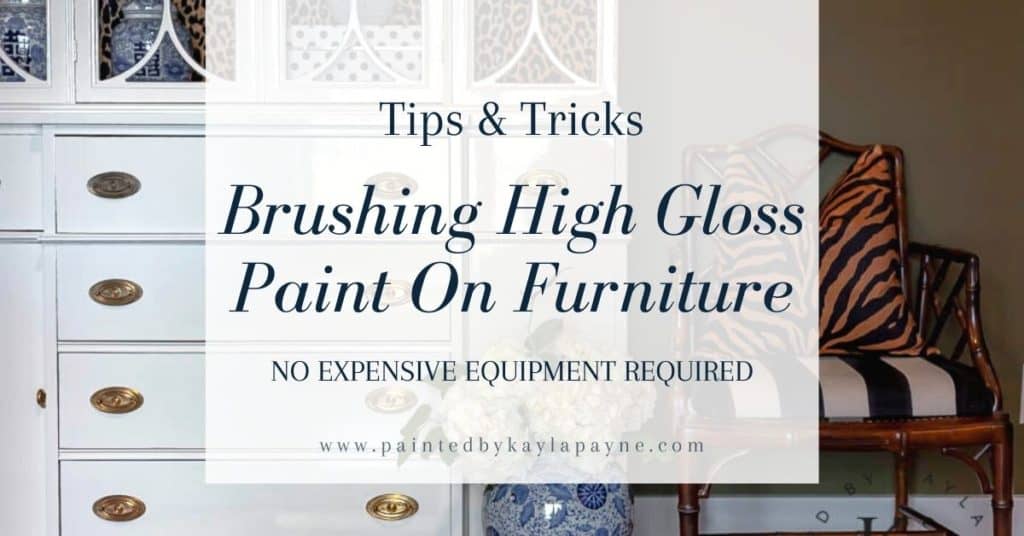
If you’ve ever found yourself spellbound by a glossy painted piece of furniture and wondered how you can achieve the same look without spending a fortune on fancy spray equipment or a professional paint booth, then you’ll find several helpful tips and tricks throughout this article. Keep reading to learn more about how to brush Fine Paints of Europe Hollandlac Brilliant on furniture.
I feel like the easiest way to tackle this particular post is doing a Q&A style format. I went live on my Facebook page a while back and asked viewers to leave any questions about brushing gloss paint they had. Here are those questions and my answers…
**One more thing, you should download my Glossy Furniture Guide for free right now! This guide lists out all of the tools, supplies and materials I use when painting Fine Paints of Europe high gloss furniture!
What paint is this?
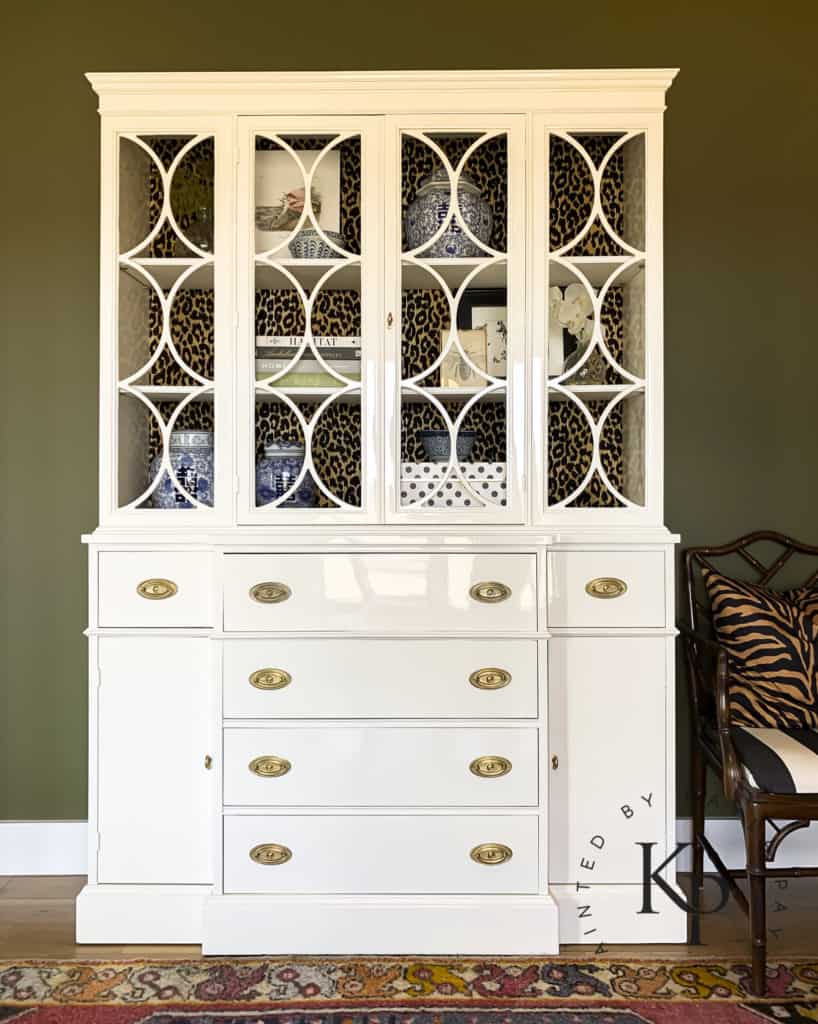
I use Fine Paints of Europe Hollandlac Brilliant paint. It is an interior/exterior, marine quality, ultra high-gloss oil-based enamel coating.
Where can I buy Fine Paints of Europe Paint?
You can search for retailers in your area by clicking HERE. If you do not have a retailer near you, you can order directly through the Fine Paints website, and they ‘ll ship it to you (Note: Due to some state VOC regulations, it’s not available to some parts of California).
I do not have a retailer in my state of Arkansas, so I buy directly from the Fine Paints website, OR I call Emmet Fiore who works at the Fine Paints home office location and I tell him exactly what I want.
Quick personal story, see if you can relate: I vividly remember being SO intimidated to order this paint the very first time.
It was a super awkward feeling for me to call some 1-800 phone number and talk to a complete stranger to try to order a paint that I knew nothing about…didn’t know the correct verbiage…wasn’t sure if I was even pronouncing it the right way…didn’t really know what color I wanted…could I order any color?…did I have to order a color by Fine Paints?…I hadn’t ever even heard of this company…what if they asked me questions that I didn’t know the answers to…etc etc etc.
I remember feeling like I was so out of my league and in over my head when I first heard about this paint and about this company.
I felt like I wasn’t professional enough and didn’t know enough to even call them and make an order!
So if you get NOTHING else from this entire blog post, I want you to hear this: NONE OF THAT MATTERS.
👉🏼Those stories you’re telling yourself about not knowing enough, not being professional enough, all the things…. You’re telling yourself this because you’re afraid to try something new.
So I’m here to tell you to CUT THAT OUT!
If you want to try this glorious glossy paint, then either march yourself into your local store OR get on the phone and call Emmet.
He’s the nicest guy! He’ll help you figure out what you need.
AND you can even tell him that your Arkansas friend, Kayla Payne, told you to call him directly!
Do it. Here’s his number, 1-800-332-1556 and his email is [email protected]
I know that if I’ve felt and thought these things, I’m surely not the only one. I could’ve benefited from someone preaching at me a little:)
How much do you thin Fine Paints of Europe Hollandlac Brilliant 98 when brushing?
You’ll have to thin Hollandlac Brilliant 98 paint in order to have success. Never, ever open a can, dip a brush into it, and begin painting. Never.
For this project, I did the following process for thinning:
- Poured out 10 oz of paint into plastic measured paint cup
- Added 1 oz of Fine Paints brand mineral spirits (which equals a 10% thinning ratio)
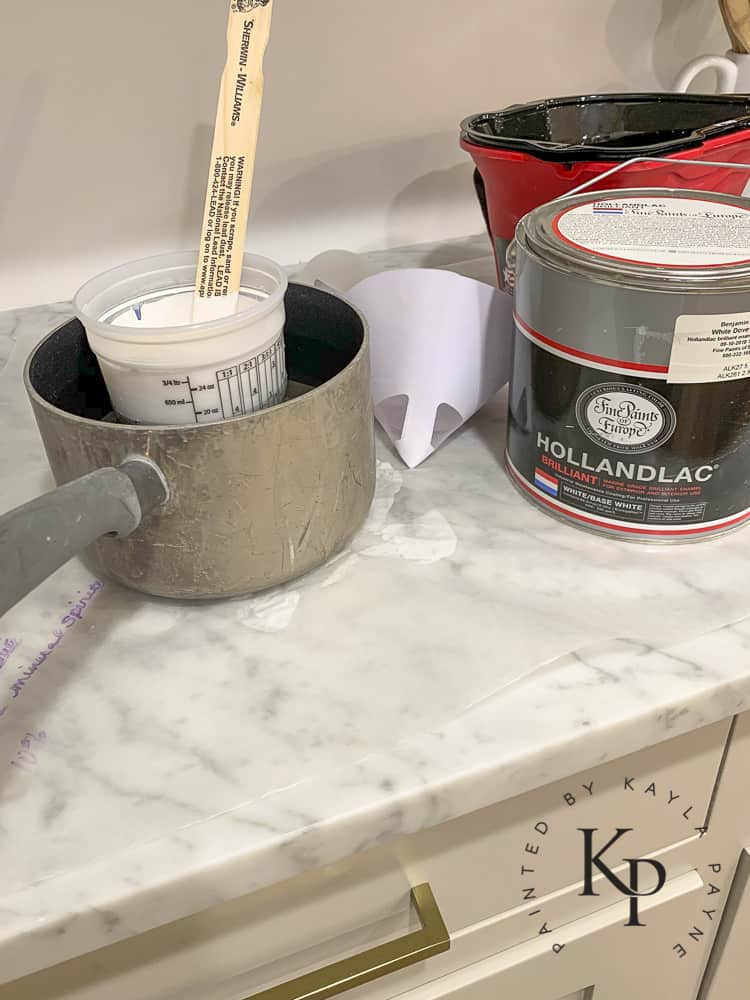
- Poured VERY hot water into a sauce pan – heat your water over the stove, not just hot water from the tap.
- Placed my plastic paint cup into the hot water
- Let the paint sit in the hot water bath for 20 minutes
- Stirred the paint well for 5 minutes
Using a crock pot works great for heating the paint too!
Why you should heat up Fine Paints of Europe paint
Heating up the paint decreases the viscosity without having to add reducers.
I painted about half of the cabinet before I stopped and repeated the heating process again.
You’ll be able to tell that as the paint cools off, the viscosity thickens and you’ll notice the paint start “pulling” or “dragging” more when you brush. The terms pulling, dragging or pushing are described as the resistance between the paint and the application method when applying it to a surface (in this case, brushing).
After thinning and warming my paint, I poured it through a cone-shaped paint strainer (see photo above) and into my paint pail. Don’t forget to strain it.
What brush is best for Fine Paints of Europe Hollandlac Brilliant?
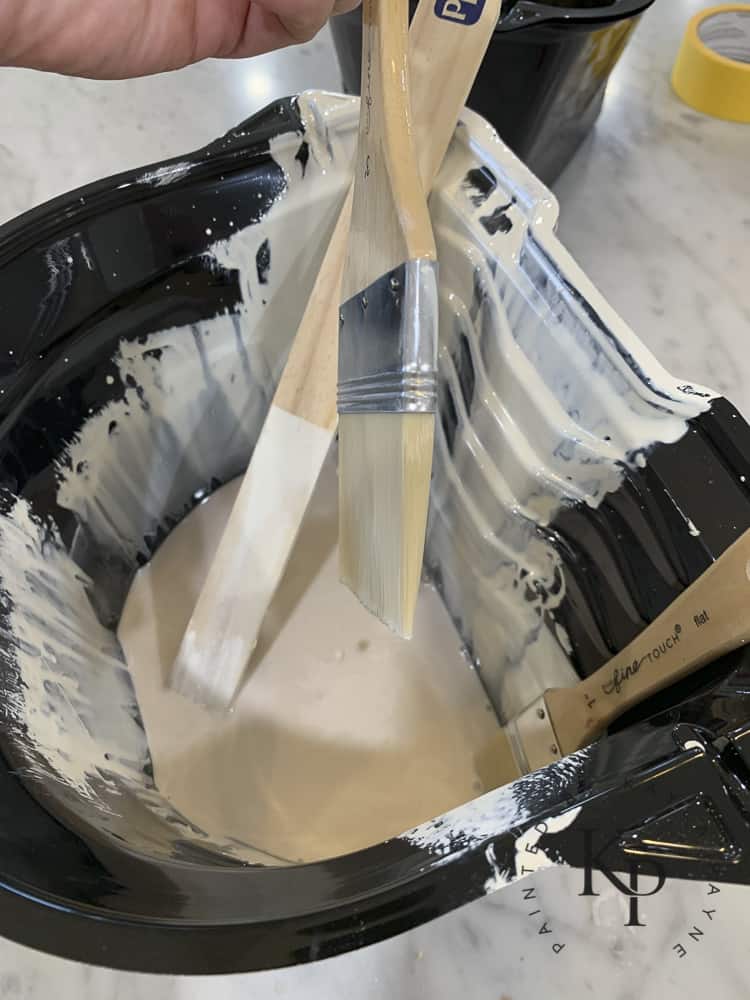
I used THIS BRUSH – an inexpensive, nylon bristle craft brush from Michael’s. I’ve also seen them available at Hobby Lobby. (Please note: The brush I used somewhat resembles a chip brush, but do not be mistaken, these are not chip brushes! And do not use a chip brush for this type of project!)
👉🏼Here’s a caveat, I didn’t use the brush to apply the paint to the surfaces, I used it tip off.
To apply the paint to the large, flat areas of my china cabinet, I used a 4″ black foam roller from Sherwin Williams – then immediately I lightly back brushed, or tipped off, the paint in the section I rolled. I worked section-by-section rolling the paint on then quickly tipping it off.
Do you have to apply the paint with roller first then tip it off with brush?
The short answer is, No you do not.
You can absolutely choose to brush on the paint and forego the roller, but this is why I don’t recommend it (especially for beginners)…
It’s much harder to achieve an even coat of paint when applying with a brush unless you’re really good and have a lot of practice.
A lesser-skilled person will inevitably have thicker and thinner areas of paint (I’m also talking about myself here too, I’m not greatly skilled at brushing oil!).
Thicker areas will happen where you put the brush onto the surface right after you’ve loaded the brush with paint.
And thinner areas will happen where the paint has been spread out from the initial point where the loaded paint brush was first plopped onto the surface. I hope this is making sense…it’s difficult to accurately describe something so visual using only words😳
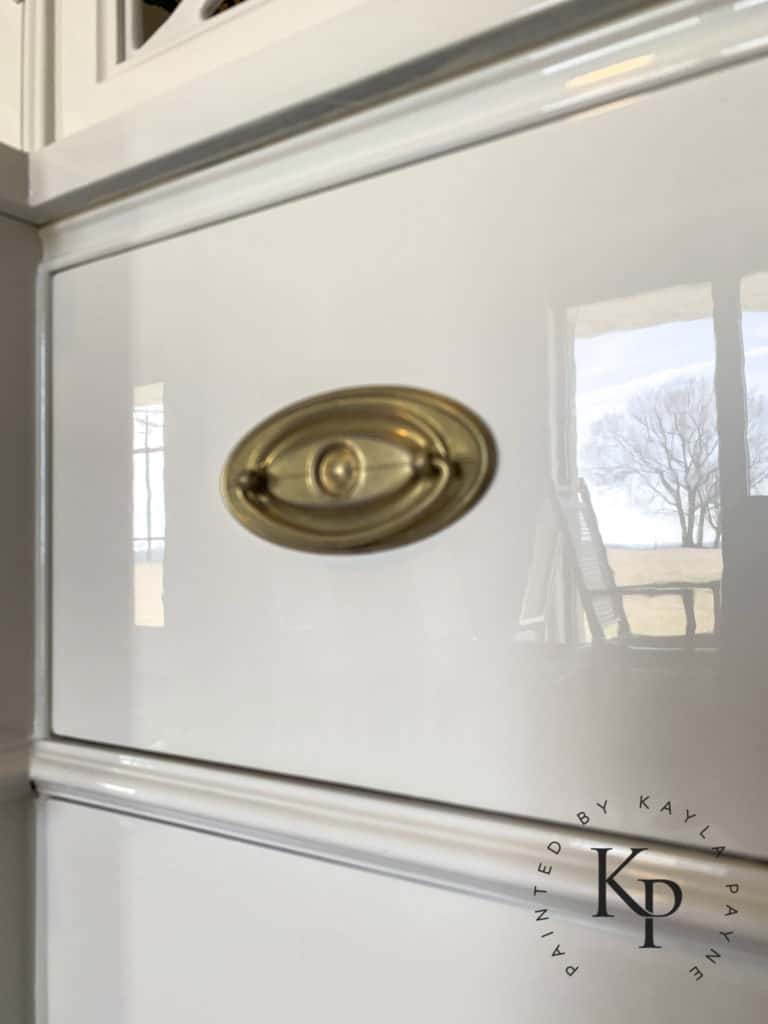
Instead, if you’ll apply the paint with a roller first, it’s easier to spread out the paint into an even film thickness. Then lightly smoothing your paint brush over the rolled area in long, straight stokes will remove the stippled roller texture leaving nice, neat and even brush marks that should self level well.
How do you avoid brush marks in Hollandlac Brilliant paint?
I hear this question a lot. I’ve asked this question a lot too 😂
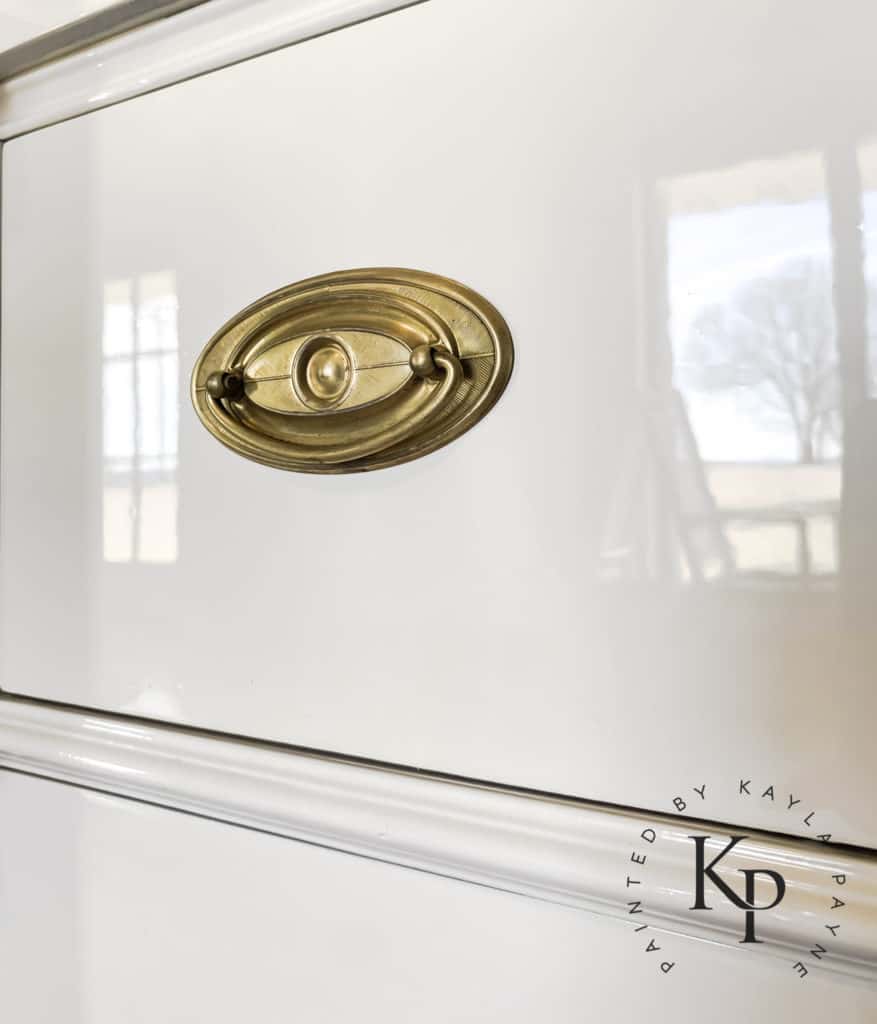
My honest answer to you is, there’s no exact tip, trick, or technique I can tell you that will ensure you create a brush mark-free paint finish.
Trust me, I wish I could say, “just do this, this and this and it’ll be perfect every time!” What I can tell you is that practice helps (I need a lot more of it)
Here’s a list of things to do that will reduce the visibility of brush marks in Fine Paints of Europe
- Be sure that your surface has been sanded flat – not just smooth. There’s a big difference between a substrate sanded smooth versus a substrate sanded flat.
- Be sure your paint has been conditioned properly. This means it needs to be thinned just right – and as I talked about above, warming it up doesn’t hurt. Finding out what “just right” is a moving target that we’re all trying to hit.
- Be sure you’re using the proper brush. Lots of different brushes out there for painting oil, and everyone has their personal preference. Finding the best brush for YOU is just something you’ll have to test and find.
- Don’t over-work the paint. Get the paint onto the surface, get it even, tip it off so your strokes are long and straight, then LEAVE IT ALONE and walk away. The more you fuss with it, the worse off you’ll be.
The last thing I’ll say about brush marks is this…try to learn to hate them less.
I used to hate visible brush marks in a painted finish so bad…I can’t even describe how badly I hated them. That’s largely why I spray everything because I hate even the thought of seeing a brush mark.
However, as I’ve grown and matured as a finisher, I’ve learned to hate them less.
If a project is correctly brushed and has marks visible, there’s still a great deal of beauty in it because, if nothing else, you know the level of difficulty and skill that went into it!
And get this…believe it or not, there are a ton of designers who actually request their painters brush instead of spray because they want to see some brush marks.
It gives the finish a sense of character. When you look at it, you know a craftsperson took the time and effort to create it with their hands.
If you were to go anywhere in Europe, you’ll be hard pressed to find a sprayed paint finish.
They’ve brushed gloss finishes for many years – they know what’s up.
How many coats of Fine Paints of Europe Hollandlac Brilliant 98 should I do?
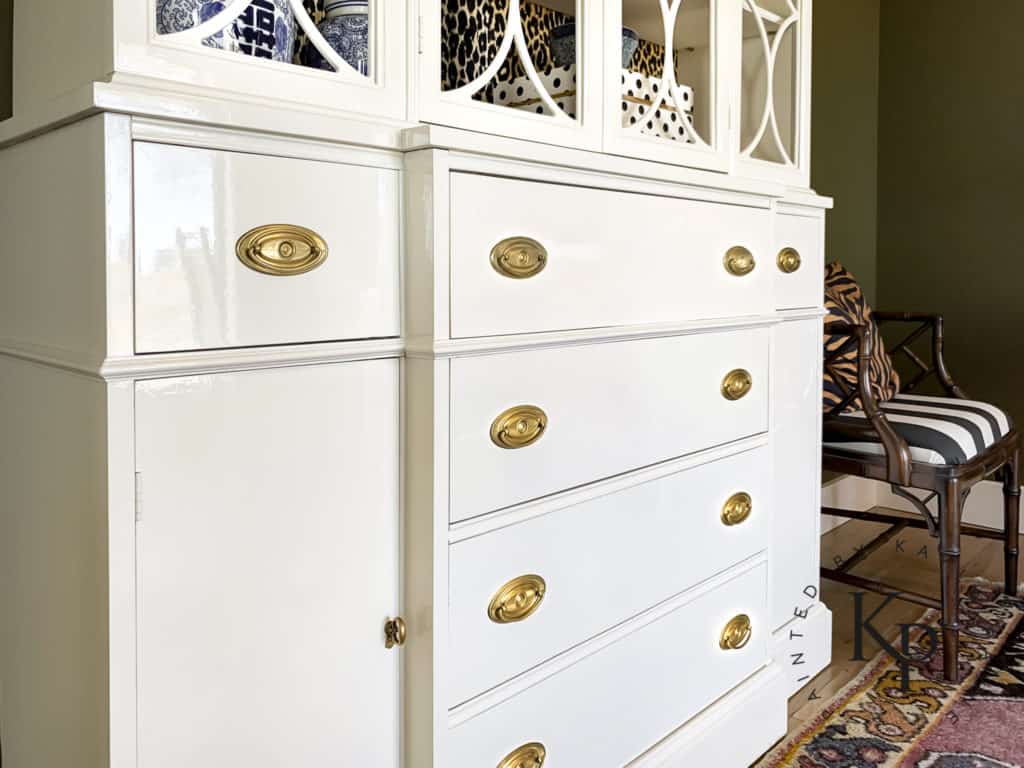
My rule of thumb is a minimum of 2 coats of primer (I’ve done up to 5 primer coats before).
Then 2 coats of paint.
Do you need to sand between coats of paint?
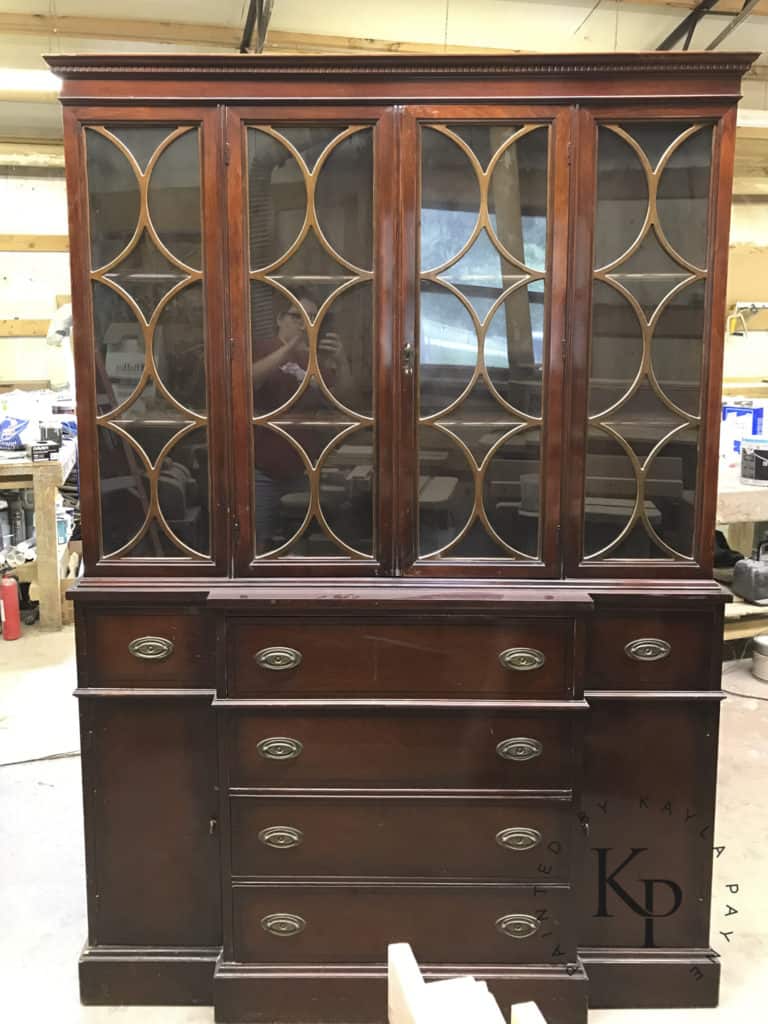
You’ll have best looking and feeling results when you sand between every coat that’s applied.
Here’s a quick run down of the painting and sanding process I did on this piece:
- Initial sand with 220
- Sprayed Fine Paints Oil Undercoat – (I sprayed the primer on this piece ages ago in my work shop!)
- Sanded with 220
- Sprayed Oil Undercoat
- Sanded with 400
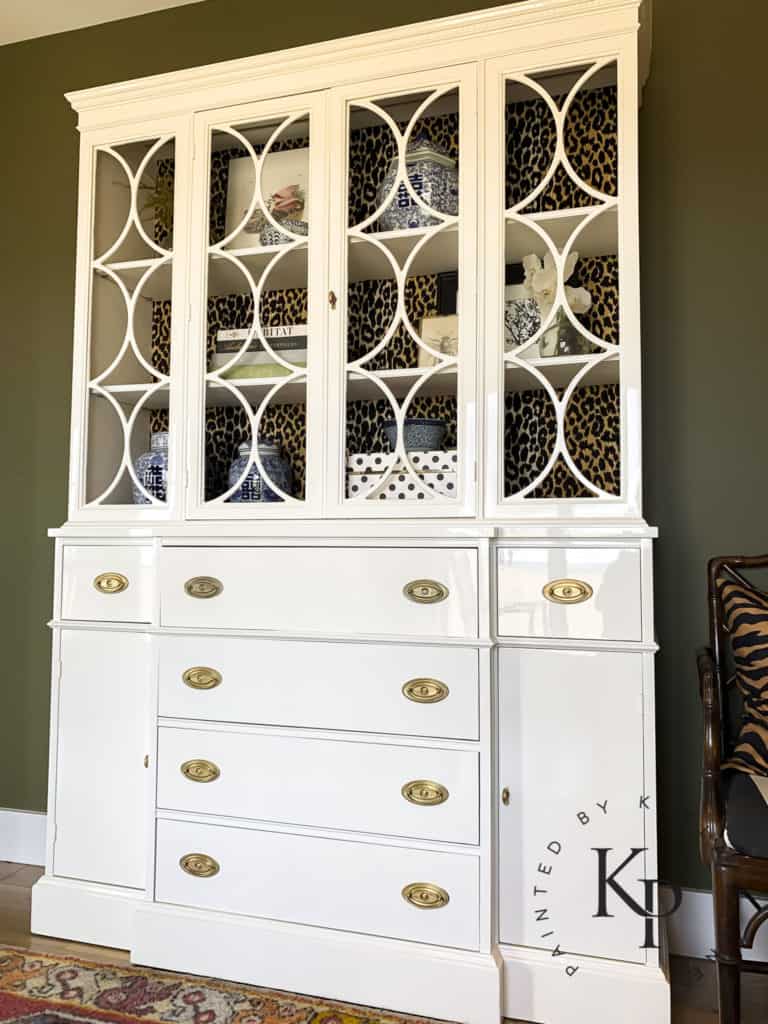
- Brushed Hollandlac Brilliant
- Sanded with 600
- Sanded/Buffed with 1000 sanding pad
- Brushed final coat Hollandlac Brilliant
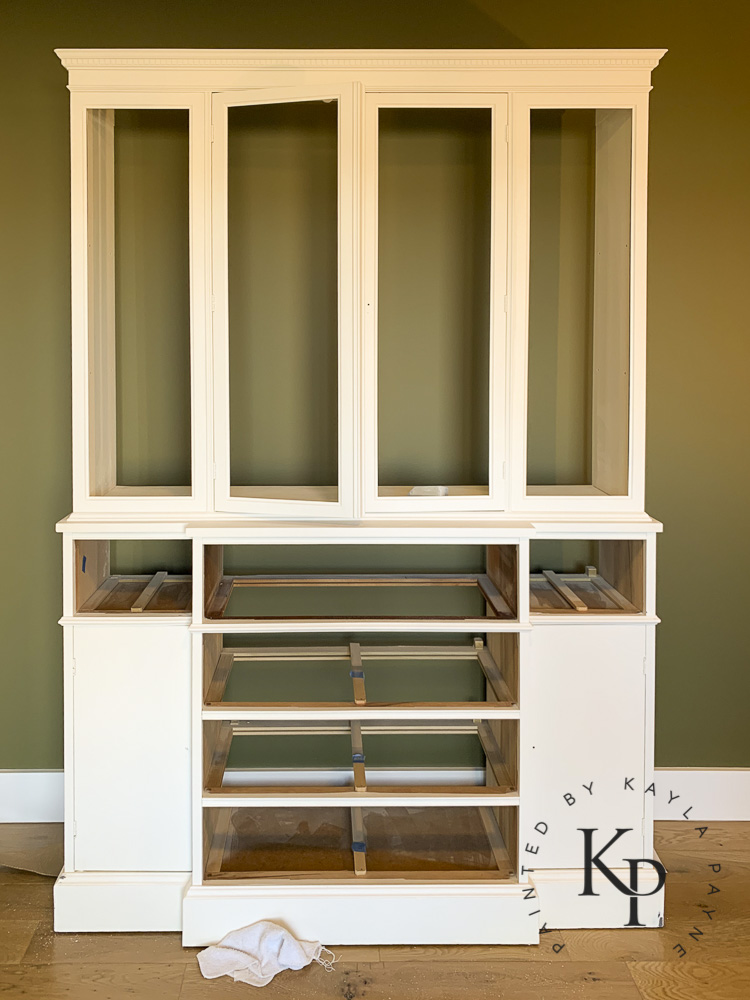
How do you keep dust out of a high-gloss paint finish?
This is the true million dollar question.
Slow-drying, high gloss paints are a magnet for attracting any and all dust particles from the air.
You’d never believe how dirty our air actually is until you lay a coat of Hollandlac Brilliant down then look at it the next day when it’s dry!
You’ll see every dust particle, nib, gnat, hair, piece of fuzz etc etc has landed in the paint as it dried. All we can do is try our best to keep the room clean as possible.
How can you make a temporary paint booth in your house?
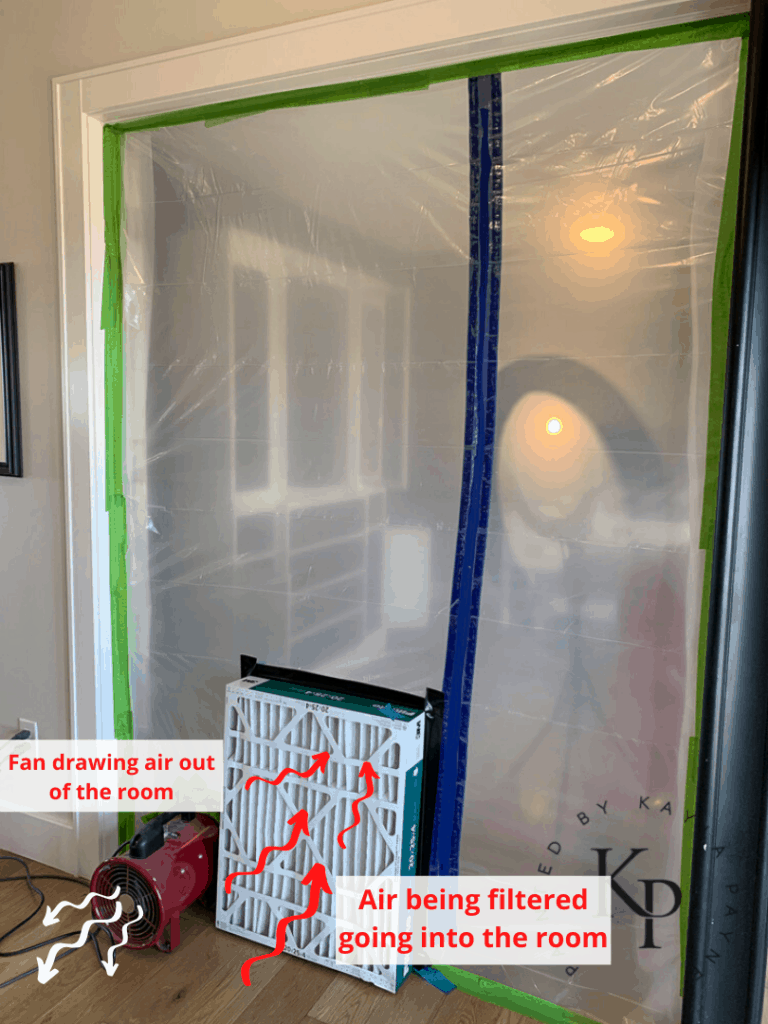
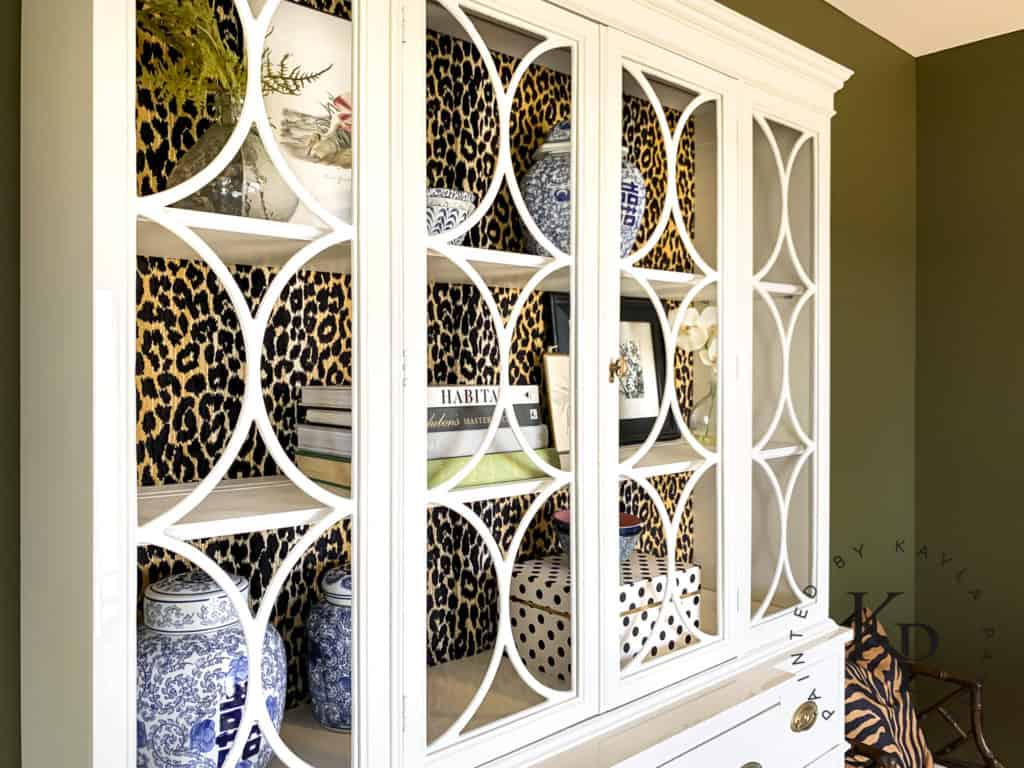
I painted this cabinet while it was inside my home office.
In an effort to keep as much dust out of the gloss paint finish, here’s what I did:
- Vacuumed and mopped the floor
- Moved in the china cabinet
- Taped up the door opening with plastic sheeting
- Taped in high quality furnace filter
- Taped in small fan – making sure that the air flow direction is pointing OUT of the room
- Let the fan run for an hour before entering to paint
This is far from a perfect set up, but it’s important to try everything in your power to keep the room clean before and while you’re working in it.
Here’s a YouTube video demonstrating how to create a temporary paint booth.
How long do you wait between coats of Hollandlac Brilliant?
You’ll want to wait at least 24 hours between coats.
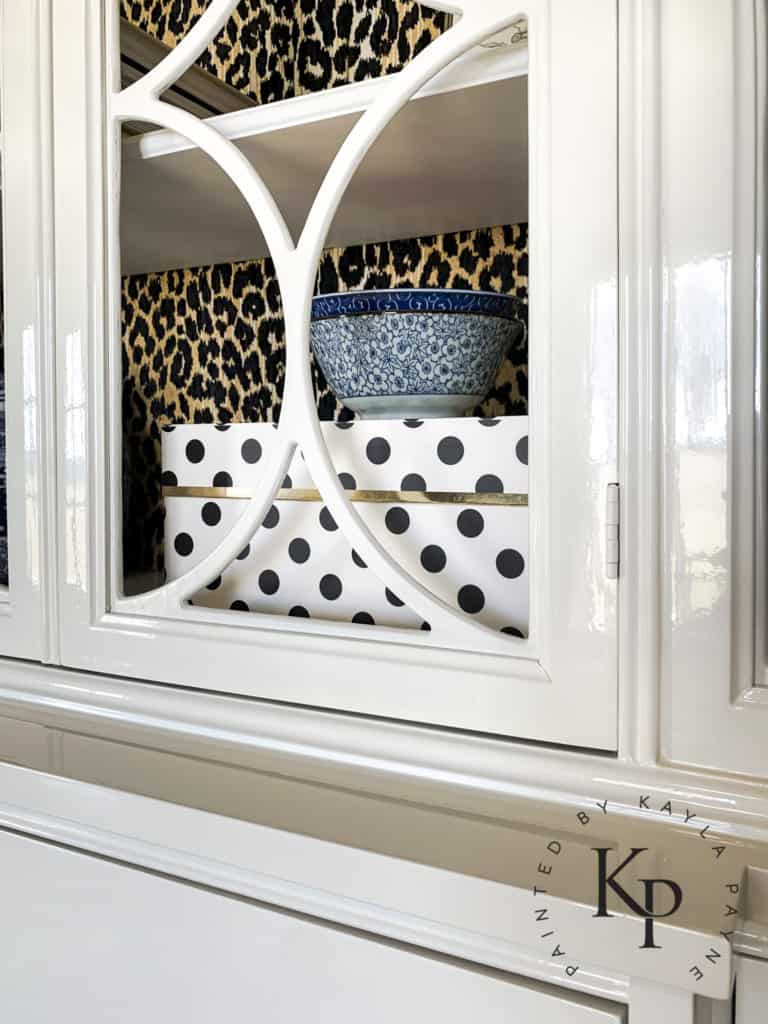
Does oil-based paint yellow over time?
Light colors will slightly amber over time. More yellowing happens in the absence of UV light. Fine Paints of Europe has recently come out with a new and improved formula that claims it will not yellow. I’ll have to do an update in a year to report back on this piece!
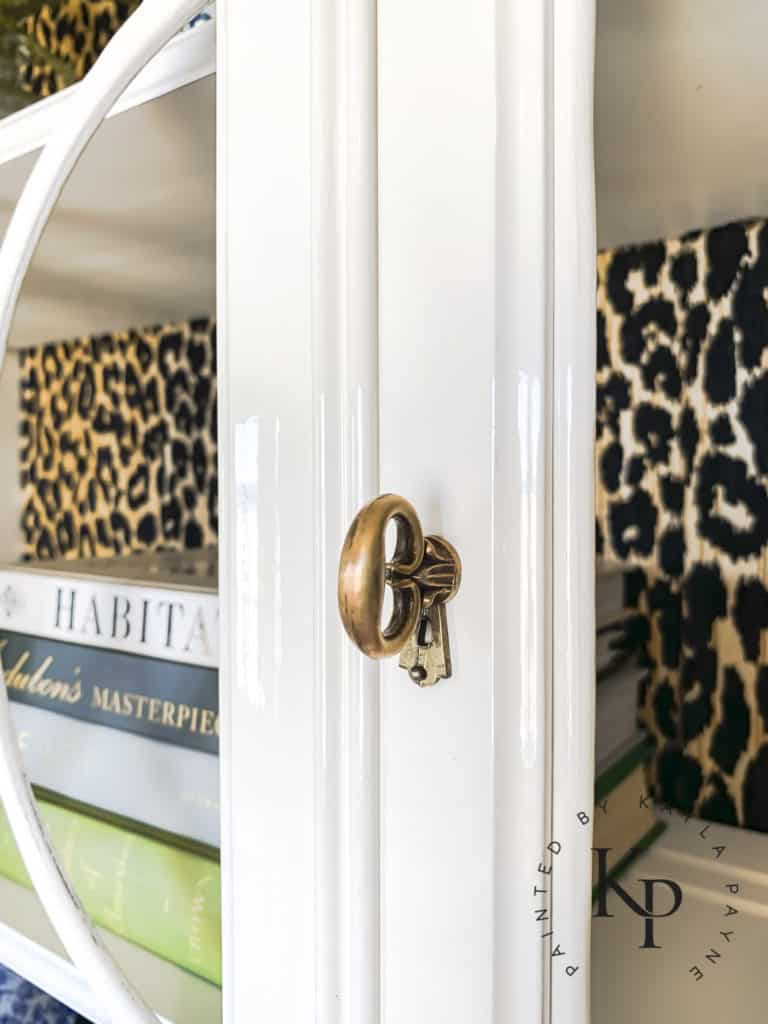
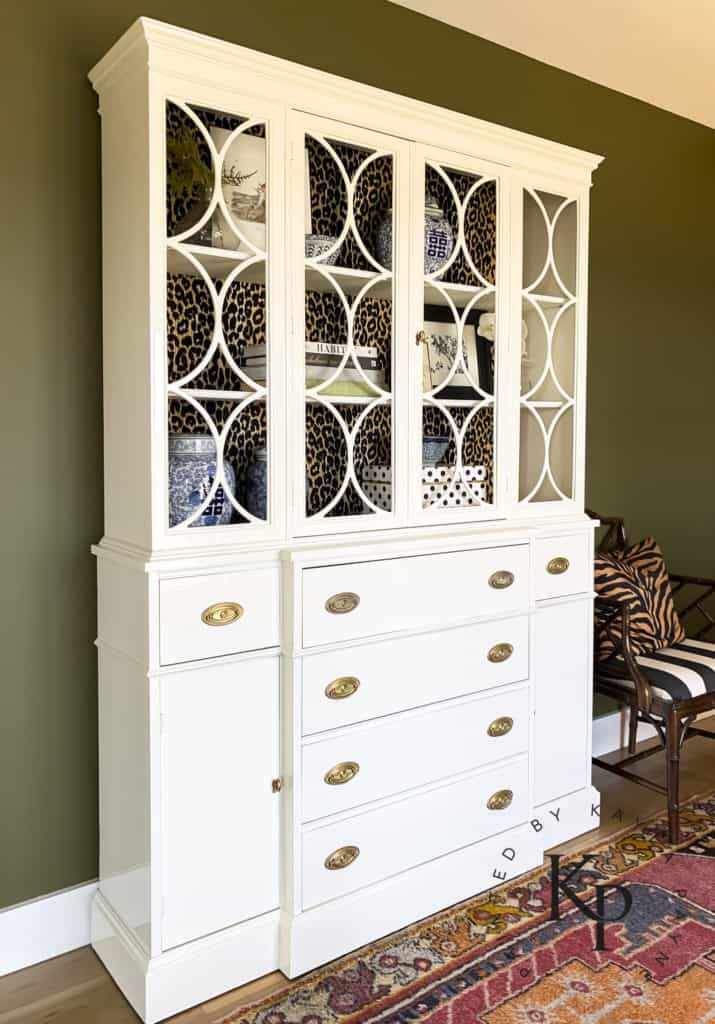
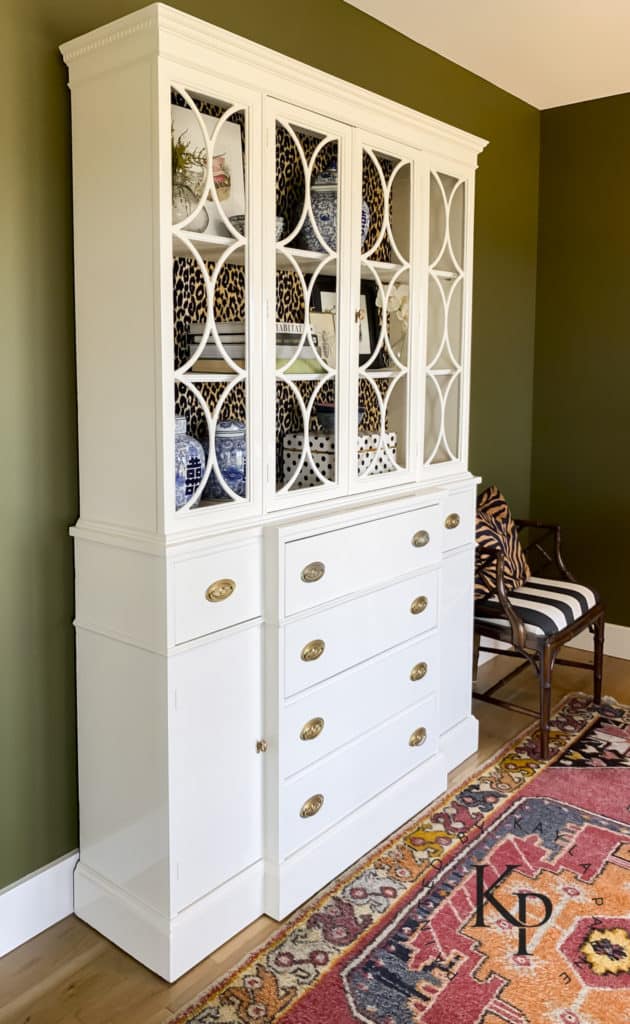
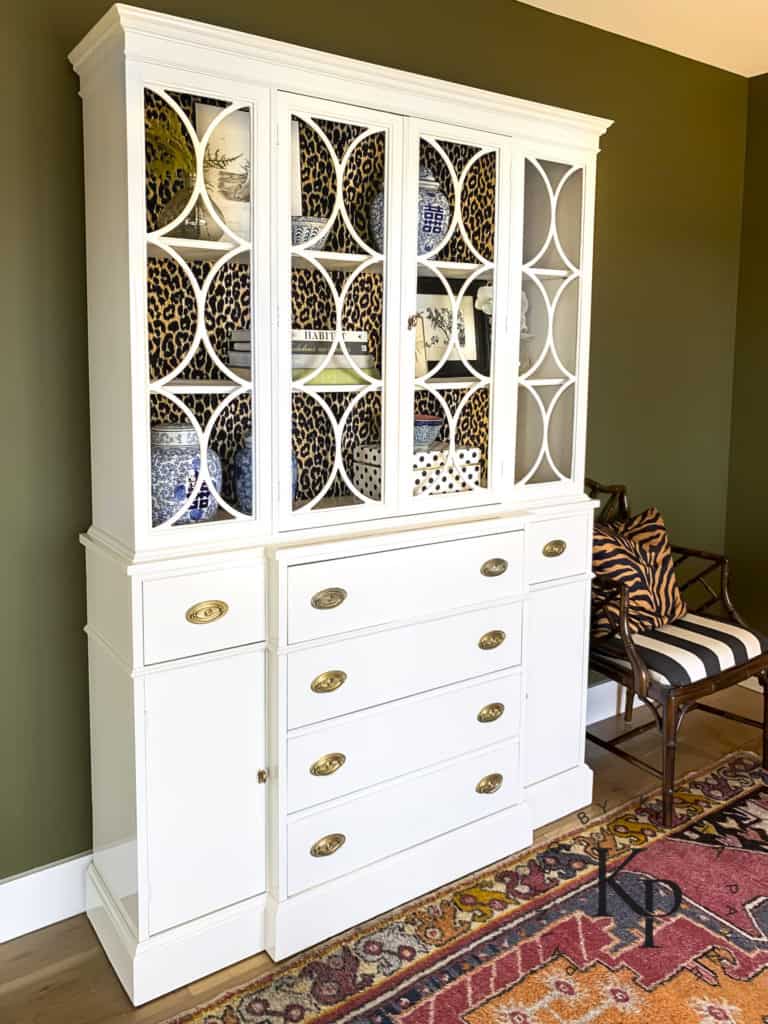
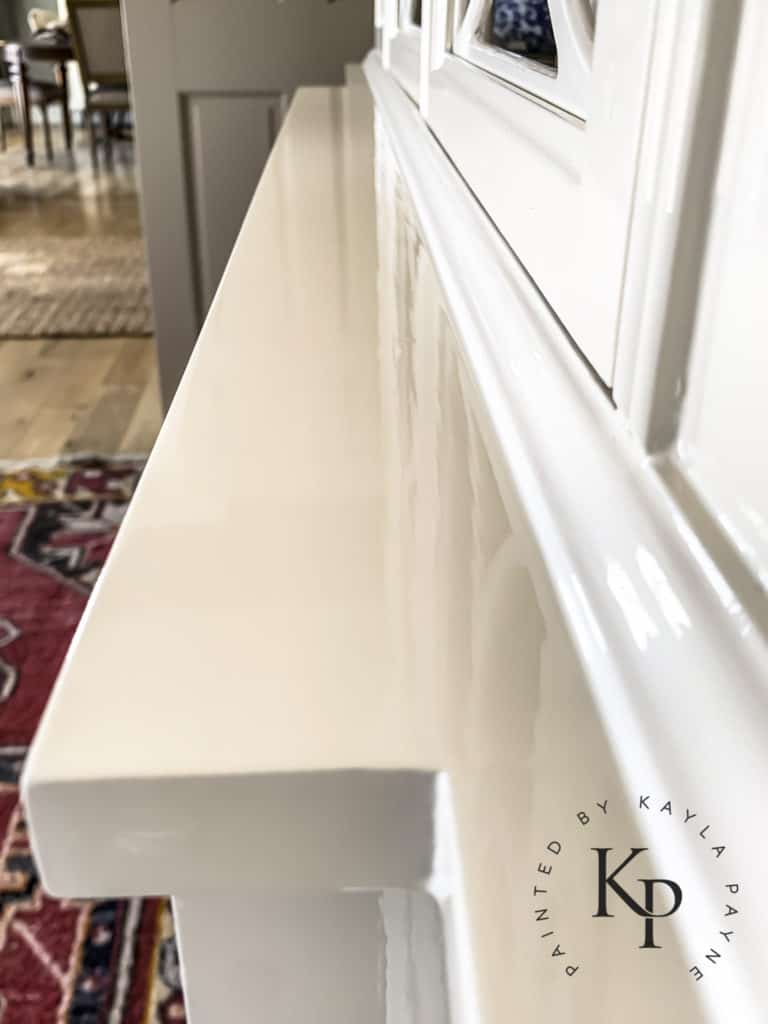
So those are the questions I had from readers! My hope is that this will shed some light onto the process for you if you’ve been wanting to give this paint a try🙂 Here are some more photos…
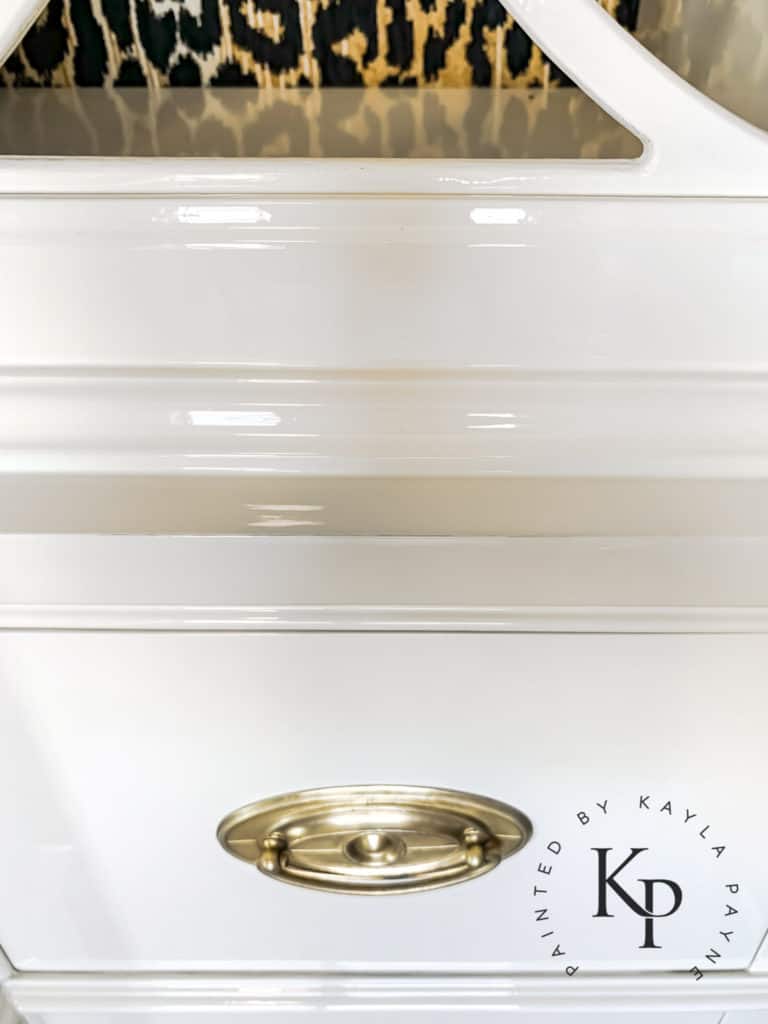
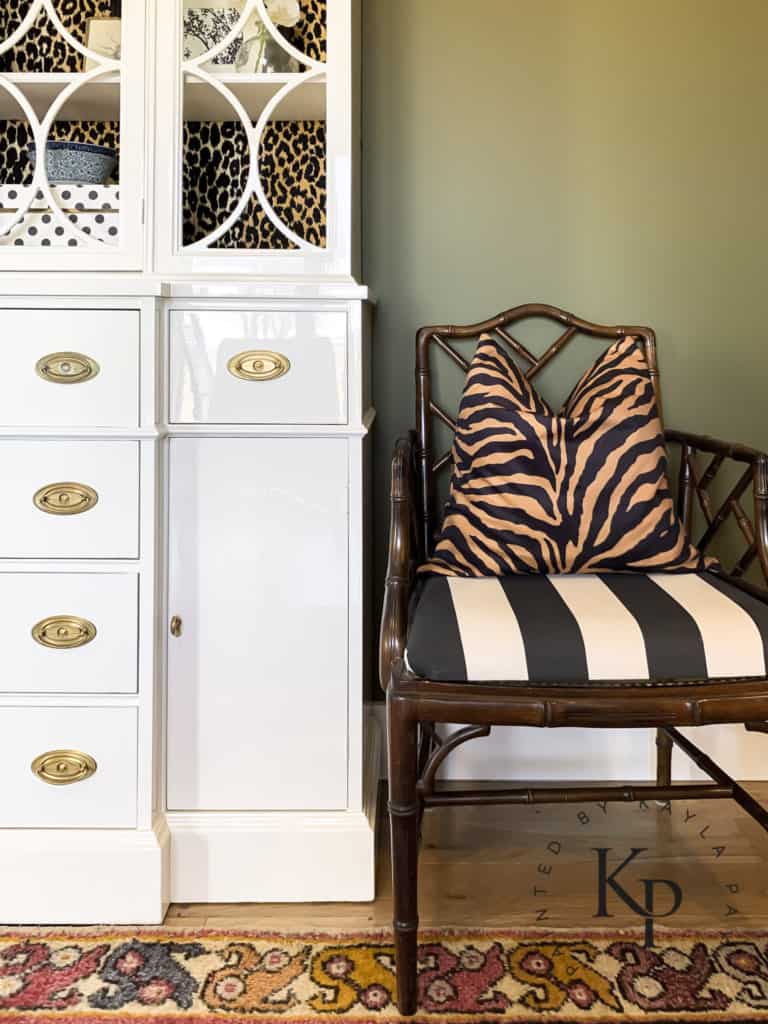
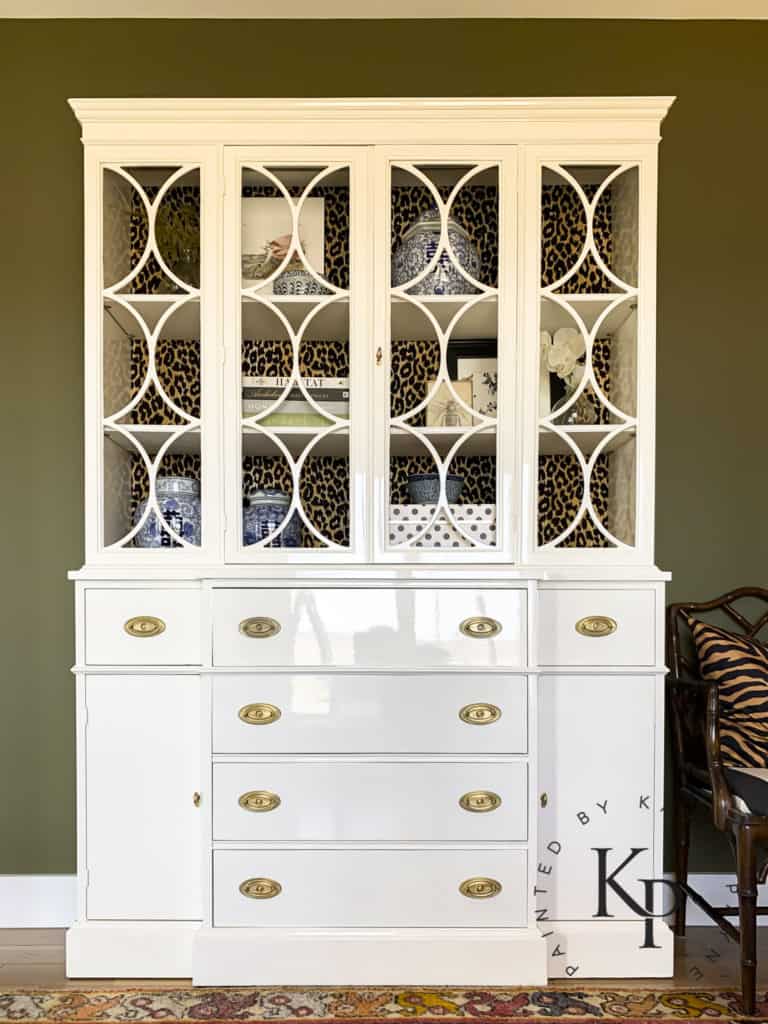
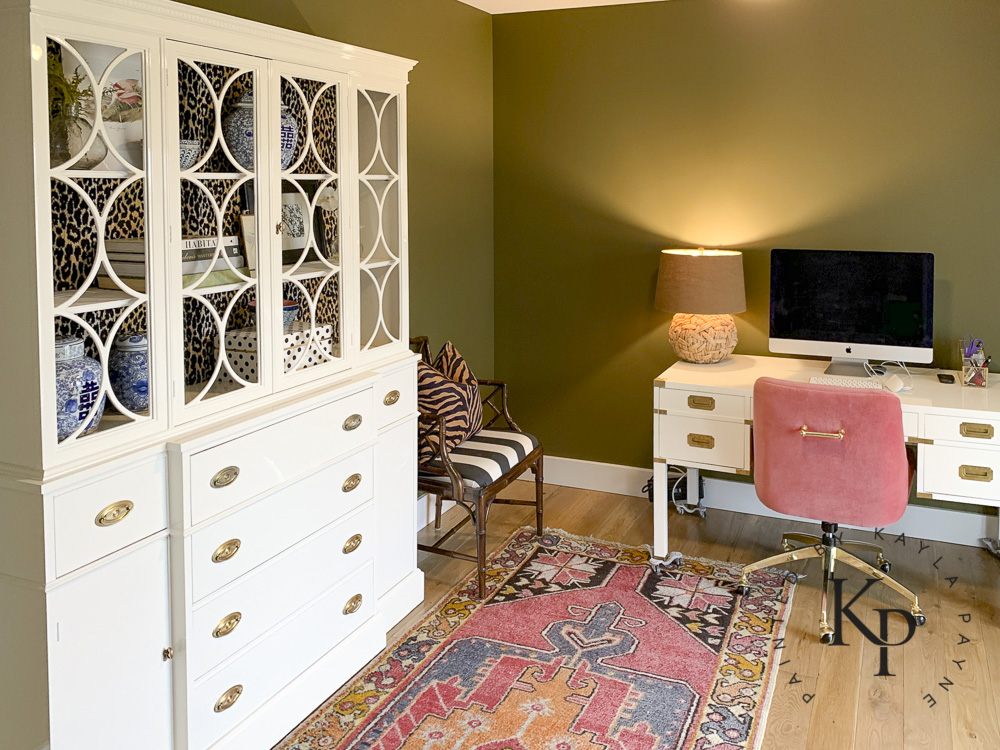
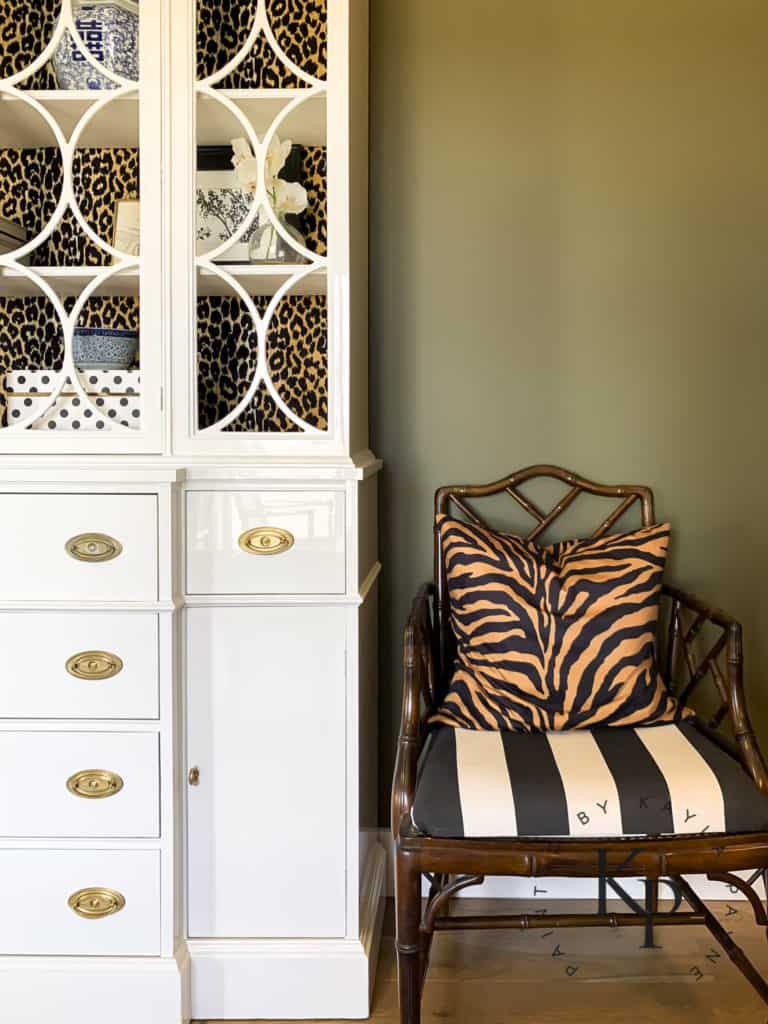
My office isn’t finished yet, but here’s a little peek at it so far!
If you haven’t downloaded The Glossy Furniture Guide yet, you should definitely do so! CLICK HERE to download the free guide now!
Love this! Is the shine as brilliant without wet sanding?
Yes absolutely!! Wet sanding and polishing does not increase the shine!
It’s stunning! I love it! Your work is so inspiring and beautiful. I recently purchased a 1940’s 3-piece dining set with a beautiful china cabinet, buffet, table and 6 chairs. Would this technique hold it’s beauty under heavy wear on a buffet?
yep!
Love this!!!
Lovely work. I wanted to swoon over some of your pieces.😁
I have a question about sanding between coats. Do you just ‘scuff’ or is this a full sand? Are you just sanding out wee bubbles? Or the whole piece? All the rest make sense. I usually brush everything but may try sprayer next project.
Do a full, even sand where all of the sheen is taken off. xo
Hello Kayla. My name is Todd, I am a 31 year experience high-end interior professional painter, Specializing in Cabinetry. I have been referred to your website multiple times by a gloss loving fanatic homeowner. I would like to recommend to you trying out the Wooster Silvertip brush to apply your brilliant 98.( it has very fine bristles that have an extremely feathered soft-tip to them. It is a great brush for thin/leveling products to leave 0 brushstrokes. I also have a question of why you only did one piece in the Omni Automotive lacquer. You will have my email based on this comment, I would not mind having correspondence with you.
Hi Todd! Thanks for your suggestion. I love using these cheap-o brushes mainly due to the thinness of the ferrule. It’s so perfect for the delicate tipping off process.
I’ve almost bought the wooster silver tip brush on several occasions. Next time I’ll follow thru.
I’ll take your suggestion if you will take mine:) next time you’re working with high gloss oil, get one of these craft brushes and tip off with it. Methinks you’ll be surprised!!
I’ve done quite a few projects with Omni MTK…not all of them are here on the blog though.
Thanks so much for your comment!
Kayla
Have you ever tried FPE’s Eco Brilliant paint ? If so do you think it performs as well as their original oil based Brillant?
I have not used Eco Brilliant. I will say that it will have it’s challenges too. Even though it cleans up with water, it will still be tricky to use. If you try it, please let me know about your experience!! xo
Thank you for this post, my painting Sister! I have 3 pieces in wait because I am paralyzed with FPE fear! Haha! I will have to get over it and give it a real go. Thank you for addressing these particular questions. I am not new to painting furniture although it has been a few years, but FPE seems inevitable for me!
Kayla, sharing your knowledge and talent is such a gift. I’m so inspired! Calling Emmet now 😁
I LOVE THIS! xoxo
Thank you, Kayla for this post! I started a china cabinet, covid hit, and I lost all motivation. I think partly was because brushing on the (Black) hollandac looked daunting for the body of the piece. I did the 3 drawers and thought “…I could live with this..” ha! Your tips about thinning, heating and straining are especially welcome; those drag marks were bringing me down! I also love your side chair, the wood is beautiful!
Beautifully done, Kayla. Did you polish this just with high grit sandpaper or did you use the 3m three step polishing routine? Thanks.
Thanks Bev, I didn’t polish this piece at all…this was just brushed and done:) xo
This is so pretty and inspiring! Can you give details on how you wallpapered the back?
Hi Mellen! It’s actually fabric from Hobby Lobby that I hot glued around the perimeter edge! xo
Kayla, two questions please.
Is this the same process when using 100% acrylic high-gloss paint?
In the last step you mention a 1000 sanding/buffing pad. Is this different from sanding paper? Please clarify.
Thanks!
Stacy
Hi Stacy, same process would apply to an acrylic high gloss paint, but you’d reduce it with water and perhaps a different ratio. And a 1000 grit sanding pad is just a thin foam pad, what I use isn’t sheet paper. Google 1000 grit sanding pad and you’ll see what I mean! Hope this helps! xo
This is beautiful! I’m wonder what colour white you used? Also, for the sanding and huffing between coats, are you doing this by hand or with an orbital sander?
Thanks!
What is the gold finish you use for your hardware ? Its beautiful!
This is so beautiful. I am so inspired to do my own painting especially furniture…😍
Hi! What color did you choose? I love everything about this project but cannot seem to find the exact color of the Hollandlac Brilliant 98 you used! TIA!
It was color matched to BM White Dove! xo
This piece is gorgeous especially with the leopard fabric in back! How long did this project take and did you use a special breathing mask?
I worked on it on and off for a long time lol. If I were doing it start to finish though, it would probably take me a total of 20-30 hours I’d guess. I did not wear a respirator mask to brush, no. Hope this helps! Xo
Awesome post Kayla! Love the Q&A format, very informative 👍❤
So beautiful 😍; love your work. How do you choose which primer you will use under Hollandlac Brilliant? Also, since FPOE is so expensive, how much paint did you need to complete this piece?
My vendor said,no roller application, no diluting paint. So I sanded, primed and used brush. Now after 2nd coat, I have micro bubbles. I’m not going to proceed until I have a recommendation/ solution. Very disappointing. I was so excited about painting my Henry link bachelor’s chest.
Sand off what you have here then follow the steps I laid out here. Report back. Xo
Same for me and I’m so frustrated. 2 coats later I keep ending up with tiny bubbles everywhere. And I followed this process, can’t figure out where I’m going wrong. Such a beautiful piece and color! But the bubbles are unsightly.
Hey! I am having the same issues, did you find a solution to your bubble problem? Thank you!
Glad..but not glad…to hear others fighting the fuzzies battle. That, among several other things, is driving me nuts. I don’t recall having any of these issues when I was painting in Texas. Now that I’m back in Arkansas, the weather has really been like learning from scratch. Thanks so much for the great info.