*This post contains affiliate links*
Hey Guys! I’m so excited to show you my latest furniture piece. I found this vintage Henredon campaign dresser via email from an estate sale site. As soon as the photo came up in my browser, I knew I just HAD to have it! Furniture like this is rare in my neck of the woods! The sale was 3 hours away from me, but my super awesome brother in law helped me out by going to the sale to get it for me because I was unable to go myself. I’ll forever be thankful to him for it! My fellow furniture-obsessed friends will understand why I had to have this! amiright?! So, here’s the before
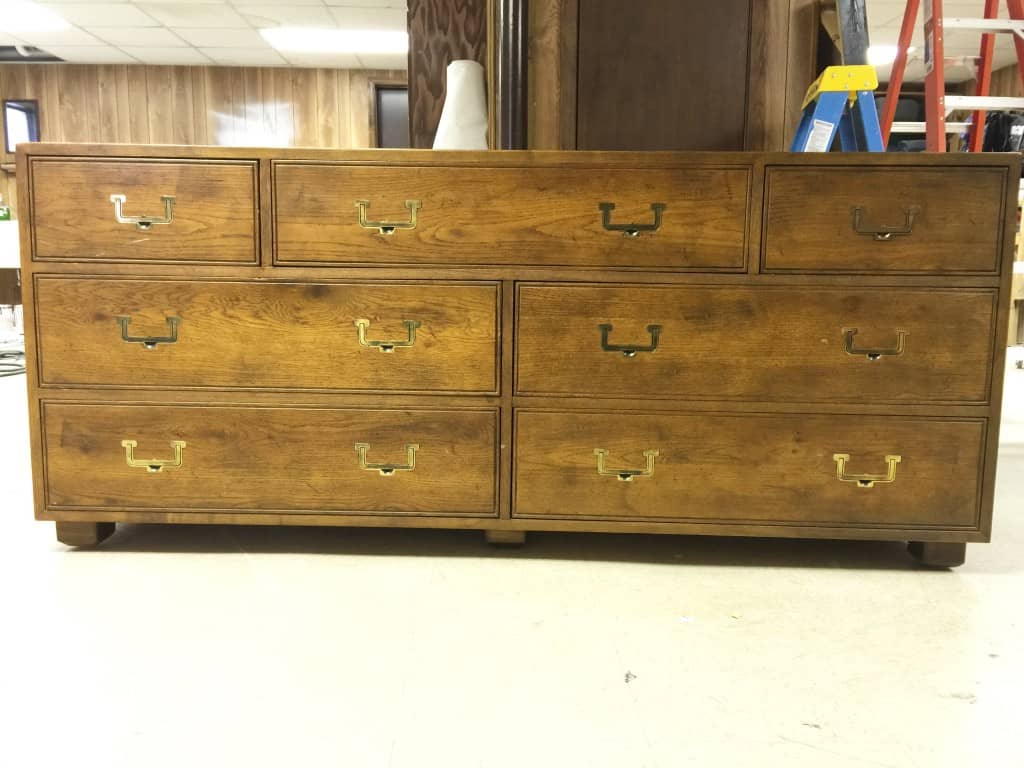
I’ll give a quick run-down of what I did. Sometime soon I will write up a detailed post of what methods I like to use when painting with high gloss oil enamel, but for today I just gloss over it….yes, I absolutely meant that pun:)
So after removing all of the amazing hardware, I used Bondo Glazing Putty to fill all of the dents and scratches. There were TONS of dents and dings in this dresser! I actually had to do two rounds of filling on this guy because after the first round, I wasn’t happy with it. It wasn’t smooth enough. With super high gloss paint the surface has to be as close to perfect as you can possibly get it!
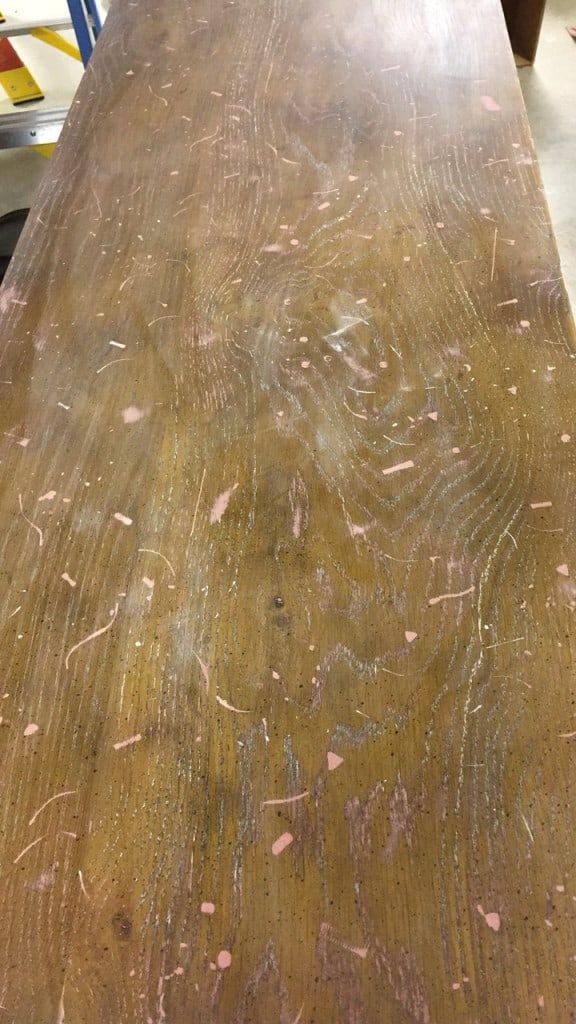
Once the dents were filled, I used my electric orbital palm sander with 220 grit paper to remove the sheen off of the original varnish, and followed that step with using 320 grit paper to block sand the whole piece super smooth.
Next up, I sprayed Sherwin Williams’ ProBlock Oil Primer. After the primer had dried for several hours, I block sanded the whole thing again. This time with 400 grit paper, and then vacuumed up all of the dust. Before moving the dresser and drawers into my spray booth, I used a new tack cloth to wipe up every speck of remaining dust. High gloss paint does not tolerate any dust particles!
So, confession time, I painted this piece right before I started this blog so I don’t really have any further progress photos. I’m really sorry….I promise to do better from here on out.
I sprayed two coats of Fine Paints of Europe Hollandlac Brilliant mixed in Benjamin Moore White Dove, waiting about 36 hours in between the first and second coats. There’s so much more to this process than just spraying the paint, but like I said, just a quick run down for now!
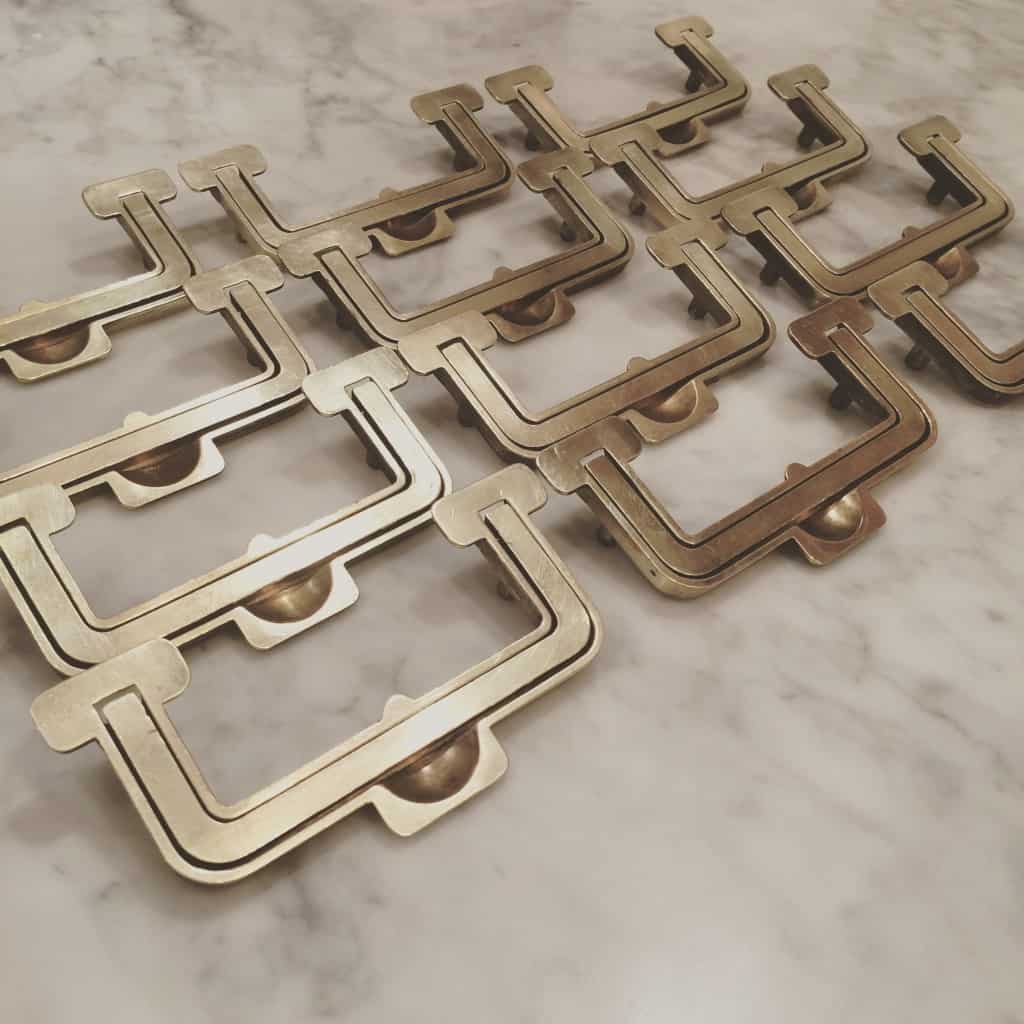
For the hardware, I just made a wet paste of BarKeepers Friend and used a rag and a lot of elbow grease to shine the tired brass right up to this beautiful shine. I don’t think I will ever get tired of solid, unlacquered brass!
When everything was dried enough to reassemble, I put all the hardware back on and then drooled a bit. I took this photo below with my iPhone. It captured the sheen level really well! That’s my super messy workshop in the reflection…ha!
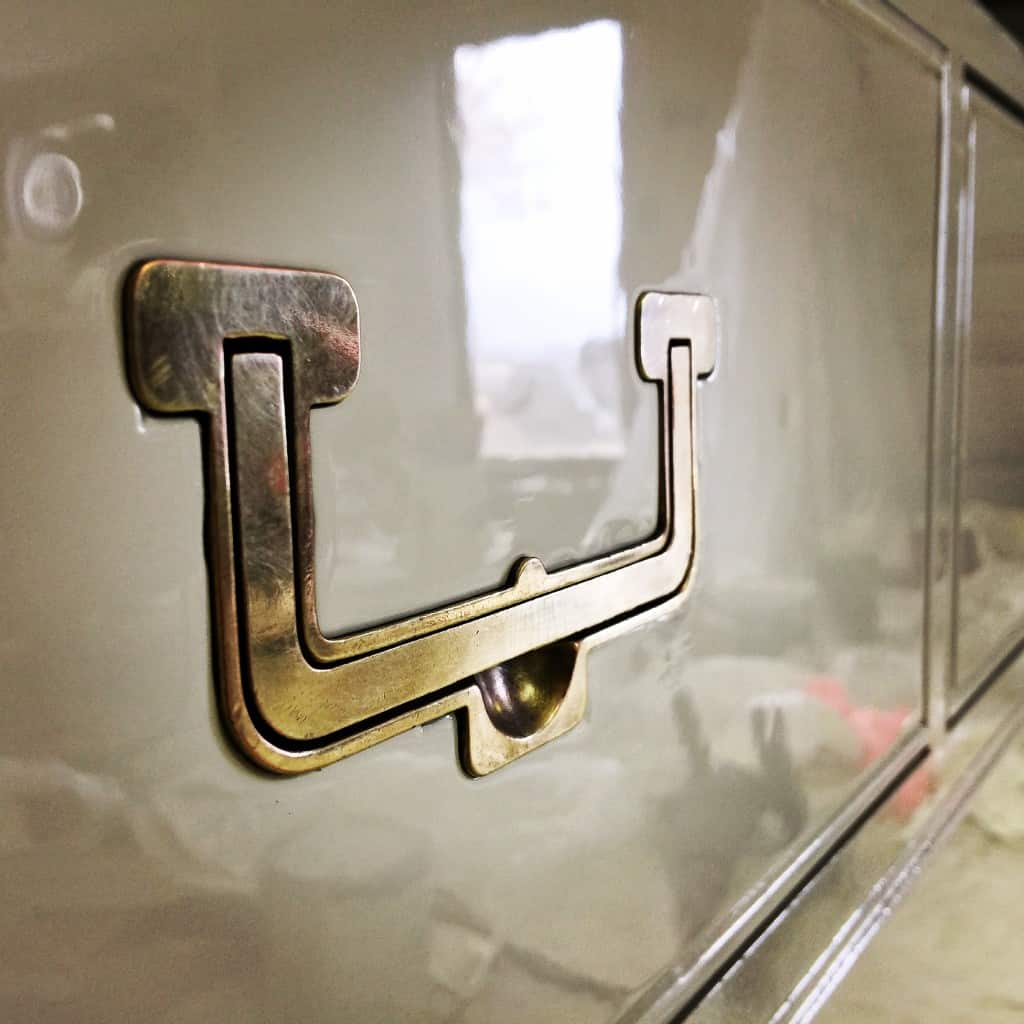
Wowza! The glossiness of this paint blows me away. I love it so much! After my husband and I hauled it upstairs, I staged it then my good friend Lacy came over with her magical camera to take some legit pictures…..without further yapping from me……here it is! I’m still all heart eyes about it!!
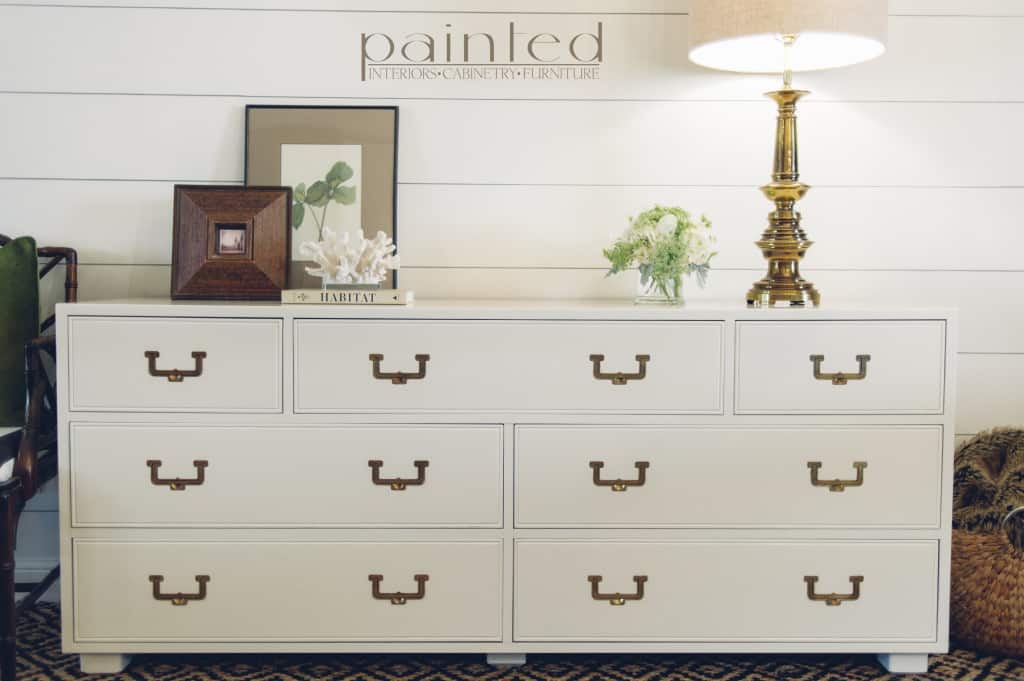
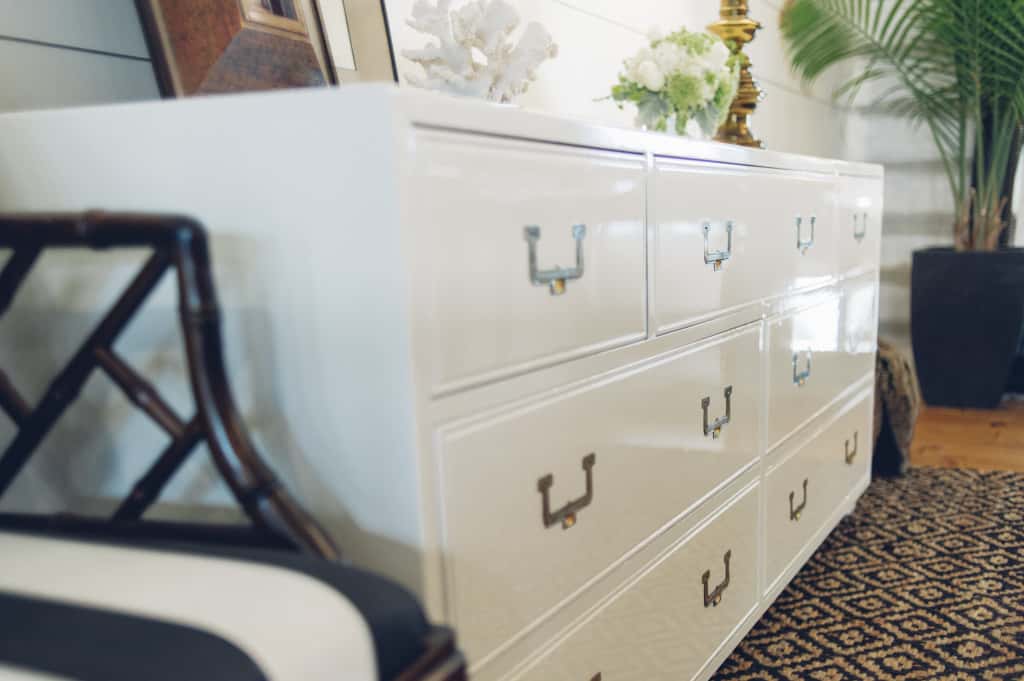
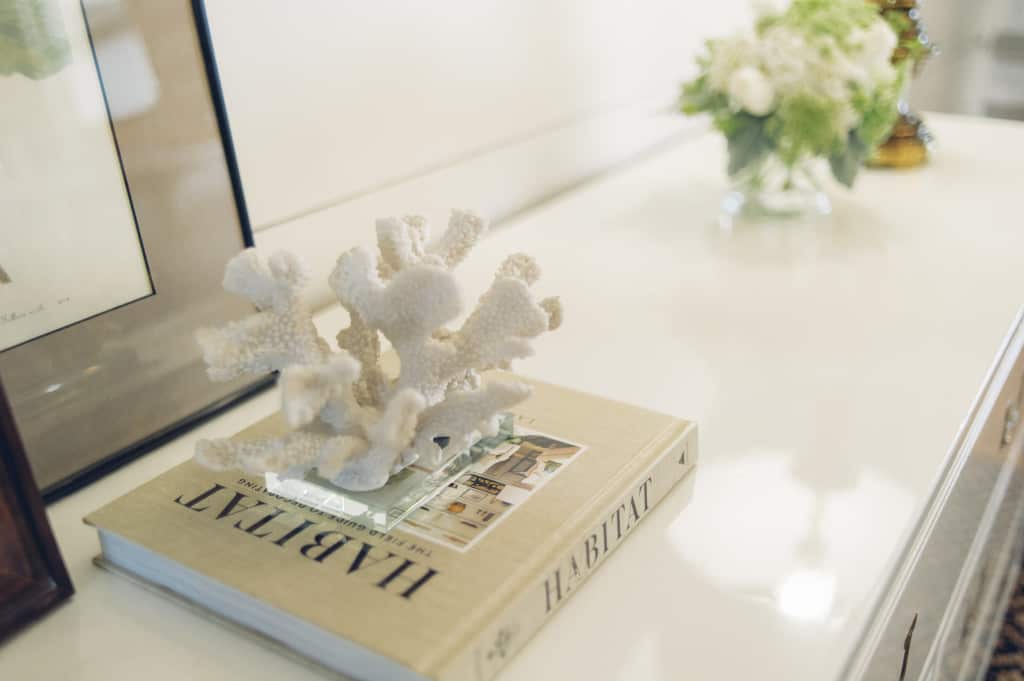
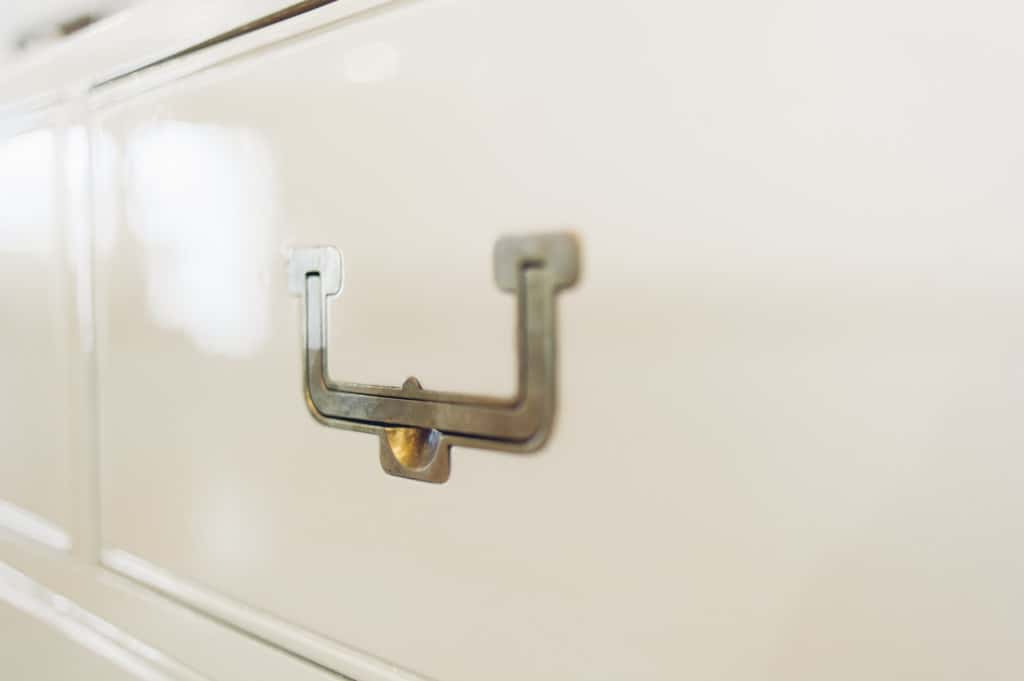
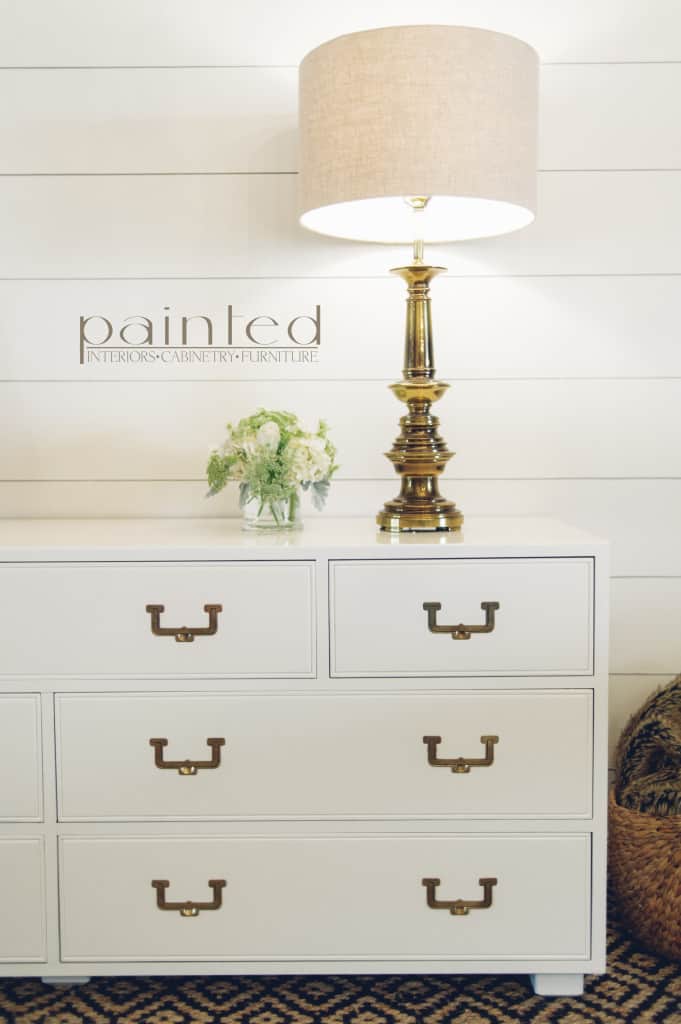
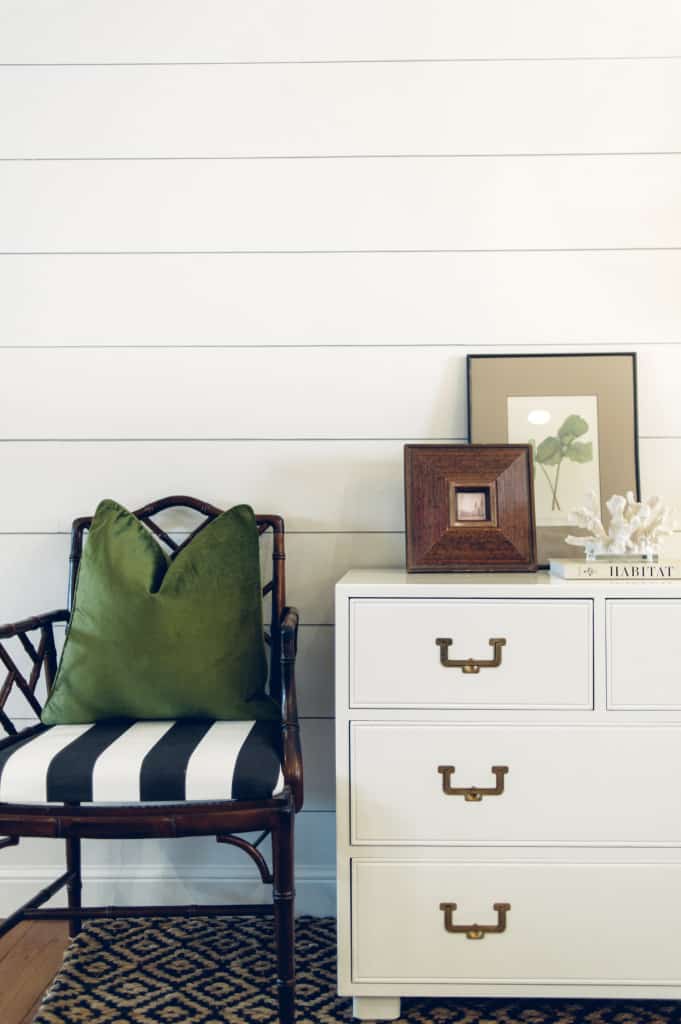
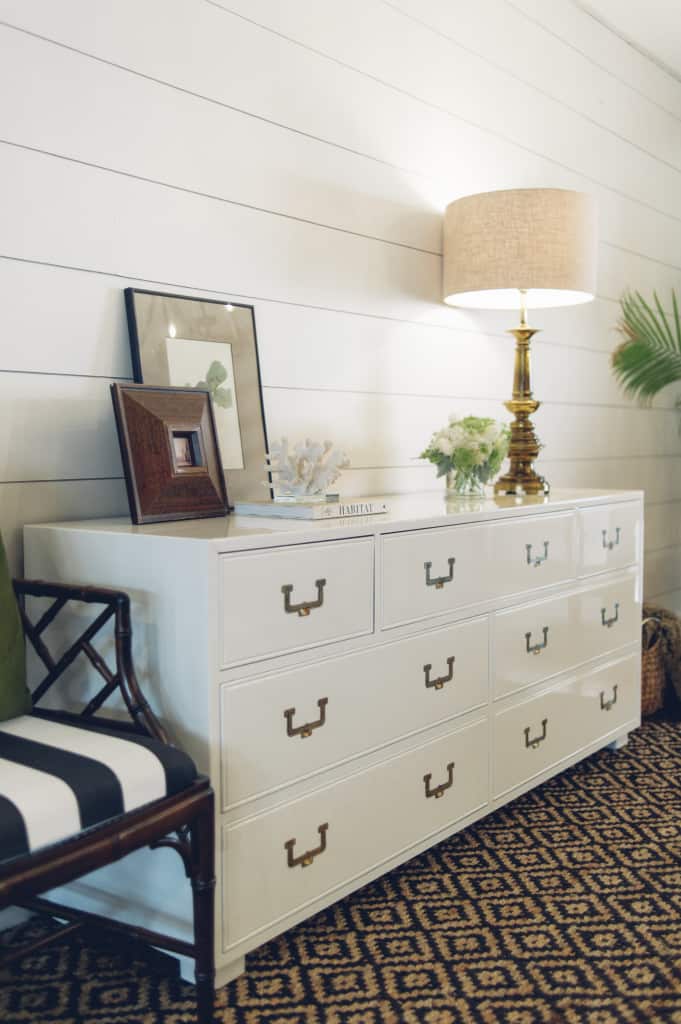
Photographing glossy white is kind of difficult. Even though pictures can’t fully capture how shiny this was, I still think they’re so pretty! I can only hope that I’ll find another piece of furniture from this line again in the future! A local friend bought this pretty thing, and I was super excited it was staying right here in my town:) The new owner has promised me I can come look at it anytime…..I may just take her up on the offer!!
Wanna list of all the stuff I use to create high gloss pieces? You can download a free copy of The Glossy Furniture Guide here!
Be sure to stop by this post to see more juicy, glossy goodness!
Linking up to Furniture Fix Friday’s via The Chelsea Project Blog
and DIY Like A Boss via Table and Hearth
I just love this piece. The white, the gloss, the hardware. And it looks fab placed against your shiplap!
Thank you, friend!!
Hi Kayla,
I’m so loving your high gloss pieces. I just come from the post about the mint chest and was so impressed….but THIS….oh my goodness!!! Henredon needs to hire you to design their furniture. I do hope you will link to me when you post the technique. Looking forward to learning how you made the magic happen.
Thanks so much for linking to Friday’s Furniture Fix. We love having you share with us!! Susie from The Chelsea Project
Awe! Thank you! The mint one I sprayed with an airless, this guy I sprayed with my Devilbiss HVLP. The other enamel was kind of easy to work with, this one….not so much!! I will get a tutorial in the works on how I like to achieve this look and I’ll be sure to share it with you! Thanks for looking around and commenting:) I appreciate it!
Drooling over here 😉 I need to learn how to spray some FPoE! Did you have any problems with the grain coming though, or did you fill that in as well while prepping?
Hey Reeves! There wasn’t a lot of open grain luckily, but as I filled the gashes and dents, I did go ahead and fill what little was showing! So glad you stopped by!!
Hey Reeves! There wasn’t a lot of open grain luckily, but as I filled the gashes and dents, I did go ahead and fill what little was showing! So glad you stopped by!!
I actually inherited this exact dresser and wanted to know how you removed the handles? I would like to clean them up but have no idea how to get them out! Any tips are welcome!
Hi Kate, I just unscrewed the pull from the inside of the drawer. The might take a little coaxing with a screwdriver by prying it from the front side. Just take your time and be gentle. They should pop out eventually! Hope this helps. xo
This transformation and finish look amazing! I’ve used Fine Paints of Europe before to paint several things, a dock box and bathroom cabinets. Yes, VERY time consuming and tedious product but the results are soooo worth the patience and effort. Fine Paints of Europe also offers a product to fill wood grain, its a paintable product with sanding in between to fill the wood grain resulting in a full filled finish. A word of caution about this brand paint, the temperature that you’re working in when applying it is critical to the way the paint flows. If its too hot, you’ll have drag on your brush, if too cold, will not set up properly. So reading the manufacturers specifications for use are key to stellar results. Beautiful transformation with this updated piece, all the way around.
Hello! love! Details on the chair when you have time!
Hi. While searching for the hardware for that exact dresser I came across your pin of what you had done. We bought the complete bedroom set with that dresser, an armoire, two end tables and a queen headboard in1979 when we got married and it has been in our bedroom ever since. Getting ready to move and was going to sell the 39 year old bedroom set for something new, but now cannot wait to have it repainted and used in our new home! You did a fabulous job!
Thanks for you comment Ellyn! Its fantastic furniture, I wish I had a full set like you do! If I ever come across another one, I believe I’ll keep it!!! I appreciate your comment:) xo Kayla
Hi Kayla! Well nine months after I saw your post and a move to Delaware, the only furniture we brought with us was our bedroom set. It has just Ben painted as per your post and we LOVE it! So glad you pinned this piece. Thank you so much!
Let me know where I can send you picks it you want to see the finished pieces.
Love what you did! I am looking for one of those drawer pulls. Do you know where I can find one?
Kayla, I gotta say I love everything you tackle and the end products! I know there’s a learning curve and you have spent a few years at your trade. I am just starting my journey of furniture refinishing as a hobby and you are an inspiration. I will be proud if I produce one piece in that’s half as nice as this one!
So sweet of you Melanie, thank you! xo