Whether you’re new to the Fine Paints of Europe paint brand or an experienced user encountering difficulties, I’m hopeful that this article will help. While I certainly don’t know all there is to know, I’ve compiled what I believe are the 12 best tips for using Fine Paints of Europe high gloss paint (Hollandlac Brilliant 98).
12 Best Tips For Using Fine Paints of Europe Hollandlac Brilliant High Gloss
This post contains affiliate links to products I use. I may earn income from qualifying purchases made from links I provide. This costs you, the buyer, nothing extra. You can see my full affiliate disclosure here.
1. If you’re just beginning, start small.
The last thing you want to do is get in over your head when you’re new to using Fine Paints of Europe high gloss paint.
It doesn’t matter if you are a DIY’er painting one project for yourself, or if you’re a professional painter hired by a client of GC: If you don’t have experience using Fine Paints of Europe Hollandlac Brilliant, you need to start on a small sized project.
Pros – Do not accept a job spec’ed for Hollandlac Brilliant until you’ve done sampling and testing in your own time and on your own dime.
It would be an actual living nightmare to get yourself involved in a situation where you’re the guy hired to paint a ceiling or full room in Hollandlac Brilliant if you’ve never used it before.
This happens more often than you’d believe. Don’t be that guy.
Homeowners – Do not expect to paint your front door in Hollandlac Brilliant this weekend if you’ve never cracked a can open (at least don’t expect to have awesome results).
Start off either painting a 24″x24″ piece of MDF or hardboard from some place like Home Depot. Or start with a small piece of furniture with simple, straight lines: a small nightstand perhaps.
There is a steep learning curve with Fine Paints of Europe Brilliant.
I’m talking hella steep.
I’ve had conversations with painting professionals who’ve been in the trade for decades and are at their wit’s end from using Fine Paints of Europe coatings for the first time.
Fine Paints of Europe is a different animal compared to domestic paints.
You may have 30 years of experience with Sherwin Williams or Benjamin Moore coatings. However, those skills aren’t always guaranteed to transfer to Fine Paints of Europe paint as one would imagine.
Get a can of Fine Paints of Europe oil primer and a can of Brilliant 98 then test, test, test.
You’ll be so glad you did.
2. Choose light paint colors in the beginning.
Lighter colors are recommended if you’re just beginning to use Fine Paints of Europe.
This is a classic example of what it means to walk before you run.
A light paint color is more forgiving than a dark paint color. The darker the color, the harder it is to get right.
I don’t suggest jumping into navy, dark green, or Heaven forbid, BLACK for your first time.
Get your feet wet with light shades first.
Then go with darker shades – because yes, we all know that high gloss dark, bold colors are sexier!
3. You can’t be too clean.
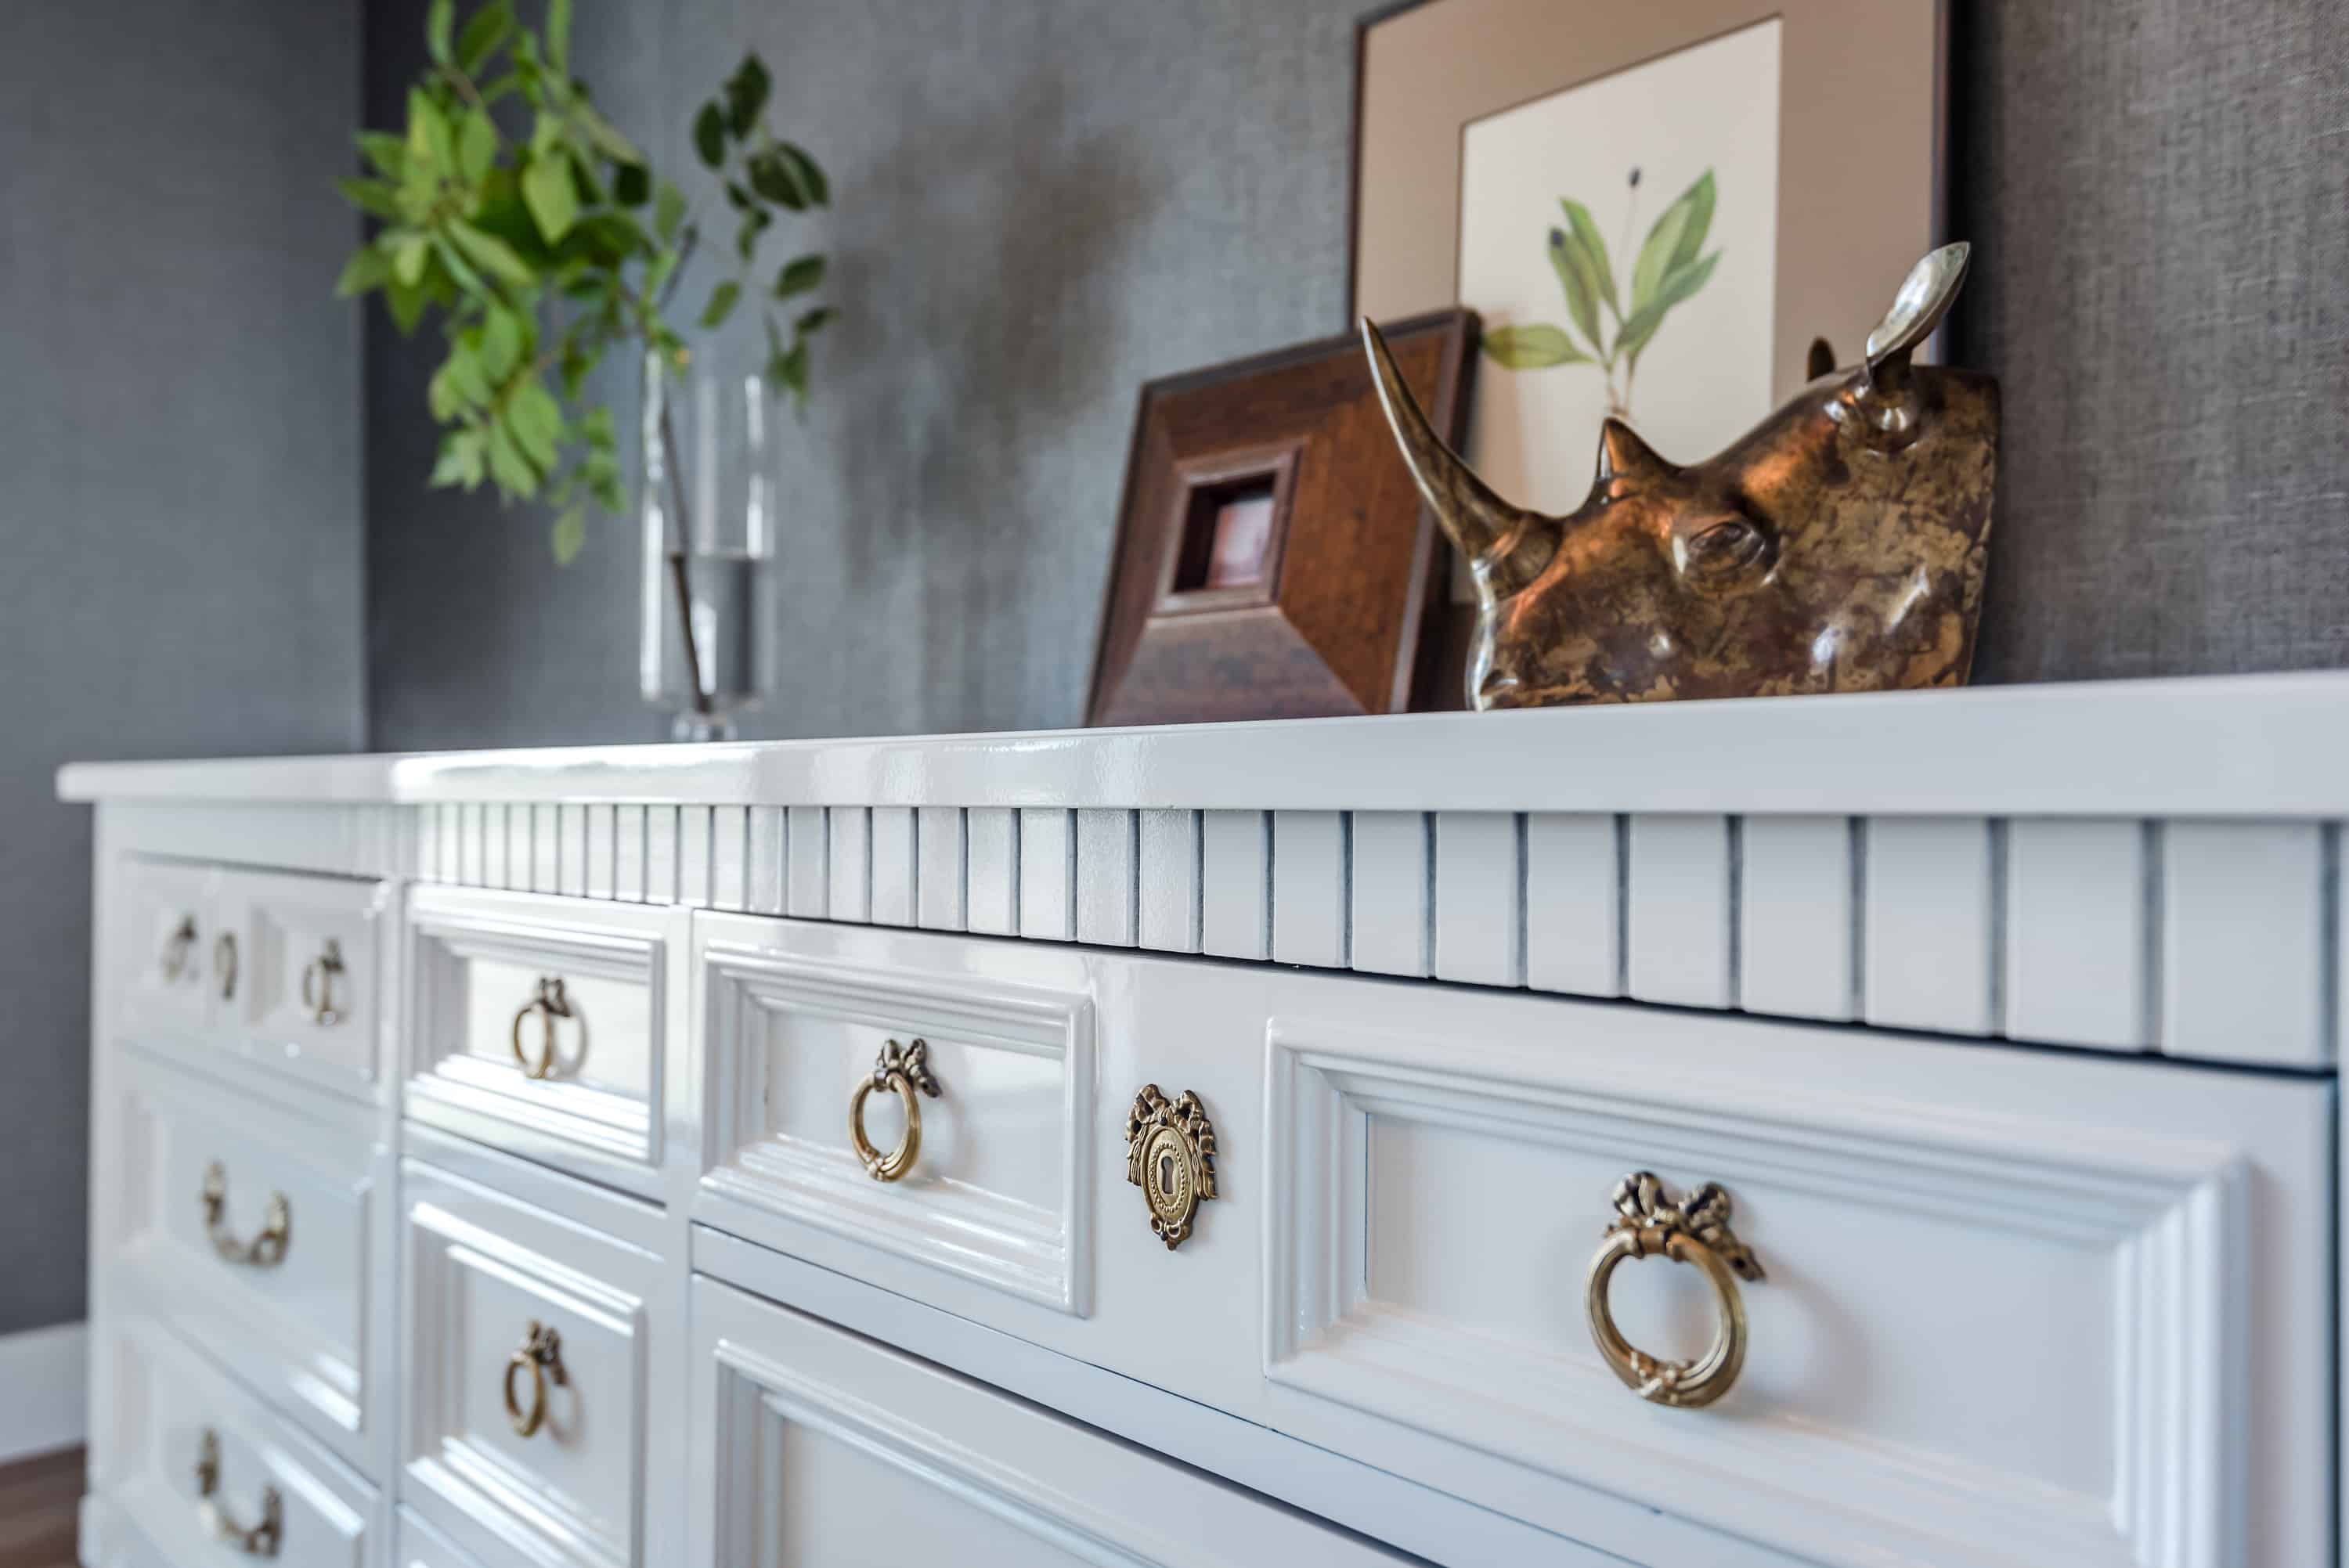
High gloss paints show every spec of dust and debris in the finish.
To those of us in the paint trade, we are used to practicing SVT. SVT stands for Sand, Vacuum, Tack.
After each coat of primer and/or paint, it’s sanded, vacuumed then tacked.
Then you apply the next coat.
However, when it comes to Fine Paints of Europe Brilliant, SVT is not enough.
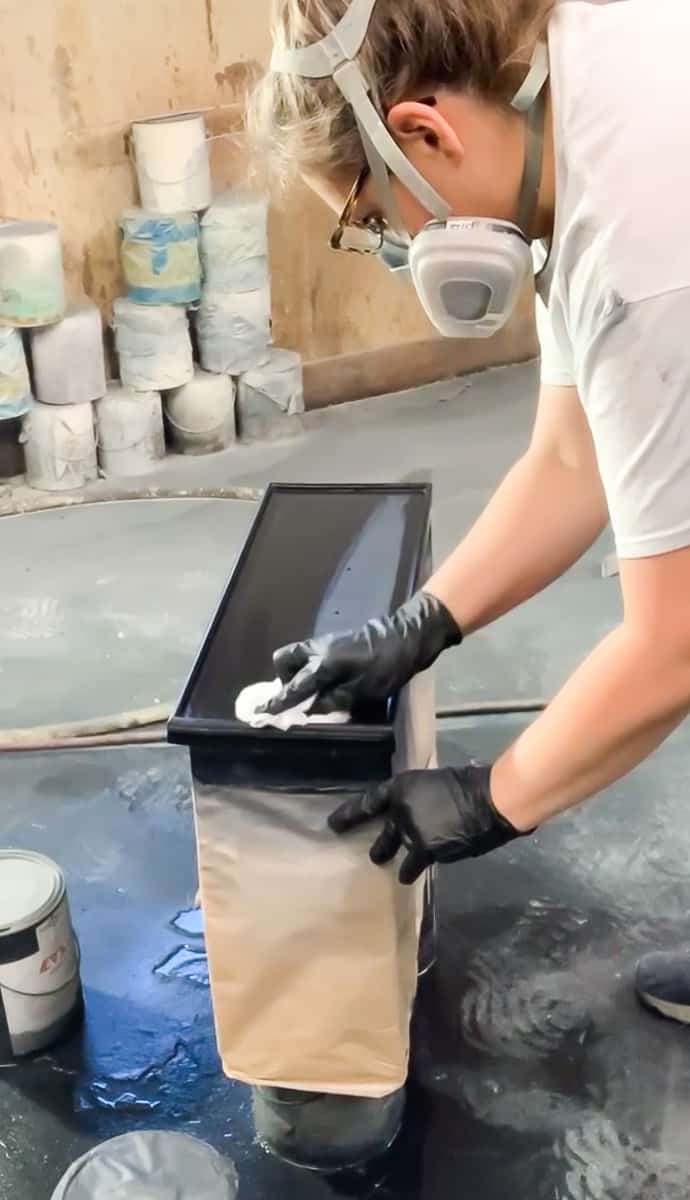
Here’s a better way to clean the surface after you sand it between each coat of primer and paint:
- Vacuum thoroughly using a horse-hair brush attachment
- If the surface is detailed (ie: carvings, caning, deep grooves or routered lines etc) you may want to blow it off using compressed air
- Dust surface with a clean and dry microfiber cloth
- Wipe surface with a clean microfiber cloth saturated with mineral spirits.
- Repeat above step using a clean portion of dampened cloth until you see NO color transfer onto the cloth. It’s normal to wipe down a surface several/many times before you see no more color transferring onto your cloth.
- Use a tack cloth lightly on the surface IMMEDIATELY before applying the paint. Hint: you should have zero color transfer on the tack cloth. If there is color transferring onto the tack cloth that means the surface is still dirty!
A tack cloth removes trace amounts of airborne dust/lint that lands on the surface after you’ve cleaned it.
Let me re-iterate…a tack cloth is not for CLEANING the surface.
Honest to goodness, I swear this tip is money.
4. Measure and document everything.
I used to be an “eyeball” type of painter – I’d thin/reduce coatings just eyeballing the amounts.
If you’re a pro, you know what I mean.
After you do something for a while, you become decently good at judging amounts by the way they feel.
I felt like I became moderately good at judging all of the variables when it came to painting.
But that was before I got serious about becoming a better finisher.
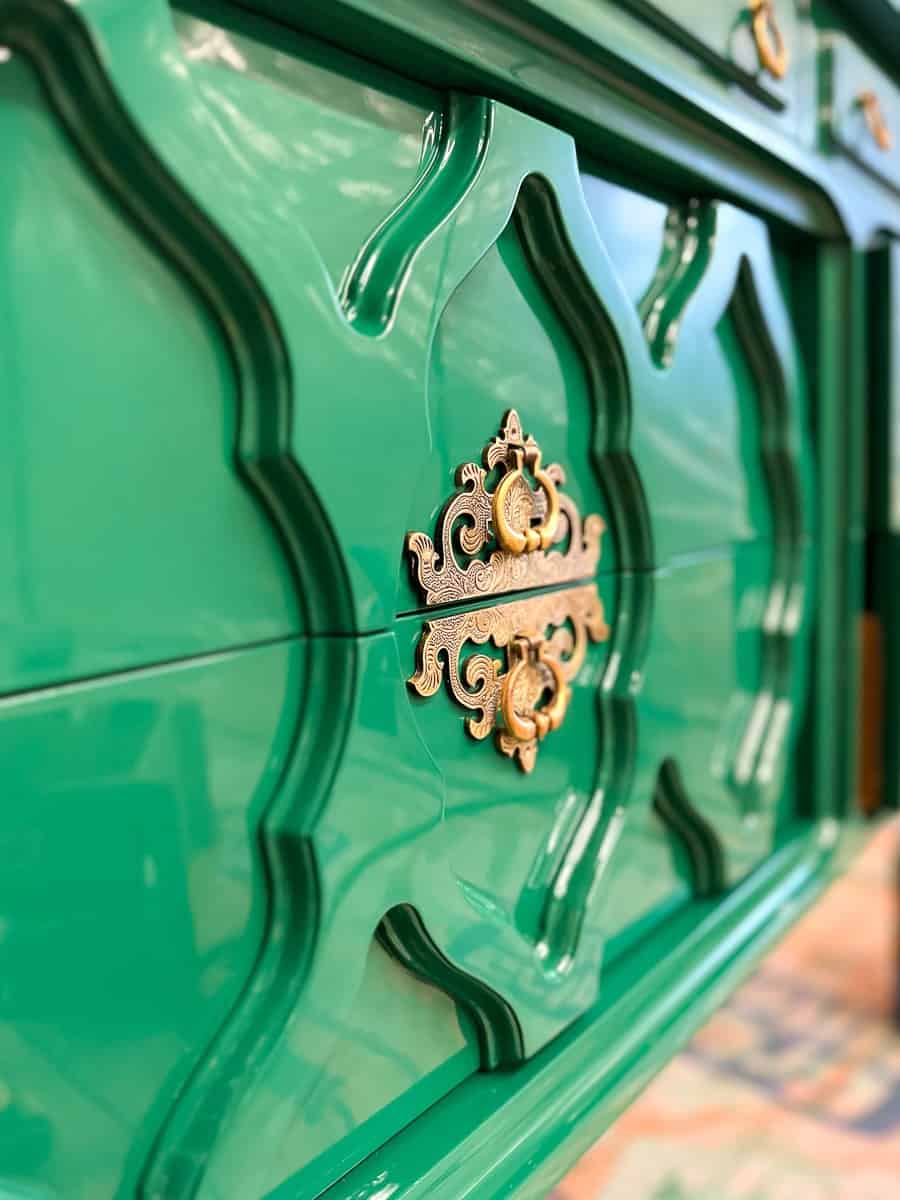
Several years ago I painted a dresser using Hollandlac Brilliant in a dark green color.
I mixed up the paint as I always did. I eyeballed the amount of mineral spirits based on how it felt when I stirred the paint in the cup.
When I felt it was right, I sprayed my final coat.
And guess what, it came out perfectly.
I mean it was like glass. Actual perfection – all except for the moth that died a slow death in the wet paint.
So, I had to sand down my perfect paint coat and paint it again.
Again, I eyeballed the paint mixture.
Wouldn’t you know, the second coat was nowhere near as good as the previous. Orange peel all over.
My gun settings were different the second time around. The paint viscosity was different too. Nothing about the second coat was like the coat before.
The perfect coat of paint was total luck. And lightning doesn’t strike twice they say. I wasn’t able to get lucky again.
If I had measured and documented the first time, there would’ve been zero guesswork involved.
I could’ve followed my formula and replicated my perfect results.
I tell this story to say this: my finishes became better after I quit the bad habit of eyeballing and guessing.
Precisely measuring all the variables eliminates the guesswork and provides repeatable, reliable, and consistent results.
Create as many samples as you need until you find what works. It takes some time and effort to find your “sweet spot”.
Measuring and documenting your tests will quickly identify what doesn’t work. Then it’s as simple as making tweaks until it does.
5. Heat it up.
Warm paint is happy paint when it comes to Fine Paints of Europe Hollandlac Brilliant.
An increase in temperature means that the atoms possess higher thermal energy. Higher thermal energy makes the atoms move faster. When they move faster, it’s easier for them to overcome the forces that hold them together. This decreases the viscosity.
Molasses in wintertime is slow moving, yeah?
If you set a jar of molasses on a tin roof in Texas in July, it’d pour a lot faster.
Same concept with paint.
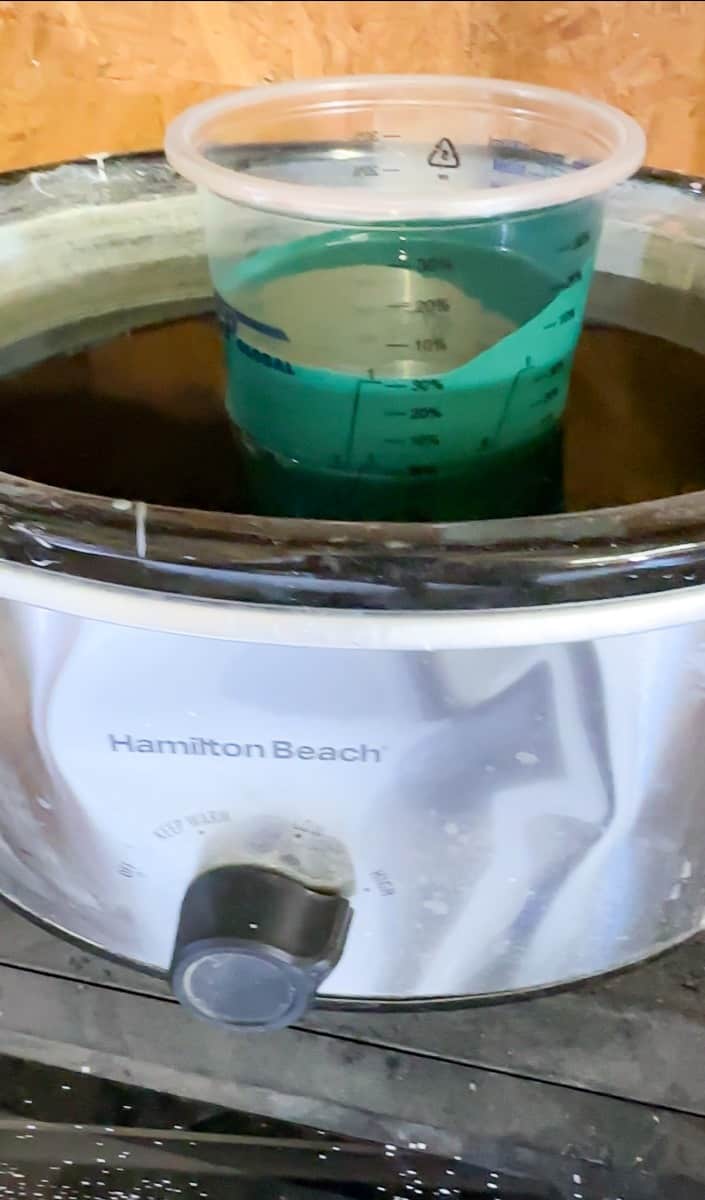
A crock pot works great for heating Hollandlac Brilliant.
Fill a crockpot with water and turn it on high. Pour paint into a plastic mixing cup then set the mixing cup into the hot water. Let it warm for an hour.
What’s especially great about lessening the viscosity this way, is that you don’t have to add as much solvent to reduce. Which leads to the next tip…
6. Go easy on the reducer (thinner).
The fewer additives you add to Hollandlac Brilliant, the better off you’ll be.
It’s such a high-quality paint, that adding too much solvent/additives can compromise the integrity of the coating.
This can lead to all sorts of problems like, decreased shine/gloss, solvent pop, and brittleness just to name a few.
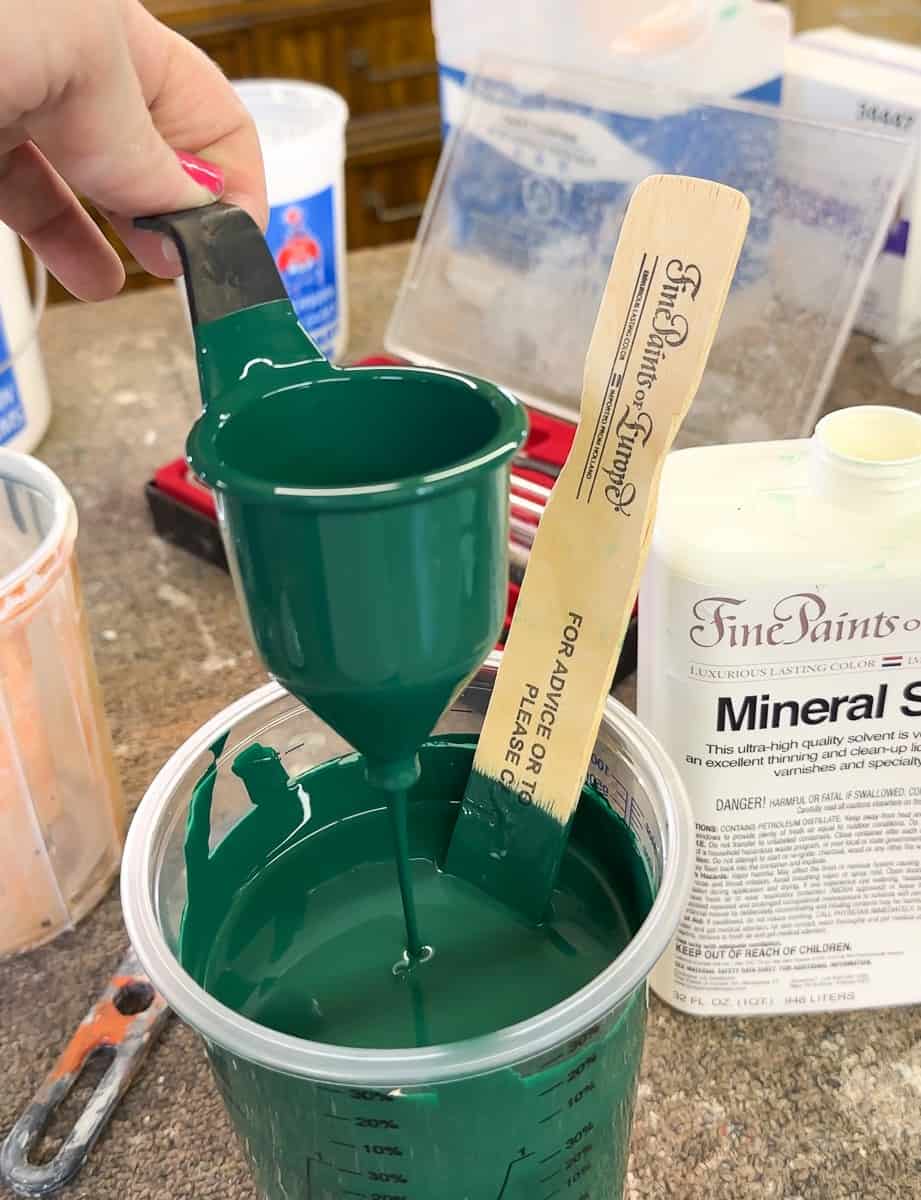
Heat the paint first, measure it with a viscosity cup, then add the necessary amount of mineral spirits to reach your “sweet spot”.
Or, you may find that no reduction is needed – even better.
7. Wet the floors.
Wetting the floors in the work area you’re painting in helps attract and hold dust to the ground.
This actually yields the best results when your immediate surroundings are as controlled as possible.
For instance: painting a piece of furniture in the open air in your shop with the floor wet under you will do little good.
But if you are in an enclosed booth (like an enclosure made of plastic sheeting for example) and the floors are wet, then it will help. (Side note: here’s a video of how I create a temporary paint booth for painting high gloss furniture)
I’m fortunate enough to have a workshop area where I’m able to wet the concrete floor enough so that it puddles. However, I realize this isn’t always the case for everyone.
One idea you could try implementing is this: cover the floor with waterproof shingle underlayment for protection. Then soak towels with water and lay them out on top of the underlayment.
Doing this would at least keep any dust on the ground as you walk around instead of kicking it up into the air.
8. Use high-quality rollers and brushes
Everyone has their own preference when it comes to which brands of brushes and rollers they like.
I like to use Staalmeester brand roller covers and the One Series Spalter brushes.
I believe their roller covers are magic.
If you haven’t found a brand you love yet, consider giving these a try.
I used to think that you had to exclusively use an ox hair paint brush with oil-based paints because I didn’t know better. Luckily that’s not true (good thing because I hate using ox hair paint brushes!).
Use quality tools and you’ll have better results!
9. The more primer coats the better.
Build your substrate with multiple coats of primer. It’s a common misconception that primer’s only purpose is to help the paint “stick” or adhere better.
While it’s true that primer does increase the paint’s adhesion, that’s just one purpose.
The greater purpose that oil-based primer under Hollandlac Brilliant serves is to build up and perfect the surface before applying finish coats of paint.
Do not apply Hollandlac Brilliant paint to the substrate until it is absolutely flawless.
How many coats of primer it takes to reach that level of perfection will vary from project to project.
Also, be ruthless when it comes to filling imperfections between coats of primer. There’s no such thing as an imperfection too small to fill.
Fill, prime, sand – repeat again and again until it’s perfect. Then, and only then, are you ready to apply paint.
Which leads right into the next tip…
10. Make peace with sanding
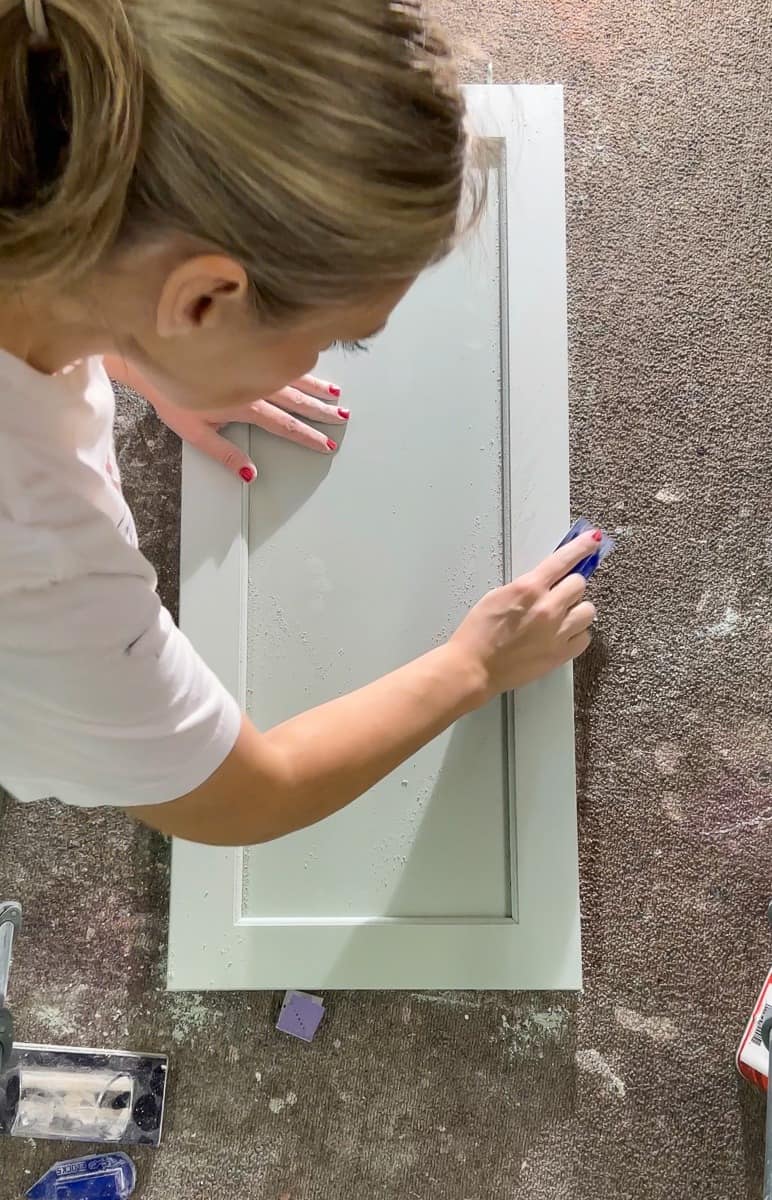
A great finish with Hollandlac Brilliant has less to do with the paint application itself and more to do with the level of sanding underneath it.
That’s not to say that the paint application is without significance, rather what I mean is that painting is a cumulative process. You have to master the skills in a specific order because each step builds upon the previous one.
It will not matter if you lay down the most perfect final coat of gloss paint if the surface underneath it is not perfect.
A coat of perfect, glossy paint on top of a less-than-perfect substrate results in….not a perfect glossy finish!
This paint doesn’t lie – it reveals everything.
I realize most people loathe the sanding process, but I cannot stress enough that the magic starts in the sanding.
In the past, I disliked the sanding process too. But as I’ve refined my painting skillset, I’ve come to appreciate the countless hours of sanding needed to create a dead-flat and smooth surface.

11. Solvent Pop is less common than people think – those tiny defects are more likely to be dust.
Other professional painters with experience using Hollandlac Brilliant may disagree with me on this, but I believe that genuine solvent popping in traditional oil-based paint occurs less frequently than people tend to attribute to it.
Based on my experience using Hollandlac Brilliant and assisting other finishers with their paint-related challenges, I have found that, more frequently than not, what is initially identified to be solvent pop is, in fact, dust present within the paint.
Dust in the finish and solvent pop look very similar, and sometimes it’s not so easy to differentiate between the two.
I’ve consulted with dozens of painters claiming they’re having issues with solvent pop.
The first question I always ask is, “How are you cleaning the surface before applying the paint?”
Each time their response has been some variation of the following, “I vacuum it, then use a tack cloth and then apply the paint”
As I covered in tip number 3, this is not good enough.
I advise them to go back and follow the cleaning steps laid out in tip #3.
When I follow up with them later, they almost always say that it’s no longer an issue.
So first, you have to be SURE that it’s not dust that wasn’t cleaned off the surface before painting.
But, this doesn’t mean that solvent pop doesn’t happen. It definitely does.
So what is solvent pop?
Solvent popping occurs when the solvent trapped within the paint expands and travels up to the surface, then bursts or “pops” through the film of the paint.
This results in numerous tiny bubbles all over the surface.
Possible causes for Solvent pop in oil-based paint are:
- Too much reducer added. Revisit tip numbers 5 and 6.
- Using the wrong solvent/reducer. It is not advisable to use an unapproved reducer – ie: it’s a good idea to stick with mineral spirits only
- Too many wet MILS are applied. According to the Fine Paints of Europe Hollandlac Brilliant Technical Data Sheet (TDS), the maximum recommended wet mil application is 6oo microns (6 mil). Multiple thin coats are always better.
This article by Global Finishing contains photos of both solvent pop and dust in the finish. You can see how visually similar the two defects are.
12. Don’t overwork it.
The final tip for Using Fine Paints of Europe High Gloss is don’t overwork the paint.
This mainly pertains to rolling and brushing Hollandlac Brilliant.
Apply the paint to the surface, roll or brush it out so that there’s an even wet film across the substrate – then stop messing with it.
There’s not an extraordinarily long open time when working with this paint.
You don’t have to be like Speedy Gonzales when painting, but you do need to get the paint on, tip it off quickly, and then leave it alone.
Of course, you become quicker with this with practice.
Brushing it out over and over can result in roping, dragging, and pulling. These effects will still be evident when the paint dries.
There you have it, 12 best tips for using Fine Paints of Europe Hollandlac Brilliant 98.
I hope that you’ve discovered some valuable insights in this list that will assist you on your path to achieving stunning high gloss finishes with Hollandlac Brilliant.
Don’t forget to grab the free Glossy Furniture Guide – I’ll email it you so you can download it to your device for quick future access. It has links to all of the tools, materials, and supplies I use when painting with Hollandlac Brilliant.
Continue Reading


A very sincere thank you for these tips. I’m an ardent student of your tutorials
Please e mail the glossy furniture guide. Thank you
Hey Rosemarie! You can get The Glossy Furniture Guide by clicking HERE
xo Kayla
Thank you for taking the time to share your knowledge, experience and expertise. I follow you religiously.
Hey,
Can you tell me the color of the green you used on the furniture.
Janey Britt
I love this tutorial and I would like to sign up for your blog. Unfortunately, I can’t seem to find anywhere to do that. Please advise on where the sign up is because I would love to follow your blog.
Hi Jennifer, you can join my email list HERE
Thanks! xo