How many times have you seen a beautiful piece of furniture that’s just screaming to be given new life and then it has paint on it that looks like they painted the whole thing with one coat of paint? It doesn’t matter how much sanding or priming you do. If you don’t know how to get a perfect gloss paint finish on furniture, your project will never look as good as it deserves. I’m going to show you some easy steps for achieving this flawless finish!
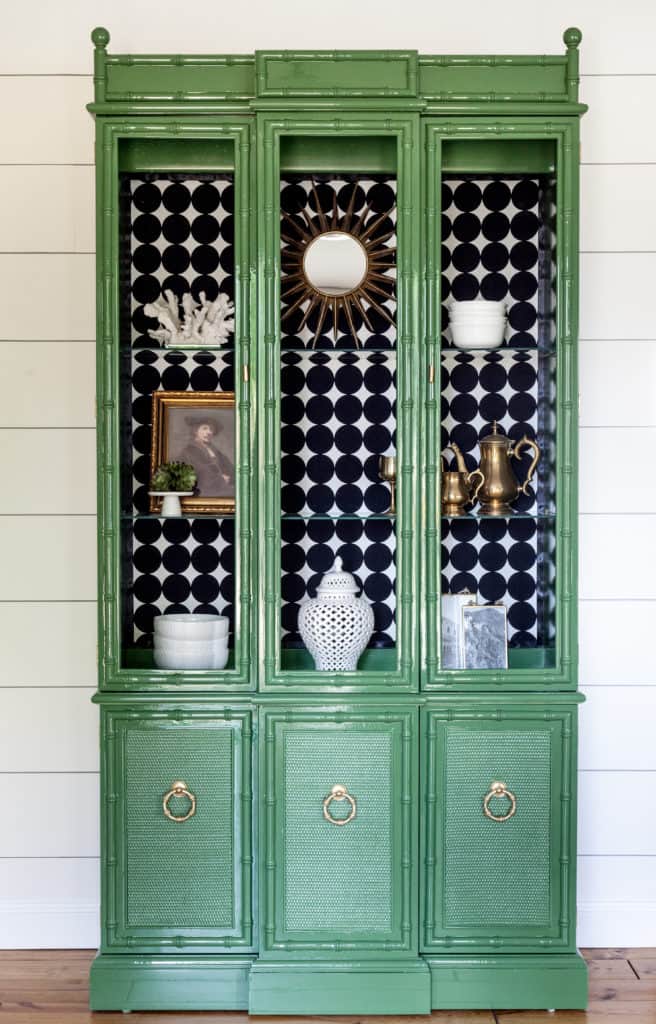
I think we can all agree that achieving a perfectly flat, high gloss, reflective, mirror-like painted surface is one of the most challenging tasks a finisher can do.
For years, I’ve been struggling with how to get a perfect gloss paint finish. If you’re like me and sometimes have a hard time getting your paint to lay down perfectly off the gun, you might consider wet sanding and polishing your finish.
In this post, I’ll walk through the steps for how to get a perfect glossy paint finish by wet sanding and polishing.
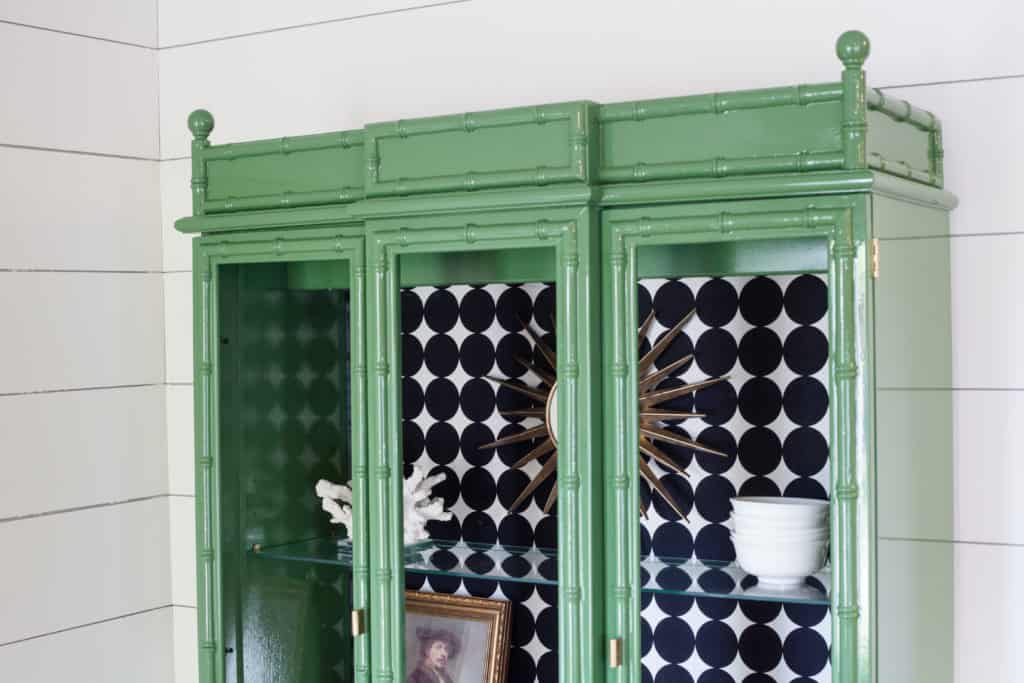
I bought this American of Martinsville faux bamboo china cabinet off of Craigslist last year. I’ve declared my love for china cabinets in this post and my love for faux bamboo in this post.
So to have both of these items together, well, I just had to have it!
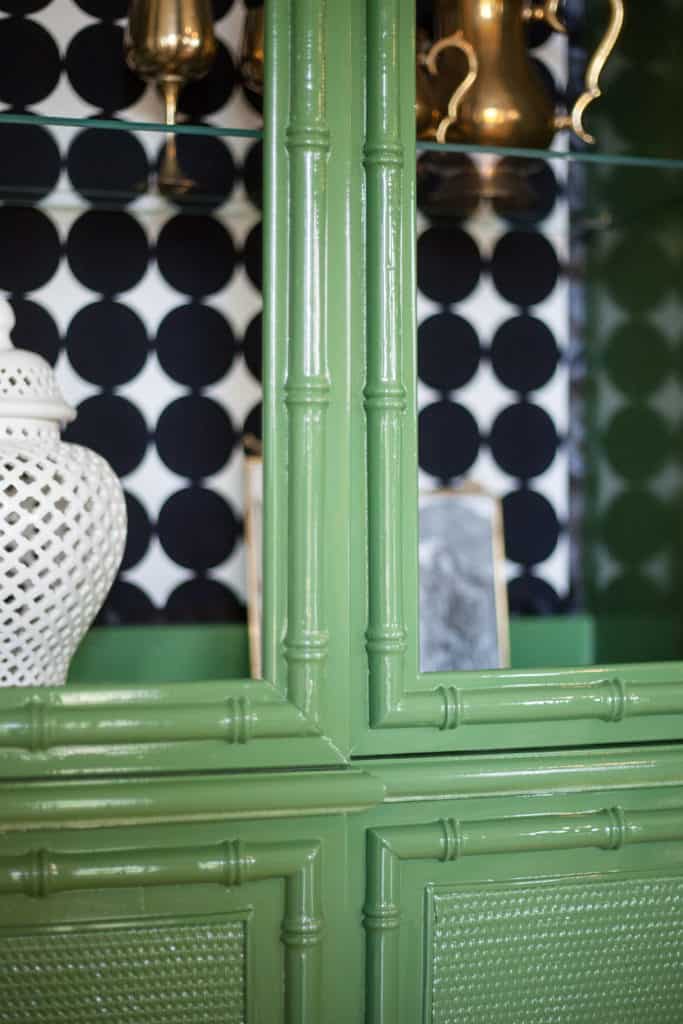
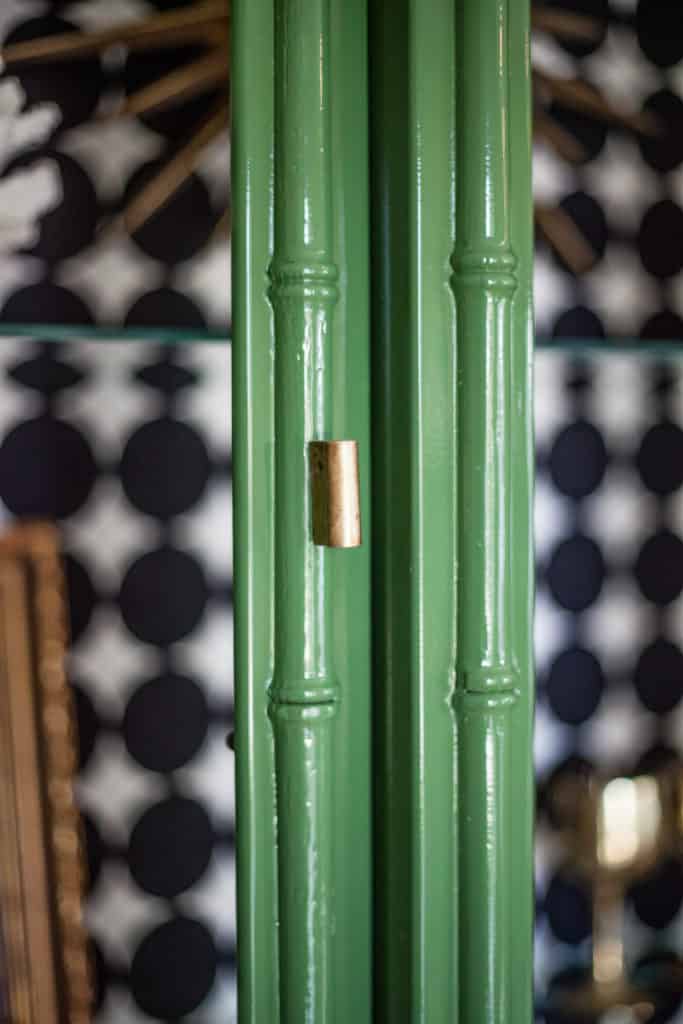
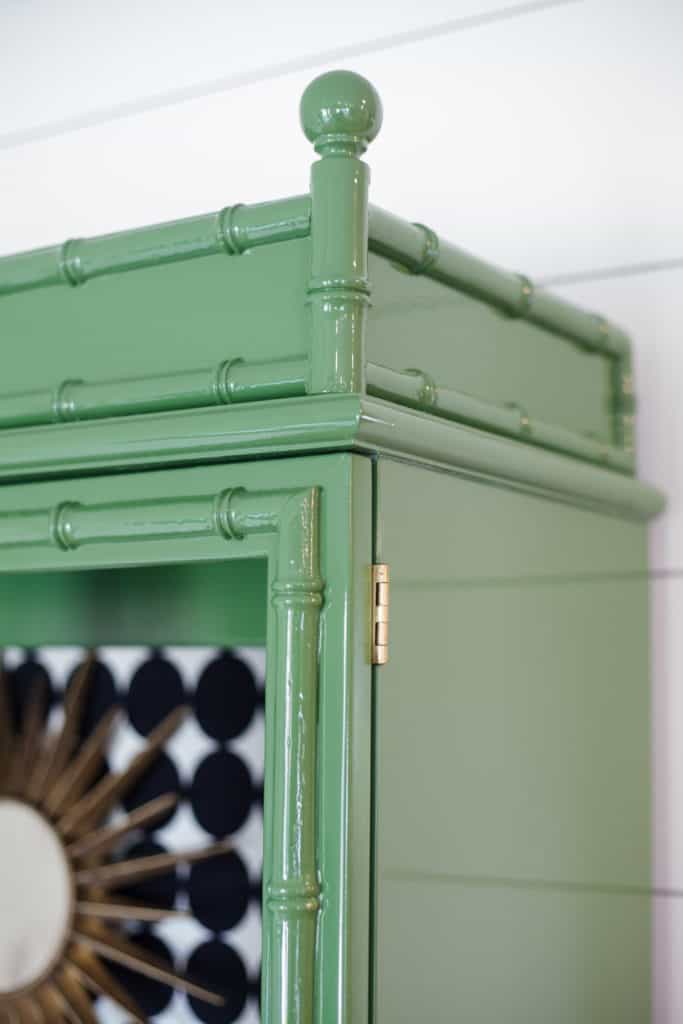
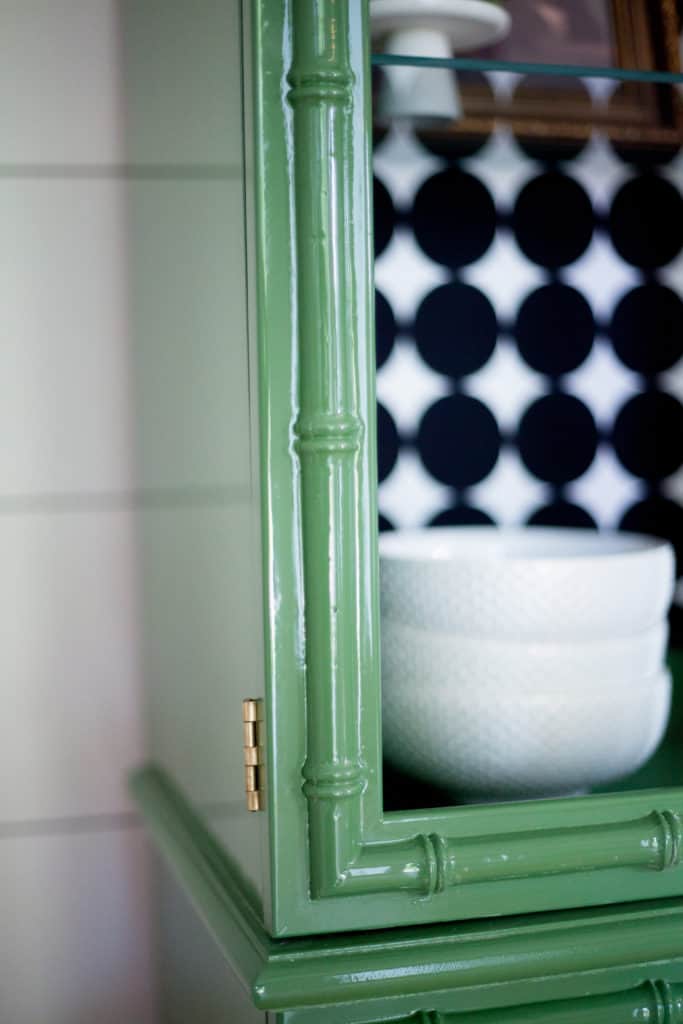
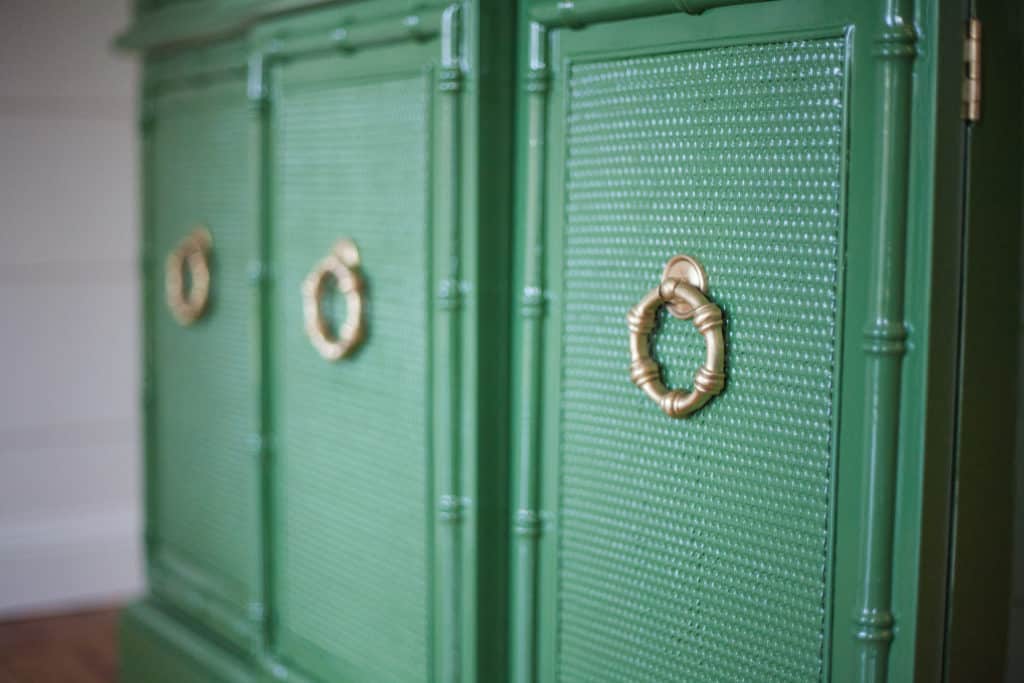
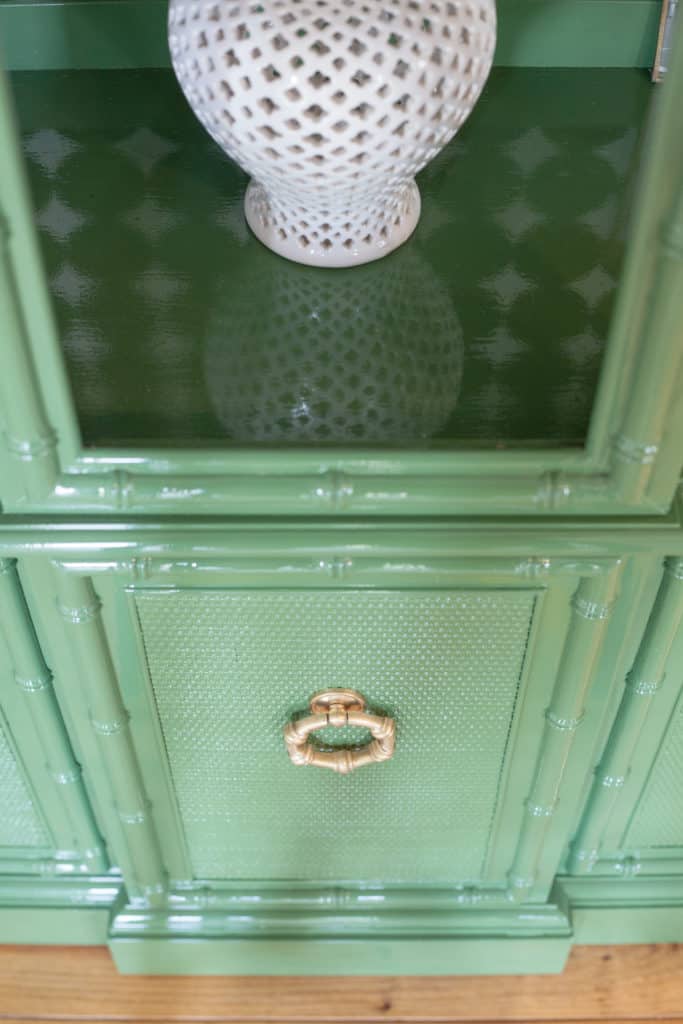
What paint did you choose?
I chose Fine Paints of Europe Hollandlac Brilliant WC 60 for this guy. Since today I am just sharing in-depth about the final stages of the process, I’m not going to go into great detail in this post about how to paint the furniture, but go to this post for a step-by-step tutorial on How To Paint High Gloss Furniture.
For now, I’m going to show you a step-by-step process of how to wet sand and polish an oil enamel paint finish.
Why should I use wet sand and polish?
You may be asking, “why is this necessary?”
The short answer is that it’s not necessary at all. You don’t have to wet sand and polish this paint in order for it to get a high gloss paint finish. Hollandlac Brilliant paint is the glossiest oil enamel on the market straight out of the can!
BUT
If you kinda suck at spraying oils paints as I do (or you’re inexperienced/just learning etc), you’re sometimes left with a lot of unsightly orange peel. And orange peel in a paint finish is the bane of my existence!
Also, since oil enamels have such a long dry time, dust and debris from the air lands in the wet paint leaving your finish with gross feeling particles on the surface.
Buffing out the finish will remove both of these annoyances leaving you with a perfect glossy paint finish that you will be so proud of!
So here we go…
List of supplies needed for a gloss paint finish:
- A DA (dual action) sander
- Hookit attachment pad for the sander
- Air Compressor with enough power and volume to run the DA sander (this is the one I have)
- Fine sanding discs in the grits of 1,000 1,500 2,000 and 3,000
- Bucket of clean water with a tiny amount of dish soap added
- Clean rags
- Electric buffer
- Buffing pads
- Rubbing compound and polishes
- Download my Glossy Furniture Guide for a full supply list of ALL tools, materials, primers, paints etc – It’s free…and amazing!
Note: Before I get into the steps of sanding, I need to tell you that this will only work on completely flat, smooth surfaces. You cannot use a DA sander on carved or intricate areas. On this piece of furniture, I only polished the vertical sides.
How to wet sand an oil enamel painted surface:
- Once your enamel paint has had ample time to dry and ONLY after it’s dry can you begin the sanding process. This particular piece had over 48 hours to dry.
- Fill a bucket with several inches of clean water and add 1-2 drops of dish soap to the water. The soap acts as a lubricant between the sandpaper and paint surface. Throw all of your sandpaper into the bucket.
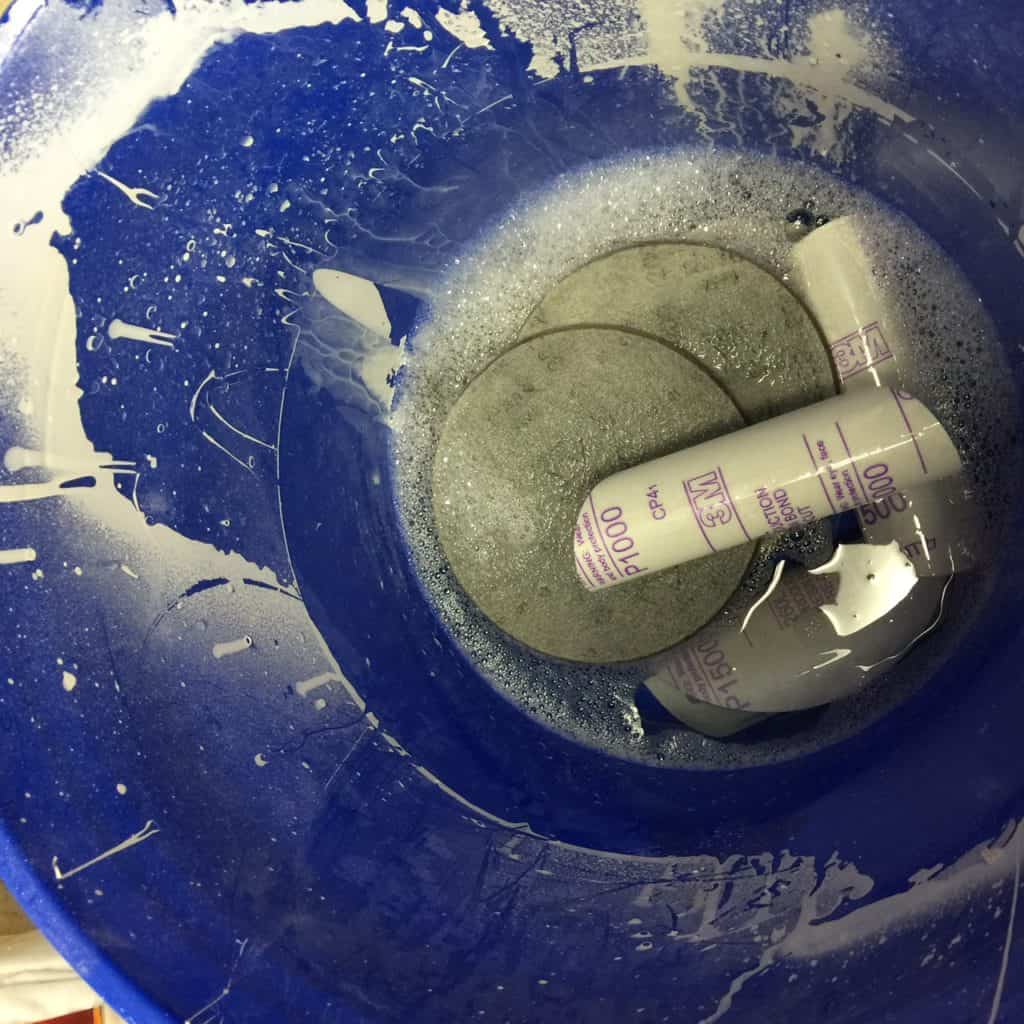
- Make sure the surface you are about to sand is free of dust and debris. Attach your 1,000 paper to the DA sander and lightly wet the surface.
- Set your PSI to 150 and begin sanding. It’s very important to keep your sander 100% flat on the surface at all times. Do not rock the sander up on the edge!
- Using even, medium speed passes, sand an area roughly 12″x12″. You will just need to use your own discretion to determine how long to sand.
- The easiest way to tell will be, if you’ve not sanded enough, the surface will still be very glossy and if too much, your primer will show through!! If you sand too much and your primer shows through, then you will have to completely stop what you’re doing and repaint! So, heed this warning, start out easy because you can always sand more.
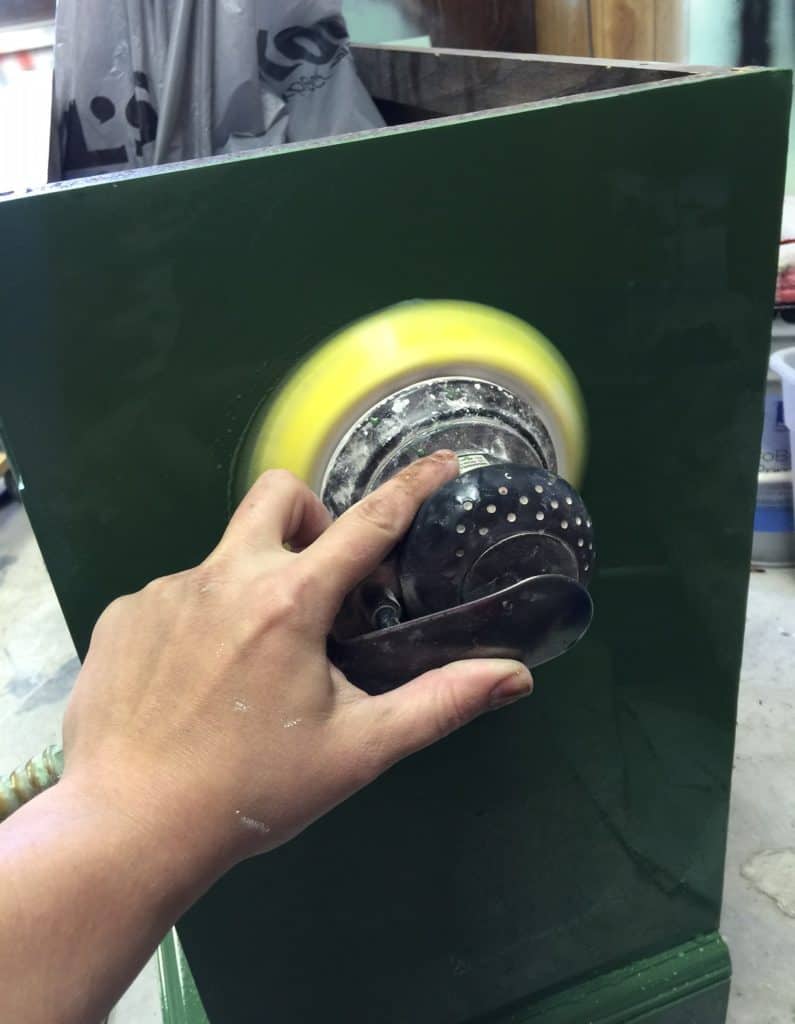
- Turn the sander off and wipe the area you just sanded dry with a clean rag. You’ll begin to see where the sanding has taken off the sheen of the paint.
- In this photo you can see the top area is where I have sanded the surface flat and the small “dotted” looking strip is where the orange peel is not completely sanded flat, and the bottom area hasn’t been sanded yet.
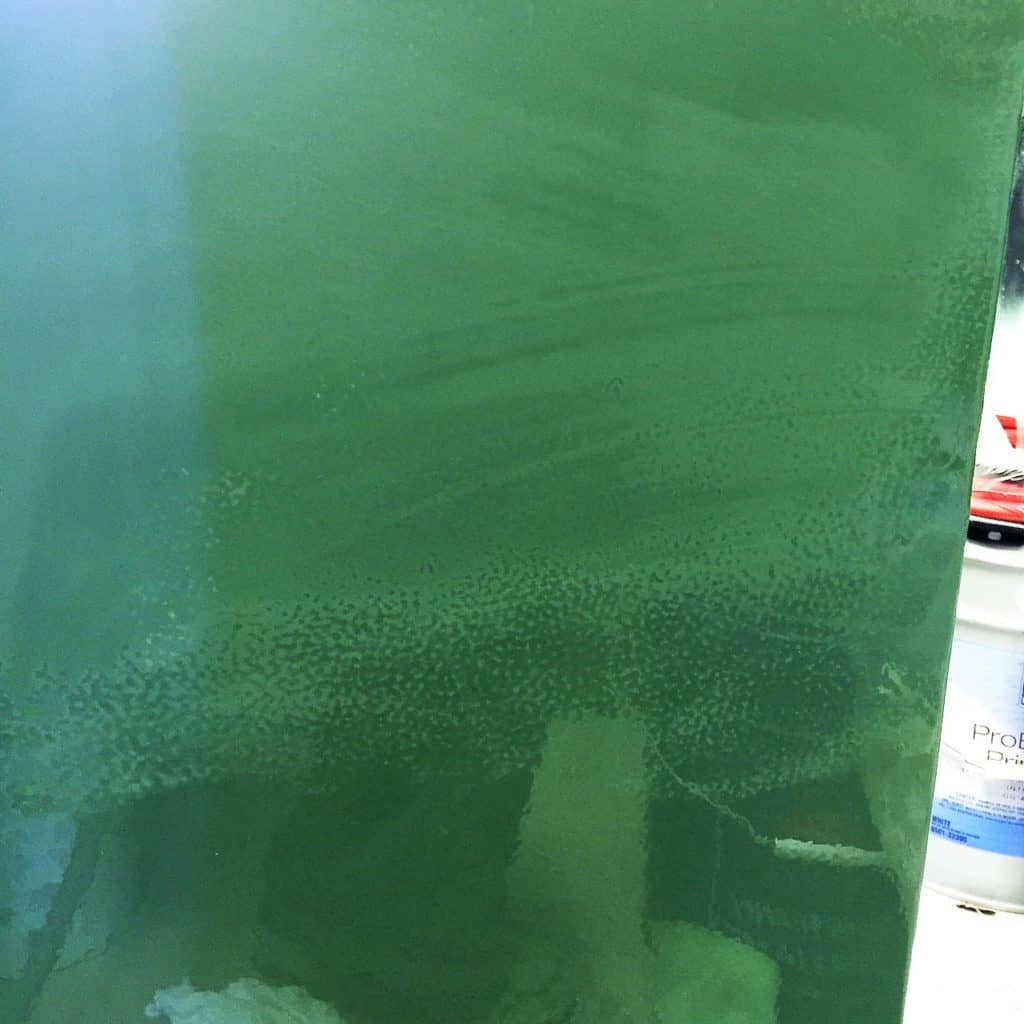
- Re wet your sandpaper and paint surface and keep sanding the surface until all of the sheen is gone and you have a uniformly dull surface.
- Change your sandpaper to 1,500 and sand all of it again.
- Change to 2,000 and repeat.
- Then, change to 3,000 and repeat.
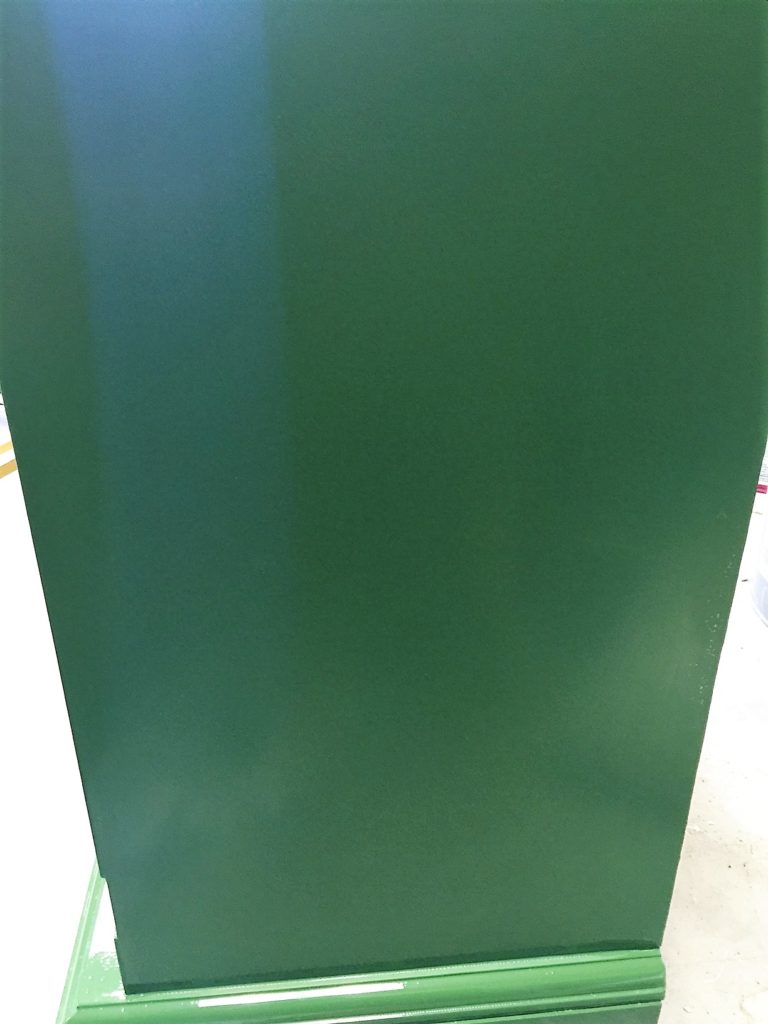
Dry all of the area really well then look at the surface from all angles. It should look all flat, even, and uniformly smooth and dull.
How to polish an oil enamel painted surface to get a high gloss paint finish:
- Ensure your piece is totally dry from the wet sanding.
- Attach a clean foam compounding disc to the buffer and add a small amount of rubbing compound to the disc or to the surface. Either way will work fine.
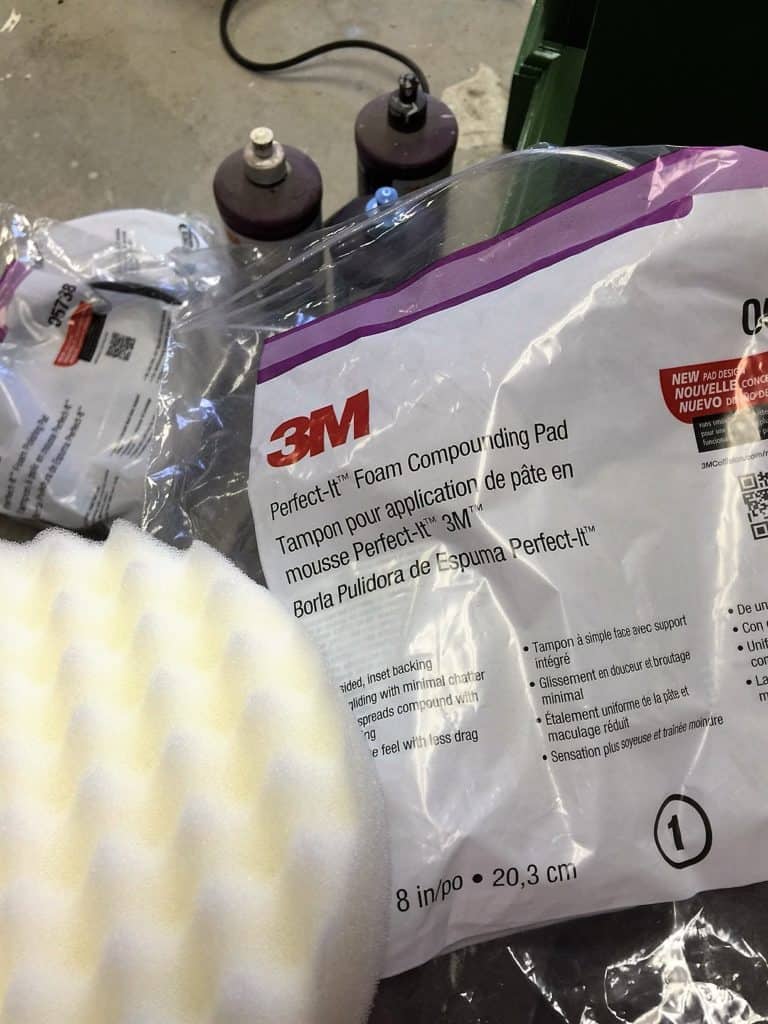
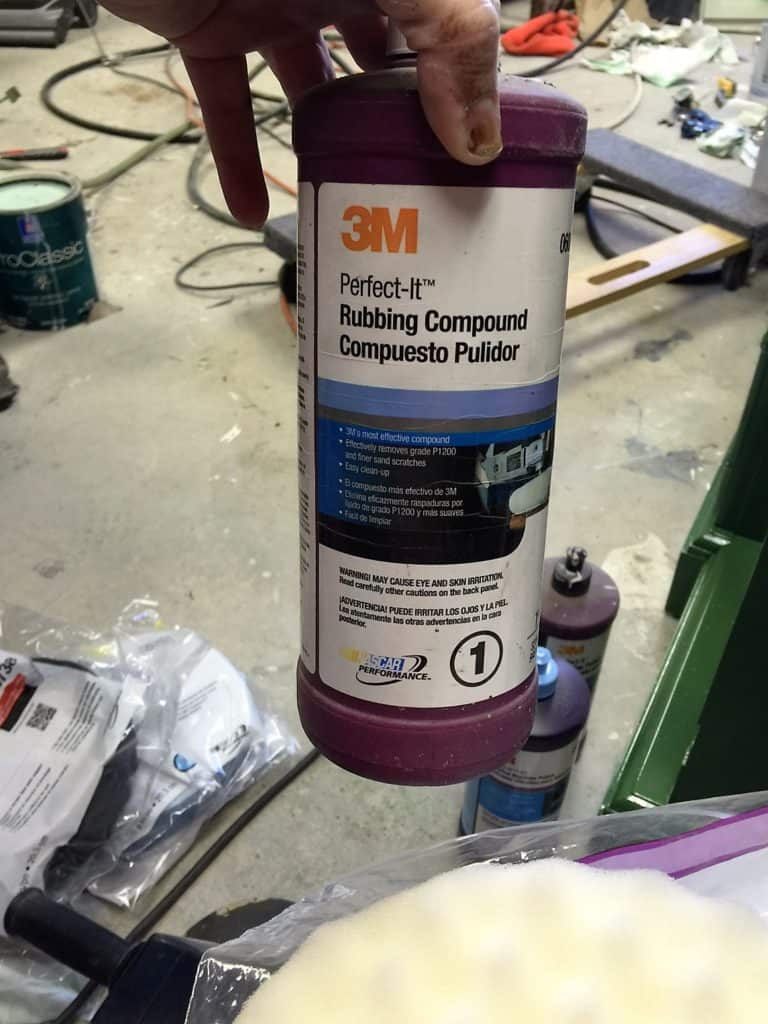
- Tilt the buffer on the edge, turn it on and make quick, even passes covering all of the surface area. Make sure you keep the buffer in constant motion because it will quickly create a lot of heat from friction and you can potentially “burn” through your paint surface. You just need to buff until your compound is gone.
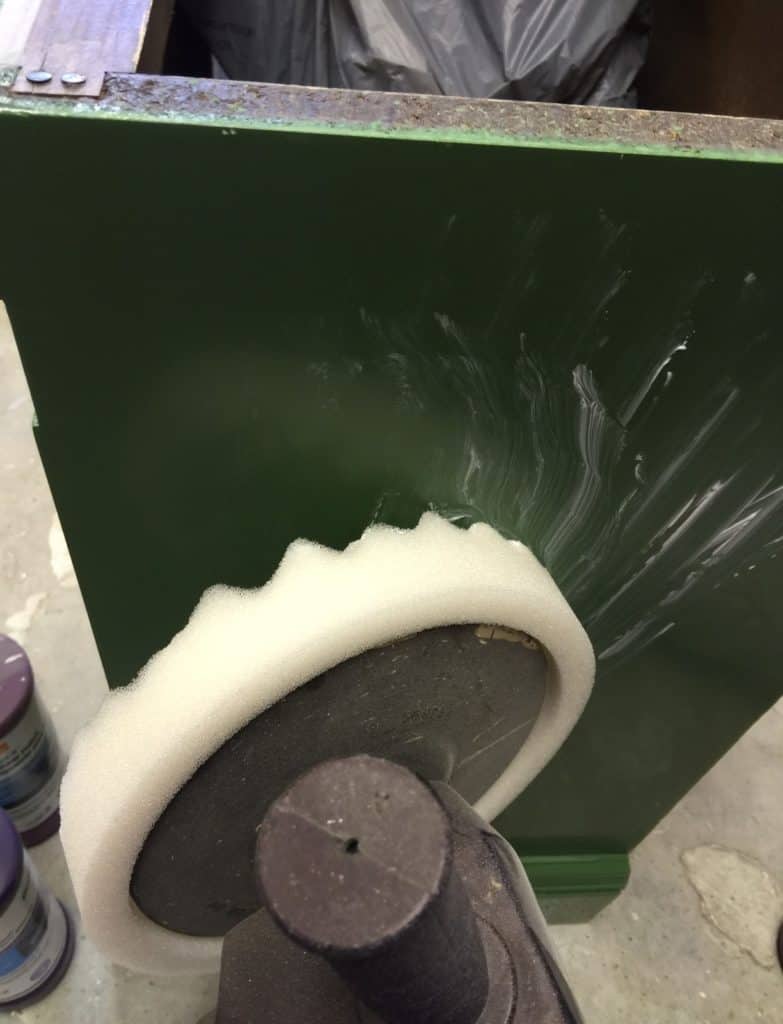
- Wipe any remaining rubbing compound residue with a clean dry cloth.
- Take off the compounding foam pad and put on the second, clean foam pad for your machine polish. IMPORTANT: Do not use the same foam pad for the different compounds!
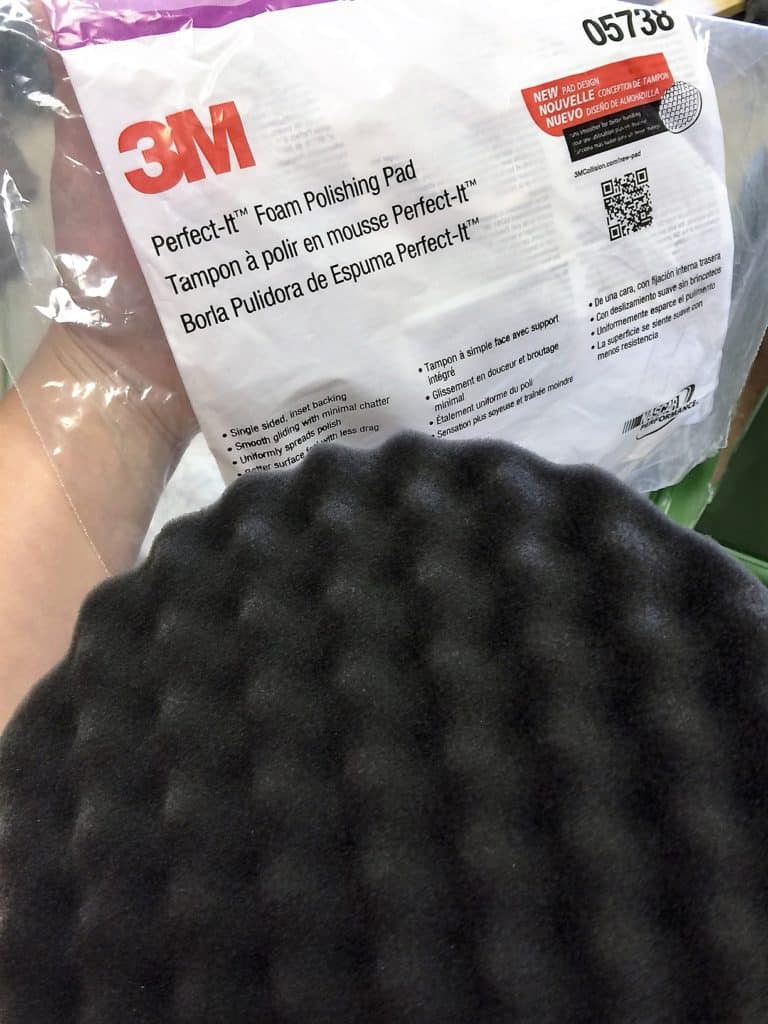
- Add a small amount of the machine polish to the pad or to the furniture surface.
- Follow the same steps as before with rubbing compound.
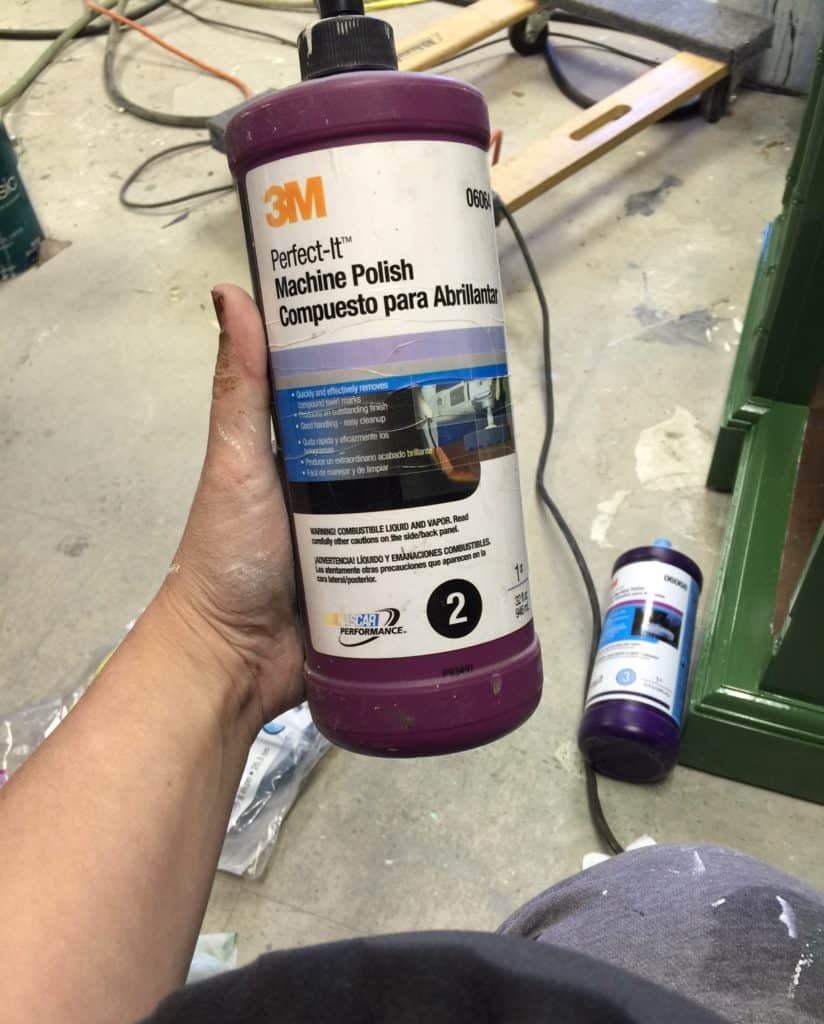
- Repeat the same action as I stated in step number three. After this step, you will immediately see the gloss is back!
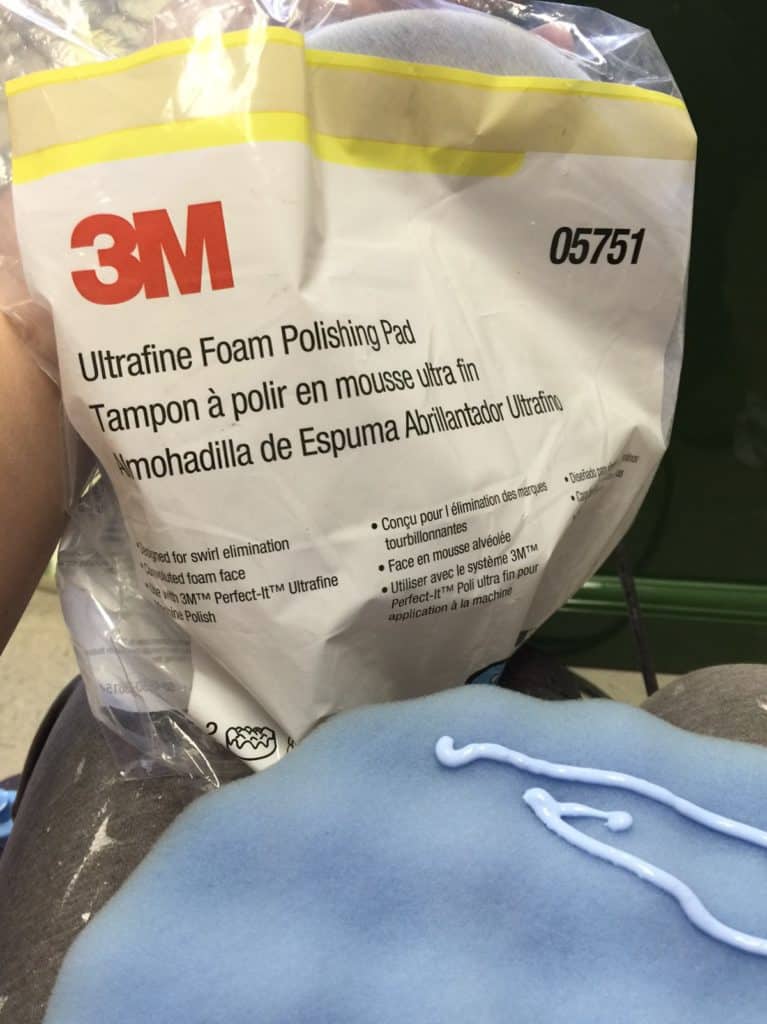
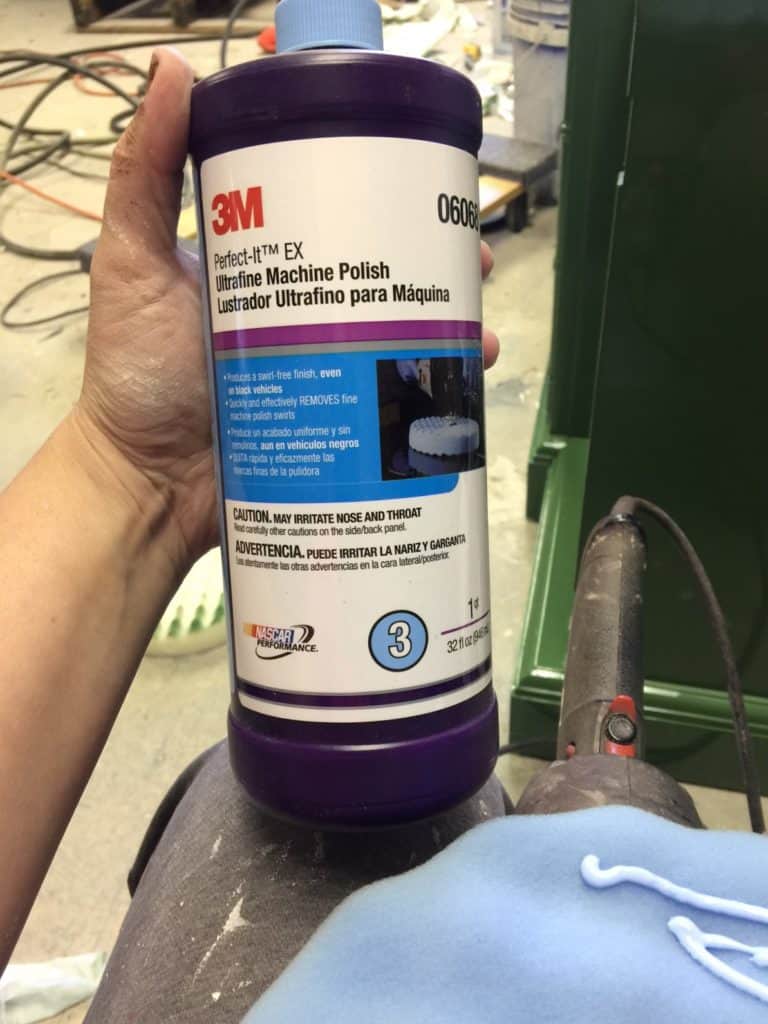
- The last step is to remove the second foam disc and attach a clean ultra fine polishing pad, add a small amount of ultra fine polishing c ompound and do the same exact process one last time.
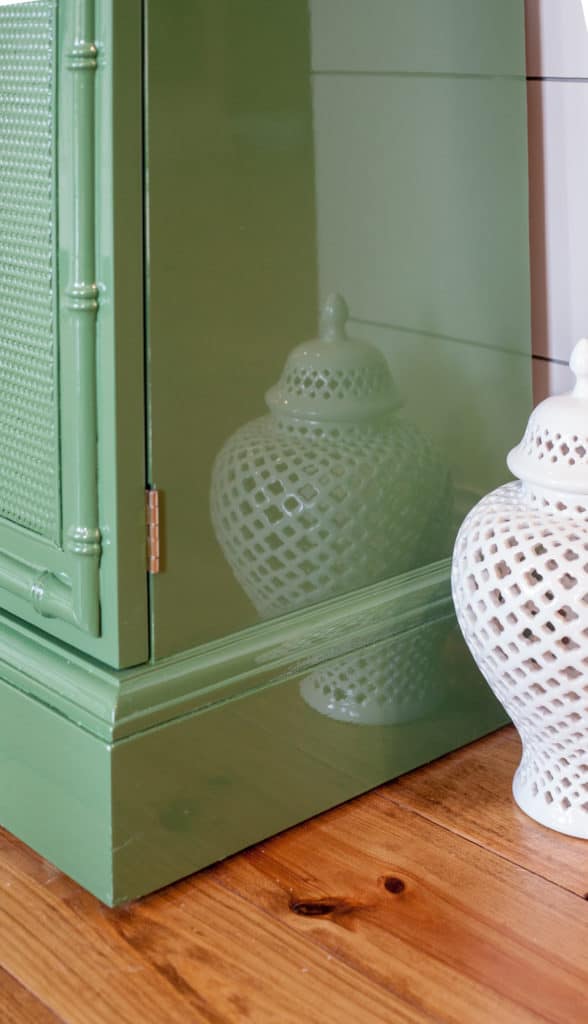
Okay! Once you successfully complete all of these steps, you should have an end result like this:
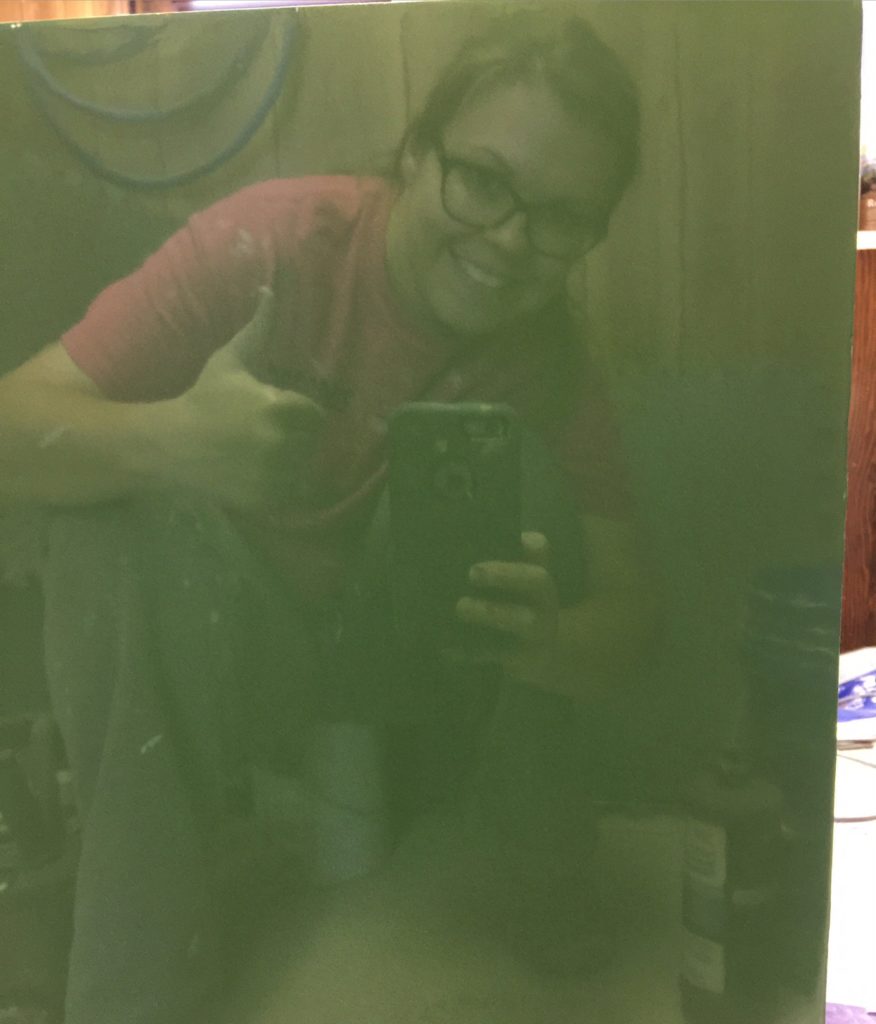

Please Note: The sanding and polishing does NOT change the color of your paint…the reason the color looks different in these two photos was only due to the lighting.

Anyone still reading?? Ha! As you can probably gather, this isn’t a project I would recommend for a beginner painter or a painter with only water-based paint experience.
There’s a steep learning curve, and I have a lot still to learn. My spraying, sanding, buffing, and polishing skills are so far from perfect!
You can check out the photos in this post to see some more after pics because I did this process to the Henredon Dresser.

Great post, Kayla. Very informative.
Thanks Annie!
I just tried buffing out a waterbased finish. Long story short… It is possible but the results will require much more work and if im gonna go through all that I might as well just spray oil! Love this post!!!
Hey Crystal! Thanks for your comment, that’s good to know! I really wouldn’t have expected it to work because latex gums up sandpaper so badly! Someday I’d like to hear your long story! Lol:) xo
yay KP!!! Now I can link up to my favorite part of painting with oil. I am ADDICTED!!! thank you so much for coming up with this process for your fellow high gloss addicts!! xo.
We are addicts for sure!
Wow! That is an amazing piece. I am still super-intimidated by this process, but I learned so much reading through your post. Thanks for sharing all of your helpful tips and for linking up again to Friday’s Furniture Fix!
I still get intimidated every single time i load up my paint gun and step into the booth!! True Story!
Kayla, Kayla, Kayla. You just take my breath away with your sprayed finishes. I LOVE the green and the black and white backing…..OH MY GOODNESS. Thanks so much for linking to Friday’s Furnitrue Fix…. what a shame if we had missed this beautiful piece. Sharing it out on IG and FB…. XO Susie from The Chelsea Project
Thanks Susie! Love your link party:)
WOW! What a breathtaking piece! It’s absolutely gorgeous and I love your choices for colour and design! I can’t believe the finish you achieved! Thank you for sharing the tutorial on how to do this! I am saving this post for sure! I hope you have a great day! If you would like to inspire some more, Making Broken Beautiful is starting right now over at The Curator’s Collection and I would love to host your amazing talent!
Smiles!
Terry
The Curator’s Collection & Making Broken Beautiful Thursday
http://thecuratorscollection.wordpress.com
Thank you!! I’ll be visiting that link shortly! Thanks!! xo
I saw this around somewhere and was admiring it so I am glad I found it again from the Friday Fix It Furniture. linky party. I love the green and how you took your photo from the reflection. I will always remember this piece.
Thank you Sue!!
Hello Kayla! I am featuring this amazing piece and awesome tutorial at Making Broken Beautiful tomorrow! Thank you so much for sharing your inspiration! I hope you come again! Have a great day!
Smiles!
Terry
What a great post! This is the process I use as well for our lacquer based paint finish. Its so rewarding! I did burn through a finish with my buffer once at about 1 am, so tired and i started day dreaming lol till I smelled something off. Oops.
Thanks for the comment Kimiyo! I admire your work greatly!!! Burning through the paint is too easy! I’ve done it too:(
Beautiful work and very helpful info. Do you live in Harrison Arkansas? My family lived there briefly when I was a little less than 2 years old.
Yes maam! Small world! Where do you live now?
This cabinet look amazing!! Green was the perfect color and I love the black and white backing! The glossy finish is awesome…great job!!
Thanks Keri!!
Hi Kayla,
I love your step by step guide and I’ll be trying it out soon. I’ve been so intimidated by this finish but this is giving me the courage to finally try it out.
One question, did you apply one coat of both the primer and top coat and no poly sealer?
Hey! It’s one coat of primer and two coats of color (48hours dry time in between). No top coat sealer! Good luck to you! Let me know how it goes:) xo
This is awesome – how do you sand the moldings and non-flat surfaces? Thanks! -Scott
Hi Scott, I didn’t do anything to the curved moldings. Just polished the flat surfaces. Thanks for your comment!
Nice! However, I’m a little puzzled by the color, which seems much lighter than my paint-chip of WC60. Are you sure that’s the shade you used? And, if so, is that really how the green looks or is just the lighting?
Hi Lilianne, yes that’s the color I used. Perhaps it’s just the lighting making it look a little off from your chip? But one thing about high gloss, it’s extremely hard to photograph because of its reflective nature. But yes, the color in the photo is pretty true to real life because the color was not edited in any software after being taken. Hope this helps! xo
Thanks, Kayla. That’s very helpful. I was planning to use this on the elaborate kitchen moldings of a 1804 historic home. I was worried it was too dark from the chip, but your pictures have convinced me that it should be perfect. Love the glossy finish…I admire your perfectionist spirit.
Beautiful work and thanks for the information. Can you share where to get the black and white backing?
Hi Carlee, thank you. The fabric came from a local fabric store called FM Store in Springfield MO.
Unless I scrolled past it, I didn’t see any info on the fabulous black & white background you used on the back of the cabinet. Is it wallpaper or something else? It’s exactly the color and design I need for the back of a bookcase if you could give me pattern & company info so I could order it.
Love your work and most informative tutorial.
Astor
oops ! just saw my question in the last comment ~ sorry! So it’s fabric and did you apply it with spray adhesive perhaps?
Thanks….
Astor
I actually just stapled the fabric to the back so that it would be easy to change in the future if my customer felt the need! But spray adhesive or mod podge would work! I believe this fabric’s name was “mod dot”. See if a google search will yield anything. Good luck to you!! xo
Thank you so much for this post! It has saved my kitchen cabinet renovation! After getting mad at my sprayer for not laying down the perfect glossy coat the first time I realized I must be doing something wrong! Your finishing steps have made all the difference in helping me finish my project and get gleaming white glossy reflective cabinets, what I was after in the first place! I was completely demoralized and now I’m very happy with the final product, thank you!!
Such a beautiful finish. I found someone on Etsy who’s using your image: https://www.etsy.com/listing/596455572/stanley-bamboo-china-cabinet-custom?ref=shop_home_active_31&pro=1&frs=1.
I use to buff cars in my early 20s, I got the bug, got really good at it.. I could wet sand a car’s hood to the point of mirror finish. Water would run off it because there was no micro hills and valleys to stop it’s decent. Became a cabinetmaker only to see wood finishes as an incredible extension of previous work. Sounds strange to say but sanding was satisfying when you got to this level. You could go into a trance wiping away the orange peel. Watching the water roll off the panels with acceleration. NO RESISTANCE> So I wanted to add something to this conversation. Flatten out the paint, lacquer, poly or what ever you use for finish. twelve thousand sandpaper or whatever. Make sure you lay on the paint so you can sand it down. The tiny details matter when it comes to this finish product. Spend the time to do it right. Jagged edges can be sanded, just takes time. I oil sanded a quarter sawn white oak small boot box with 1200 wet sandpaper. I can’t tell how blown away people were with the finish. Like silk, yet strong solid wood. The depth of the flecks are incredible and so worth the time. So my advice, youtube the process for your project and do test pieces. Get familiar with it. Experiment and try new processes. If this is something for your own enjoyment, you will smile and feel warmth from every project you slave over. I made myself a walnut and white oak bed. And every night when I slip into it, I grin at how much I love it.
All of your pieces, are nothing short of show stoppers… my fave is the green faux bamboo china cabinet! I too, share your love for faux bamboo-as in when I see it on furniture, picture frames, etc I want to do a back flip but instead, I end up buying more than I really need. I’m obsessed.
This has little to do with these furniture stories but do you have an in OR can you tell me if any place that sells faux bamboo trim?
I’m so glad I stumbled across you and your blog, on Pinterest. From one faux bamboo fanatic to another, I can’t wait to see all the exciting things that your blog will present us with in the future…
Hi Tanya!
Check out this site for trim! Thanks for being here xo
I learned so much from this post. For the initial paint, can I apply it with rollers and brush to get the same result? I looked at HVLP guns however they were quite expensive.
You can roll then tip off, yes. It will take some practice to get it to lay out flat, but you can achieve an amazing brushed finish, yes. Might want to check out this post. Best, Kayla
Hi Kayla, I ran across this post while searching for a solution to our painting problem. (You did gorgeous work on this china cabinet!) We painted a wood interior door with Sherwin-Williams Urethane Trim Enamel. It’s a water-based urethane modified alkyd resin system. We have a flawed area because we had covered one side (already painted) with plastic to protect it while we worked on the other side. Although we waited over a week after painting before covering that side with plastic, the plastic left marks on one area. Have you ever worked with this paint? I wondered if your polishing method might work for this situation so we wouldn’t have to repaint that side of the door. Sherwin Williams was noncommittal–said we could try to buff out, but touch-up would be needed and possibly a complete repaint.
Hi Susan, I’m sorry to hear about your paint issue. I know exactly what you’re talking about because I’ve had this same thing happen more than once. It is so frustrating.
I’ll be perfectly honest with you – it’ll be one million times easier and faster to re-paint the door. I realize this isn’t what you wanted to hear, but trust me on this one. Best of luck to you! xo
Hey Kayla – first off, your posts have been a godsend as I work through the undertaking that is refinishing a desk for my wife in Hollandlac Brilliant for the first time. If I only knew…woof.
Anyway, I’m waiting for my second coat to dry (I’m rolling and backbrushing) and already have noticed some solvent pop, minor hairs/debris, etc. I figured I’d just let it go and be happy with 80% perfect, but then I ran across this post of yours…I’m now determined to see this through to the bitter end with buffing/polishing!
My two quick questions are – is it even possible to consider doing the buffing (not polishing) by hand?
If not, is the DA sander a necessity or can I get by with a random orbital?
Thanks again for all your help! Really looking forward to being done with this 😂