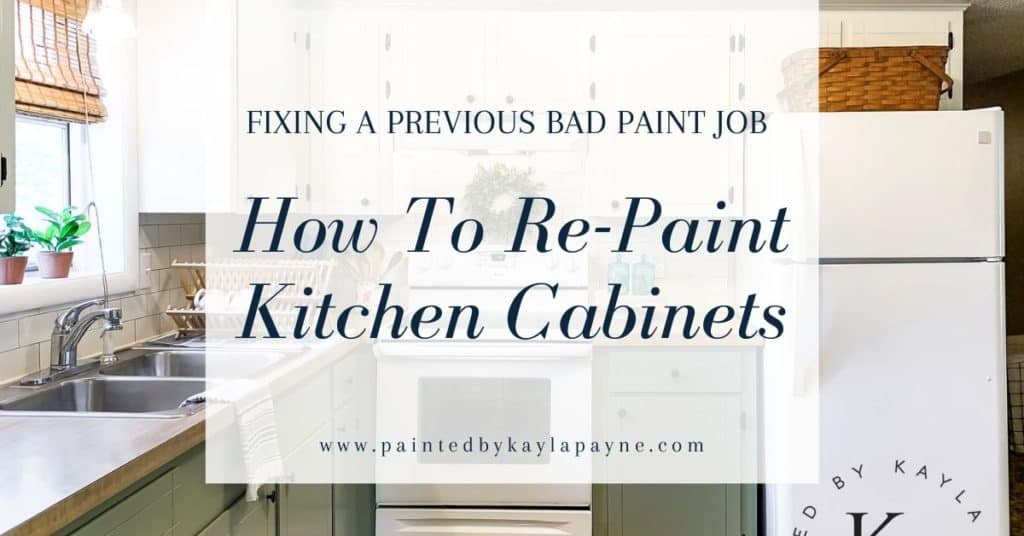
If you have badly painted cabinets in your home that you’re sick and tired of looking at, you don’t have to just put up with them. You can totally make them look (and feel) better! In this post, you’ll learn how to repaint kitchen cabinets
First, Meet Kaity And Her Kitchen!
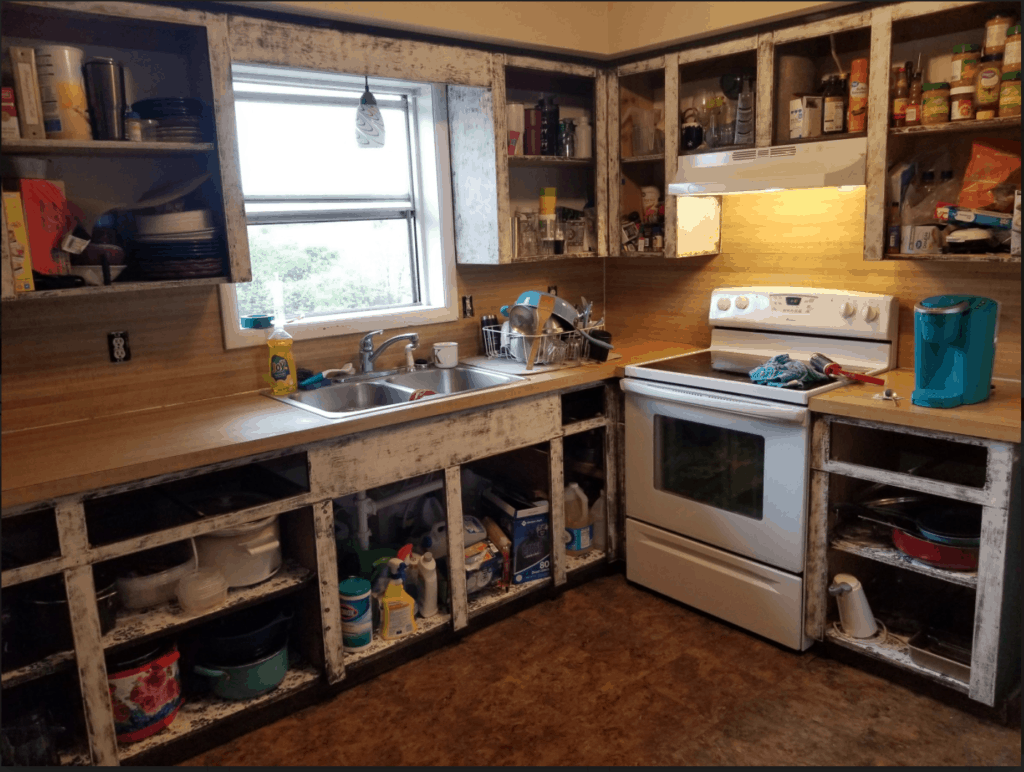
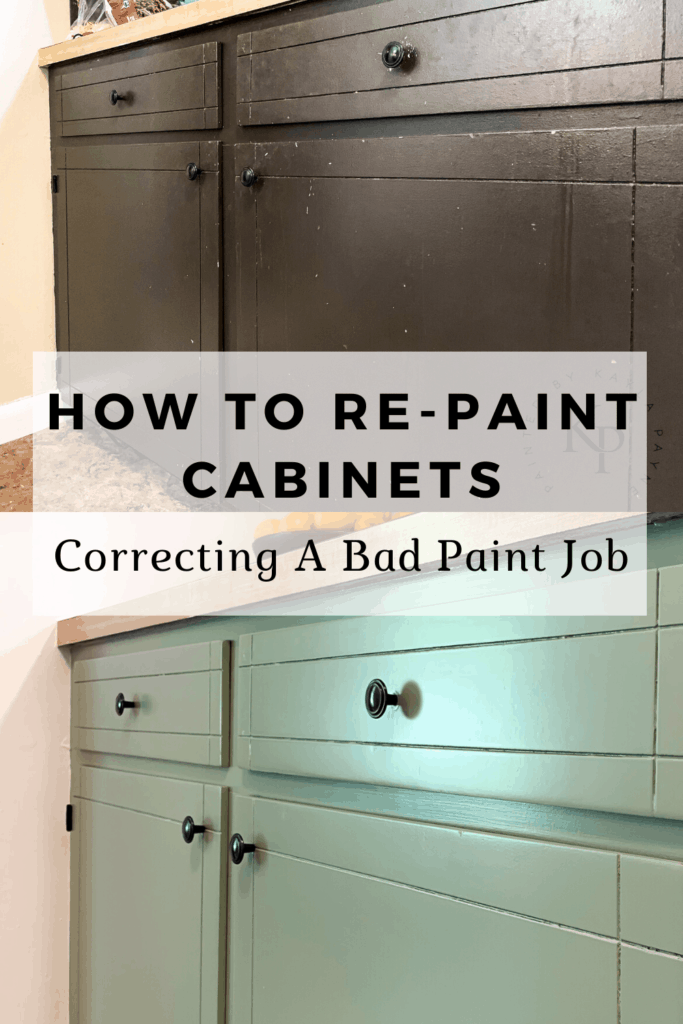
Here’s a before photo of Kaity’s kitchen (Kaity is one of my lead painters with me at Painted By Kayla Payne LLC). The cabinets in her rental home were badly painted before she moved in, and she’s been hating it for years! With our schedule being slower right now due to quarantine, we had extra time on our hands which made this the perfect time to re-paint them – And yes, her landlord gave us the Okay to do so!! So thankful🙏🏻
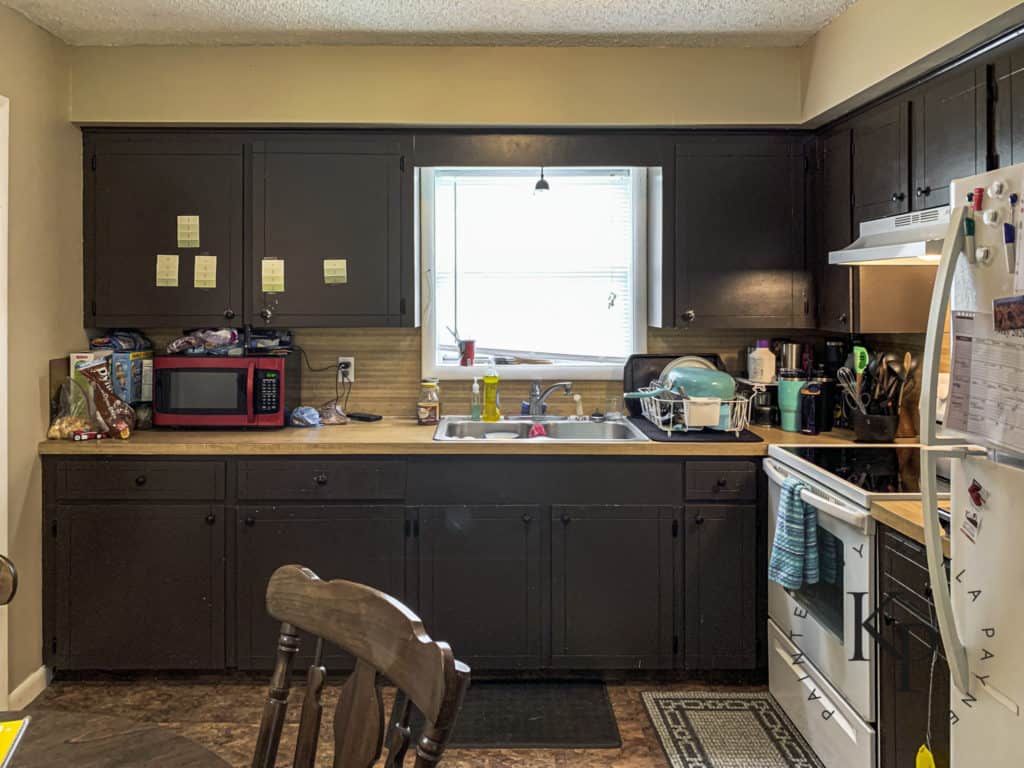
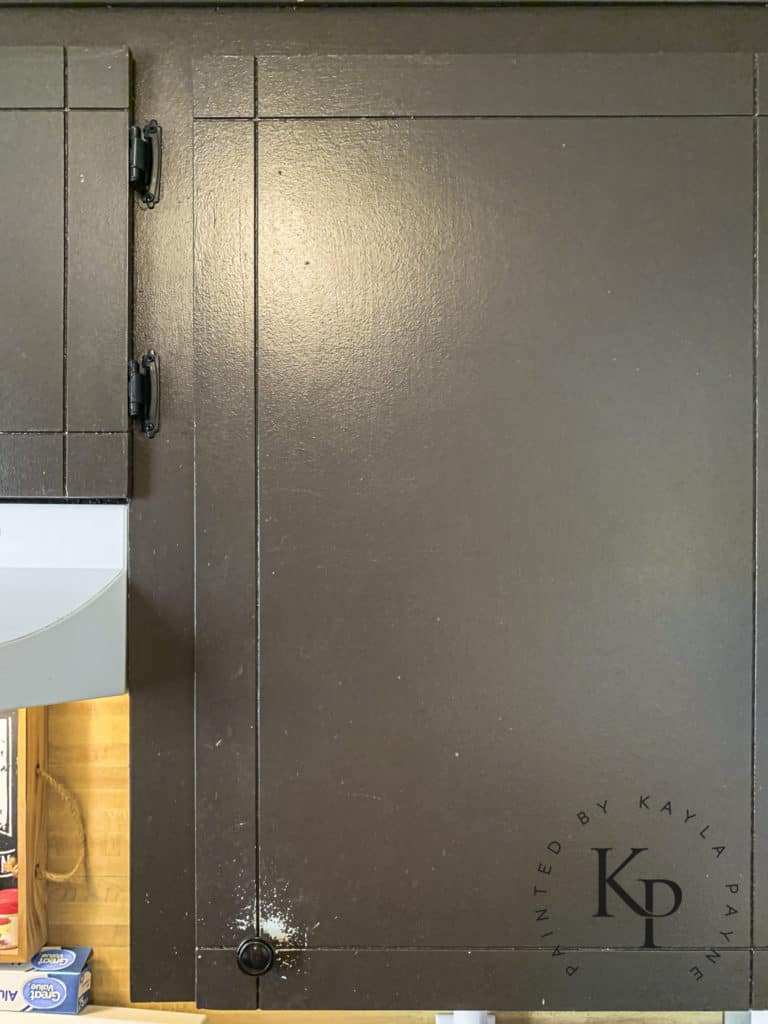
As you can see from the above photos, the paint job was less than stellar. On top of feeling sticky and easily scratching off, the paint was very dark and sucking all the light out of the room.
How To Re-Paint Kitchen Cabinets
If you have badly painted cabinets like these above that you want to re-paint, the main thing you need to know if this: As much of the existing paint as possible needs to come off.
Removing The Existing Paint
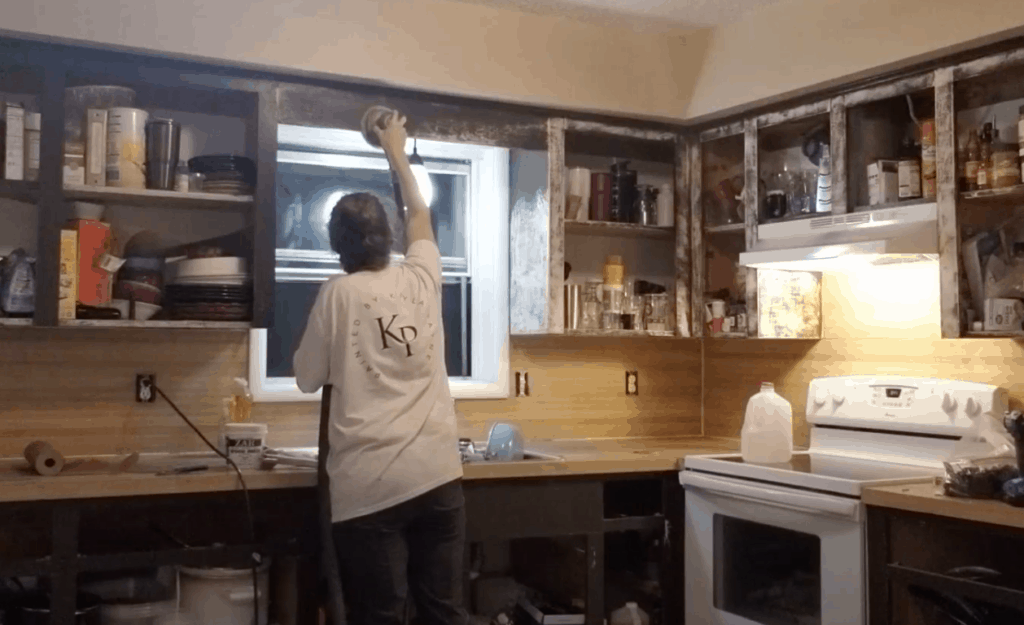
I personally always try to SAND off the existing paint instead of using chemical paint strippers. I loathe using chemical paint strippers and will only resort to using them in a worst case scenario.
A worst case scenario would be if sanding the existing paint is just gumming up your sandpaper and not coming off. In this case, you’d really be forced to resort to using a chemical stripper.
IMPORTANT NOTE: If you know (or even have a tiny suspicion) that your cabinets were painted any time before 1978 you need to do a lead-based paint test. These are super simple to do so don’t get overwhelmed at the mere thought! You can buy a test HERE, or anywhere paint is sold. If the test is positive, then DON’T proceed with sanding, scraping or stripping. Call a professional.
Always keep in mind – Your new paint job will only be as good as what’s underneath it, so getting the old junk off is very important!
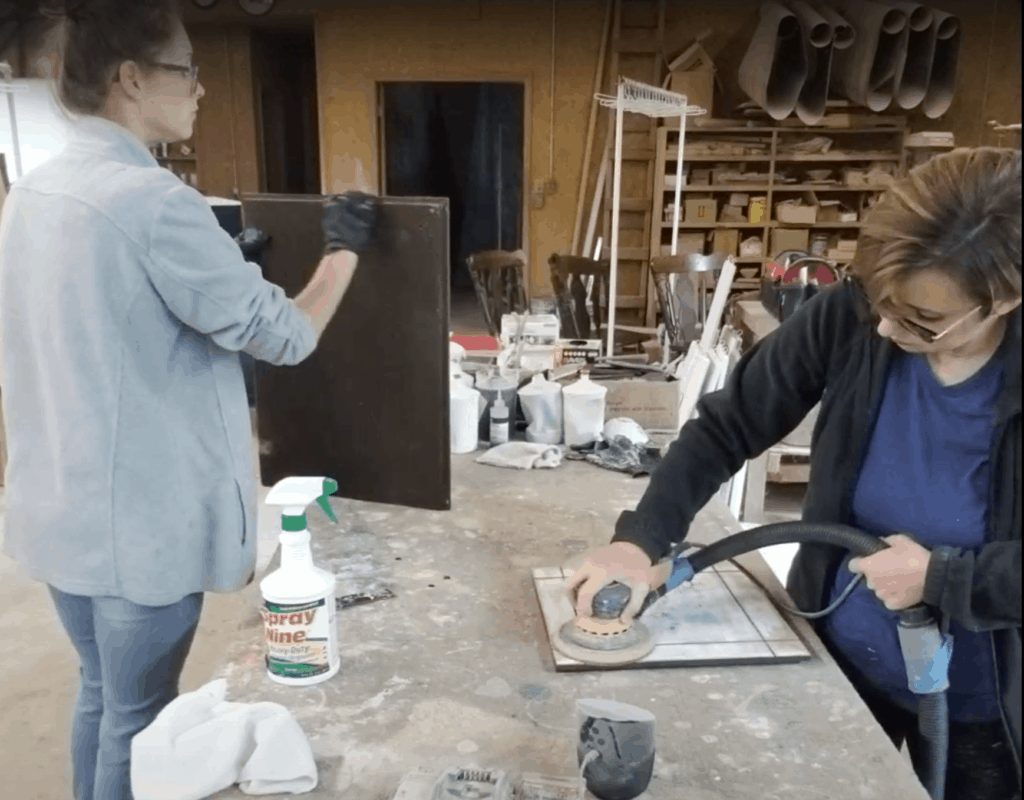
For sanding, we used 100 grit sandpaper on our electric orbital sander to remove the layers of bad latex paint that was gunky and heavily textured. The paint looked like it had been applied with a broom, I swear. You’ll need an electric sander for this, don’t even try to do it by hand.
Starting Fresh With New Primer
Once as much of the old paint as possible is removed and there’s no peeling or chipping, you are ready to move onto priming
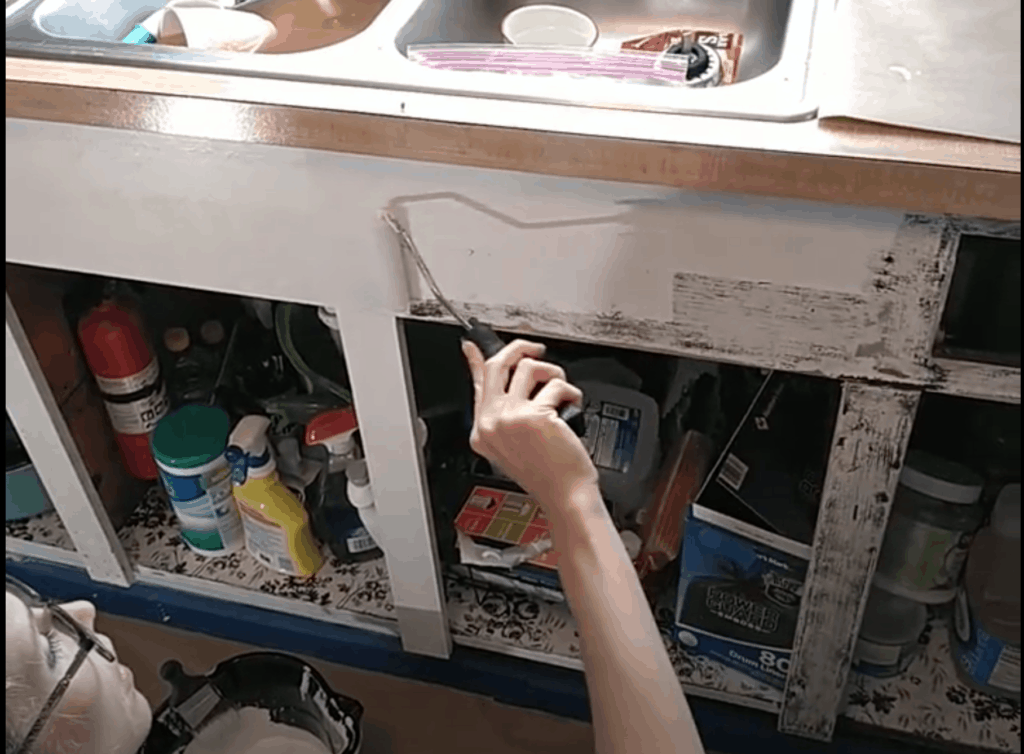
For this step, we sprayed oil base primer onto the doors/drawers and brushed BIN shellac base primer onto the cabinet frames. Why did we do it this way…?
Well, ideally we would’ve used oil base primer on the frames inside her home too, but Kaity opted to use BIN shellac because it dries faster and is less smelly than oil. That’s really the only reason.
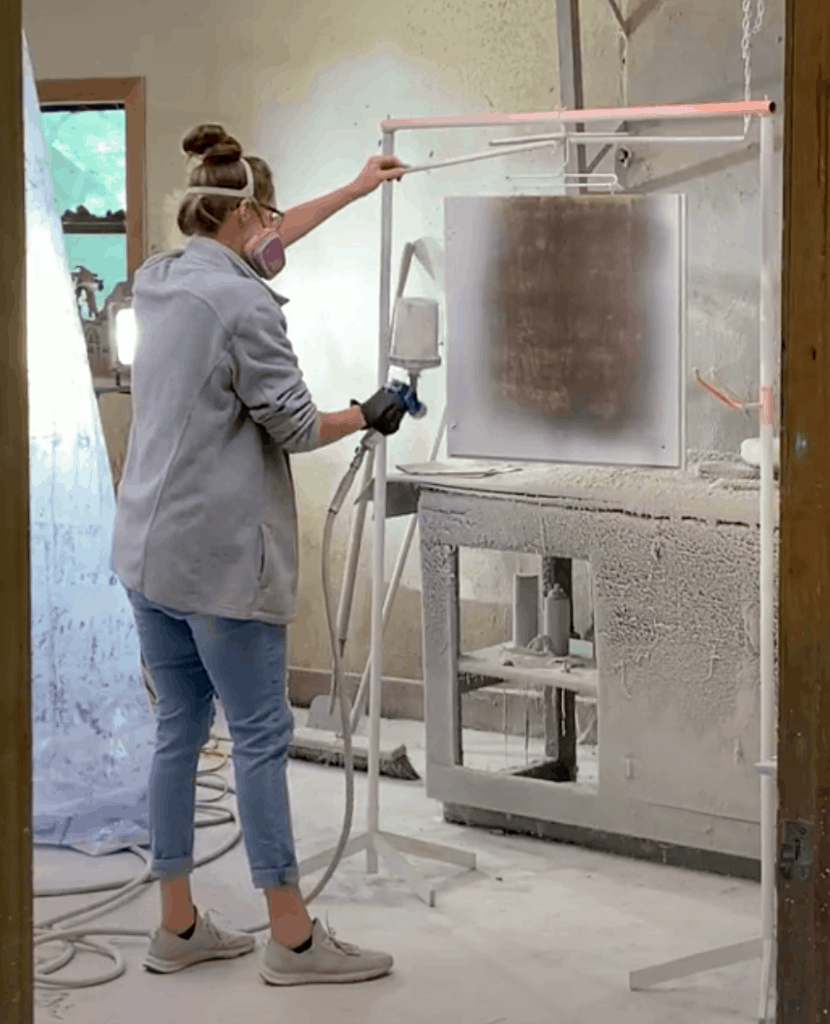
We never use water based primers. The adhesion and stain blocking properties that oil base and shellac base primers offer is far superior than those of water based primers. I know they can seem intimidating if you’ve never used oil or shellac, but trust me on this, they’re not scary and you’ll have a far more professional job if you use one of these options as your primer!
👉🏻 By the way, if you would like to download a FREE supply list filled with all of the tools and products we use in our cabinet painting shop, you can do so right here🙂
Now For The Fun Part: New Paint!
After the primer thoroughly dries and you lightly sand it smooth, then comes the most fun part, painting!
Kaity chose a gorgeous shade of sage green for the lower cabinets. It’s Sherwin Williams Green Onyx SW 9128. And luckily we had paint leftover from another job that was perfect for her upper cabinets, Sherwin Williams Ivory Lace SW 7013.
Here’s where things could get a little confusing… On the upper cabinets we used a brand of paint from PPG called Breakthrough 250 and on the bottom cabinets we used a different brand of paint by Benjamin Moore called Advance. The only reason we did this is because we already had the white color leftover from another job we did for a customer. So we only had to buy the green paint for this project, and we chose to buy Ben Moore Advance. Both brands of paints are good, and I recommend them to homeowners and DIYers.
Here’s another thing that could be a bit confusing too… The colors we chose are by Sherwin Williams, but we did not use paint from Sherwin Williams.
You can choose any color from any brand and have it mixed into any other brand of paint. So if you want to use a COLOR by Behr or Valspar or Sherwin or Farrow & Ball but you want to use PAINT made by Benjamin Moore, then you can tell the Ben Moore store which brand and name/number of the color you want and they likely have the tint formula in their computer system and can match that color for you.
OR you can physically take any paint color card from any brand into any store and the clerk can then put it into their color reader and match it that way.
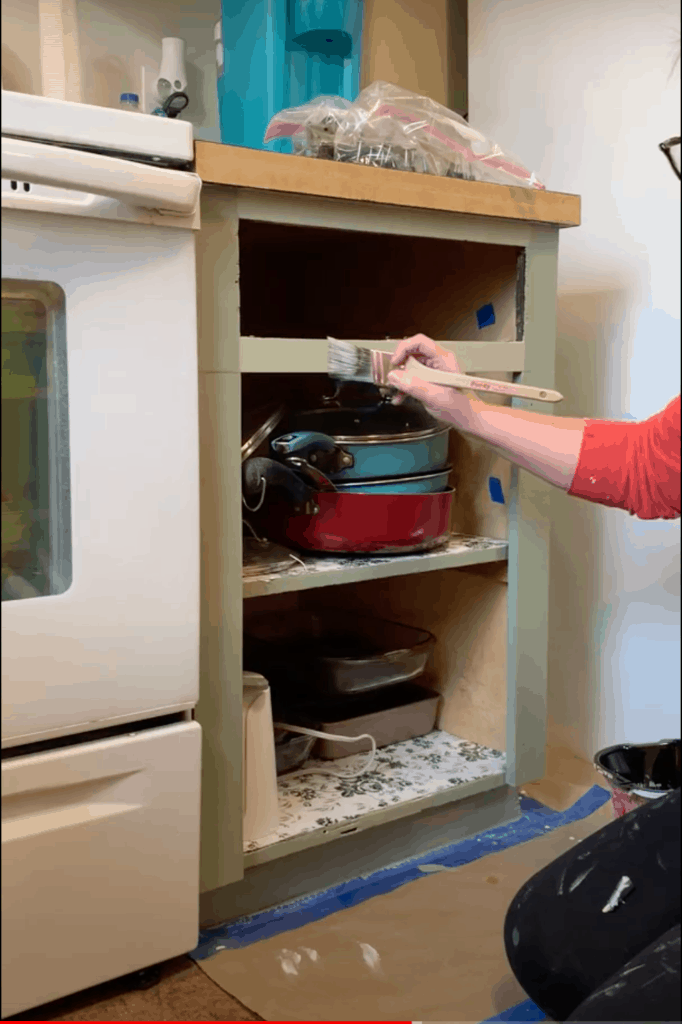
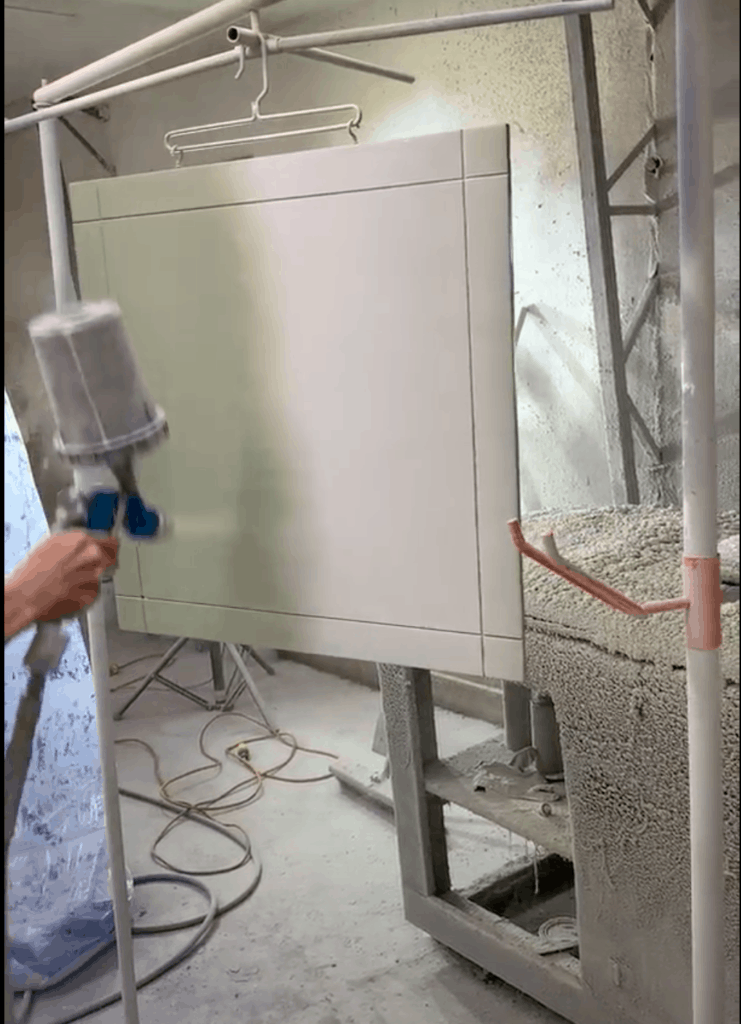
After two coats of paint (being sure to follow recommended re-coat times that are listed on the paint can) it’s time to put everything back together!
Reinstallation: Seeing Your Hard Work Pay Off!
Once the paint is fully dried, it’s time to reinstall all of your pieces and take your after photos🎉
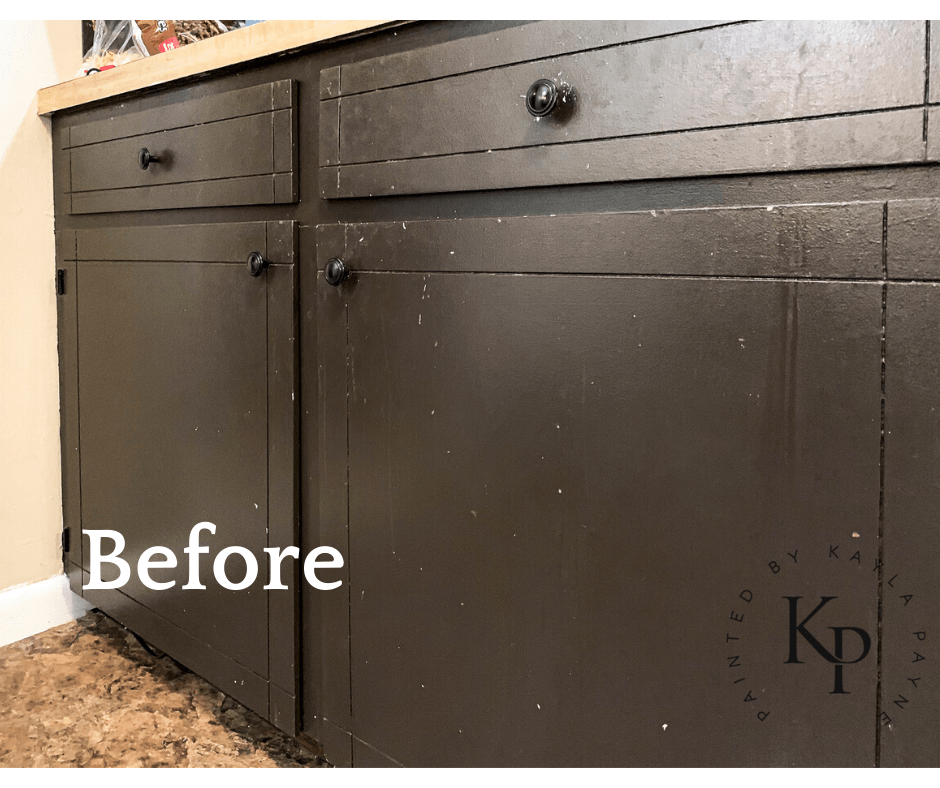
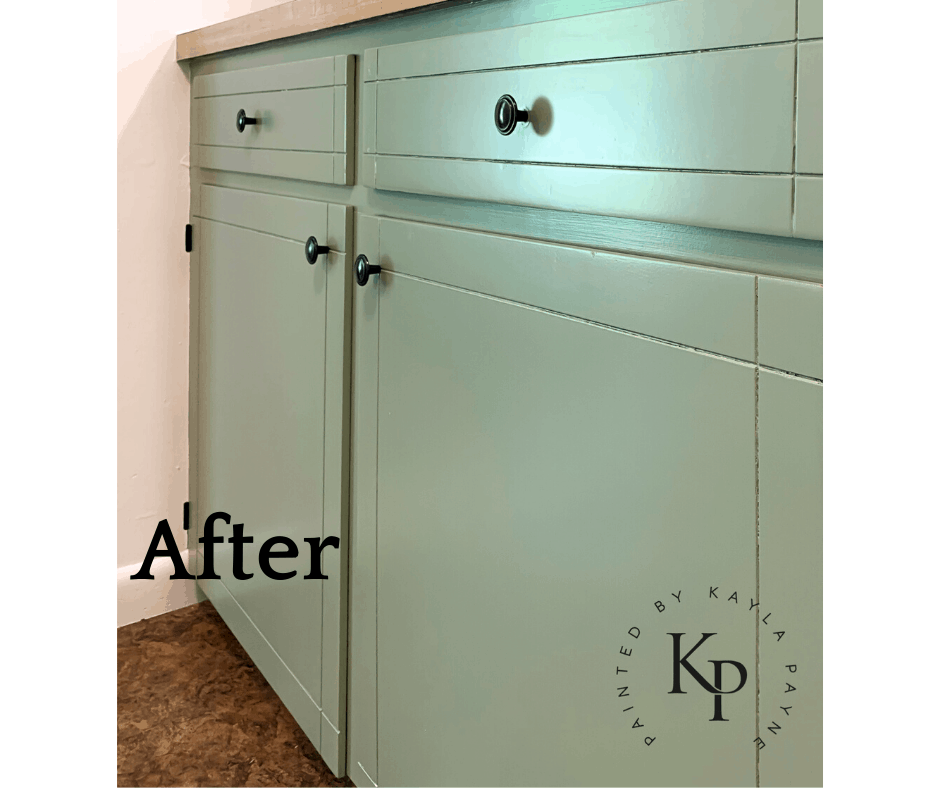

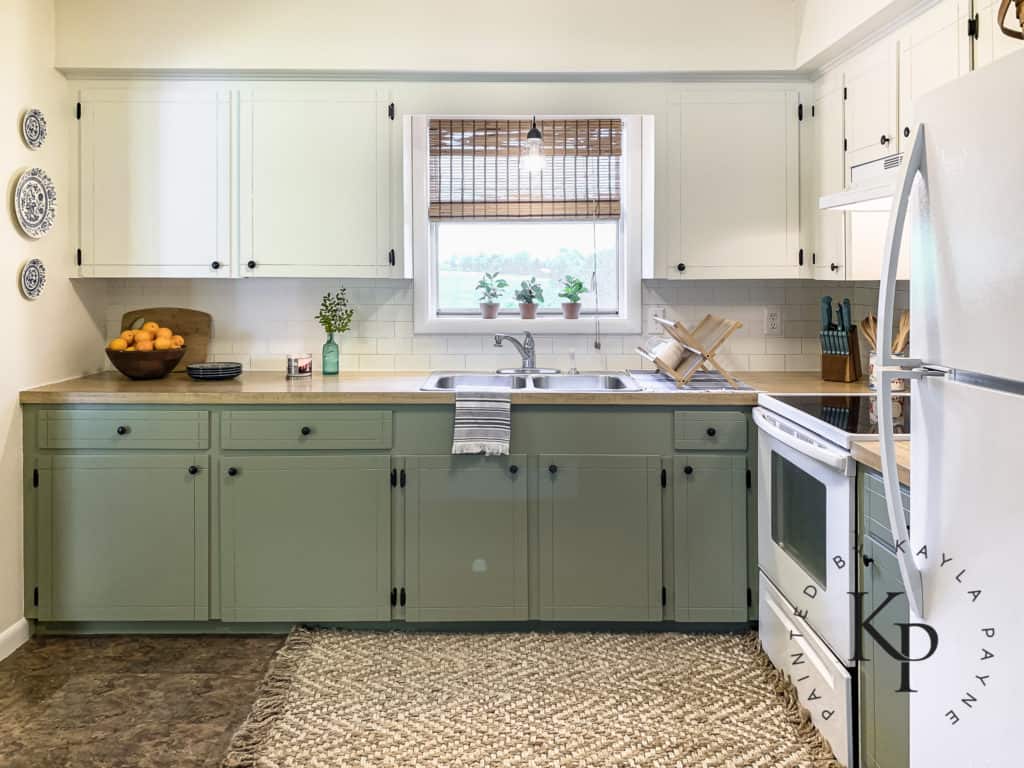
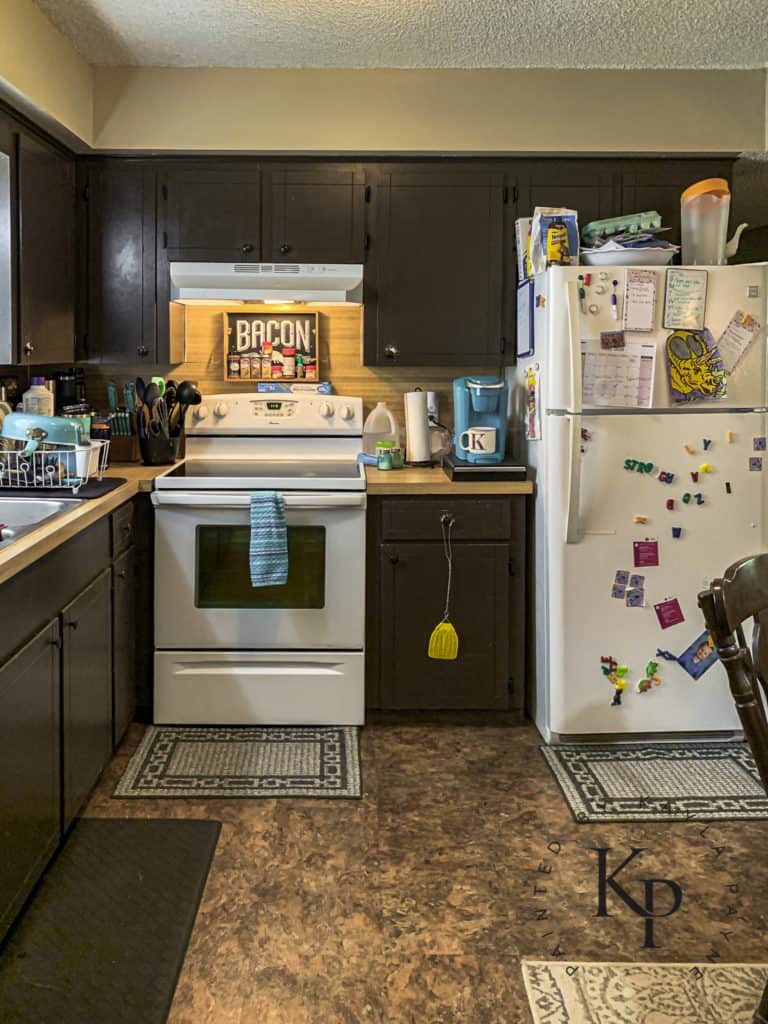
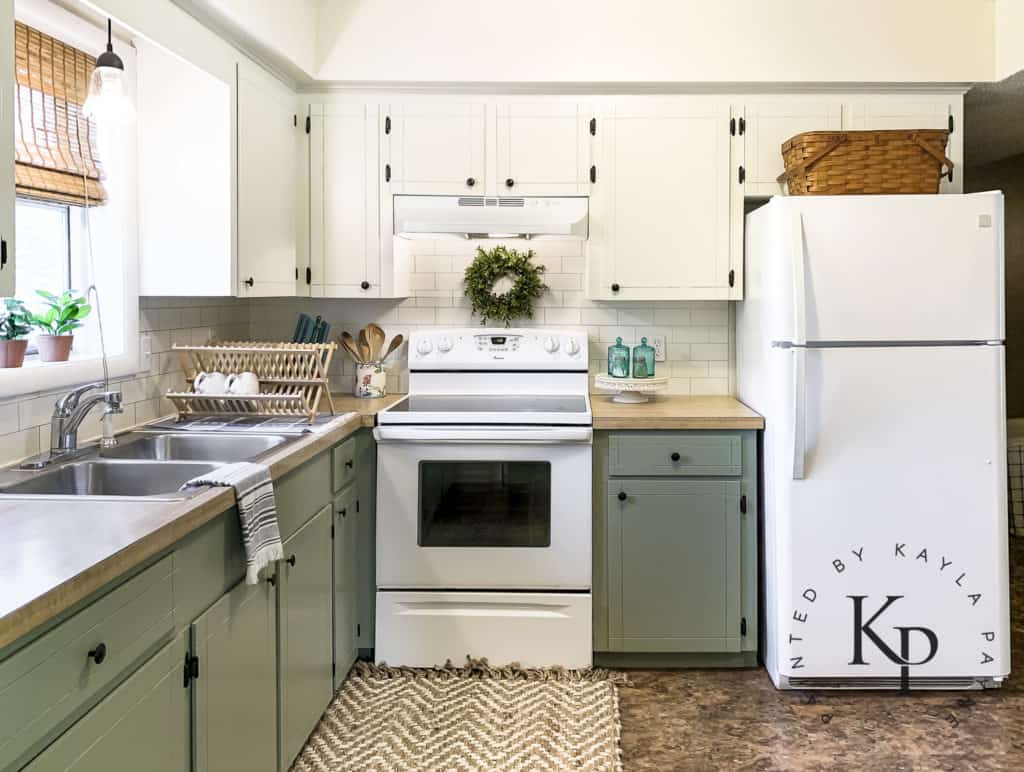

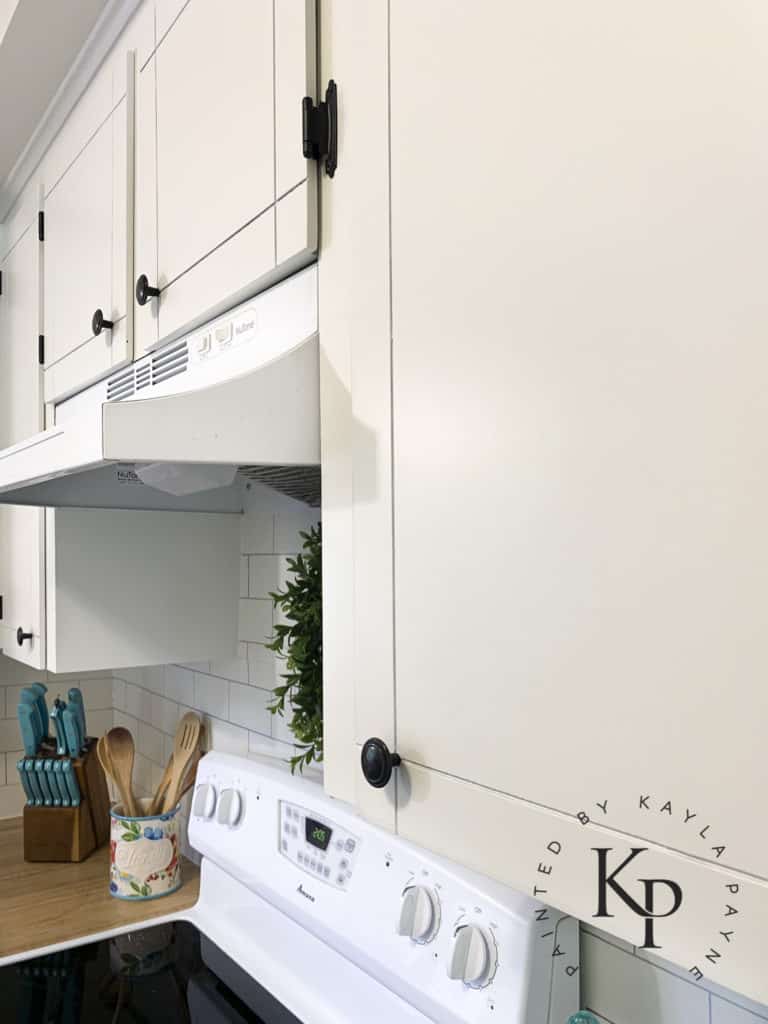
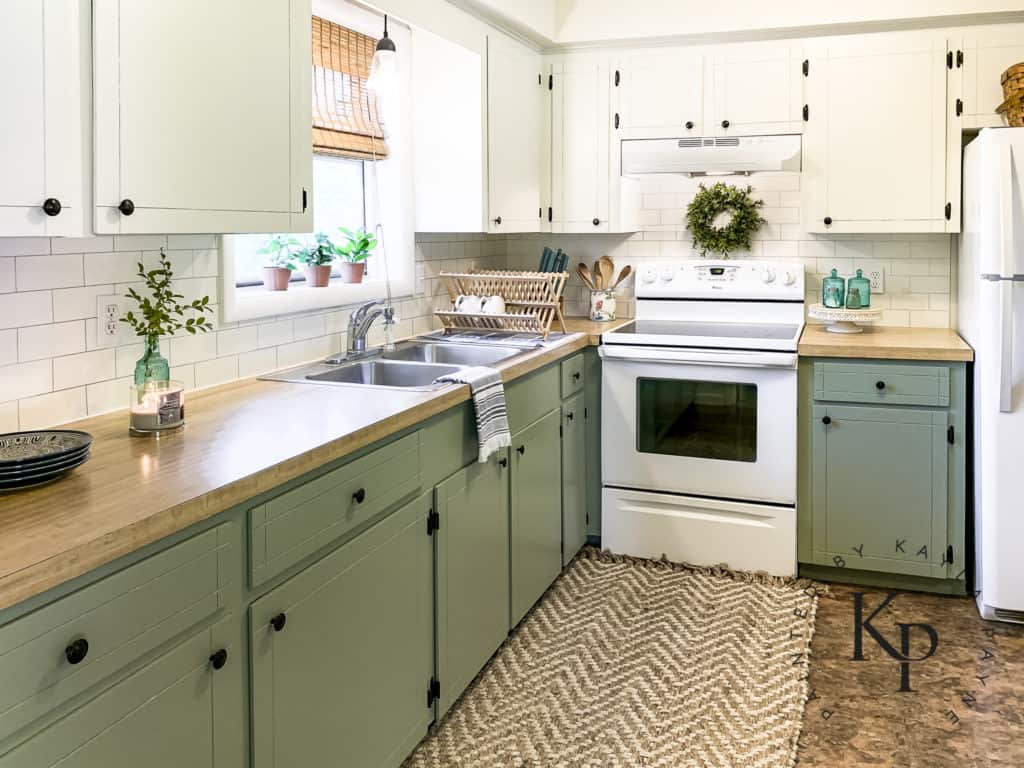
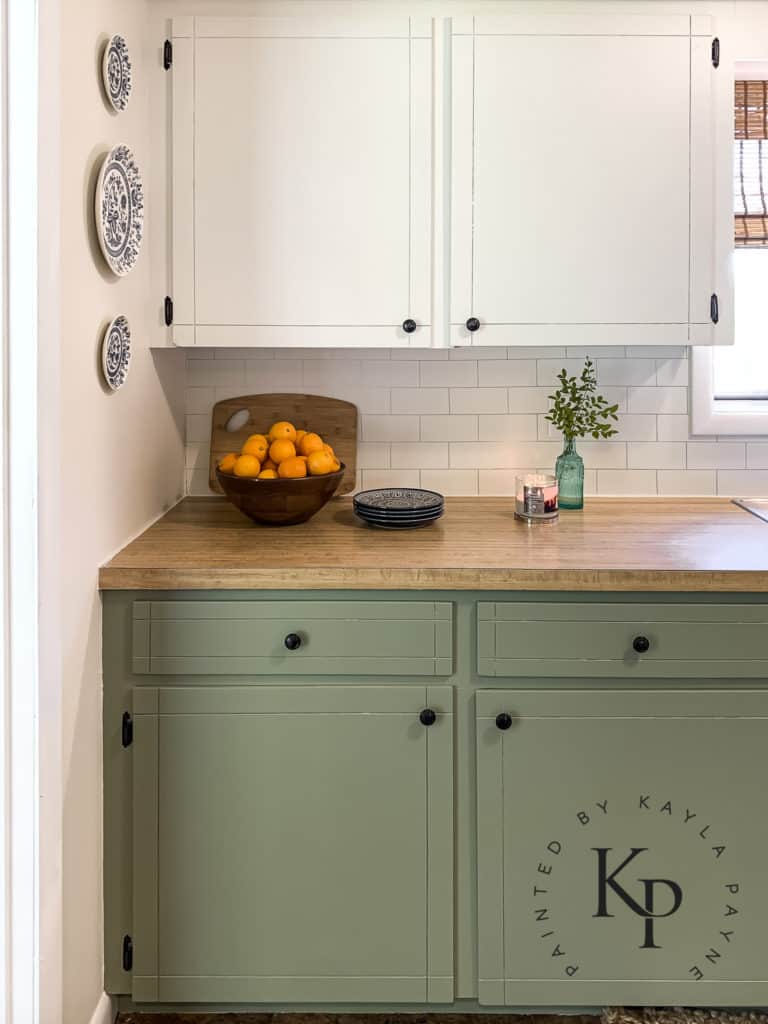
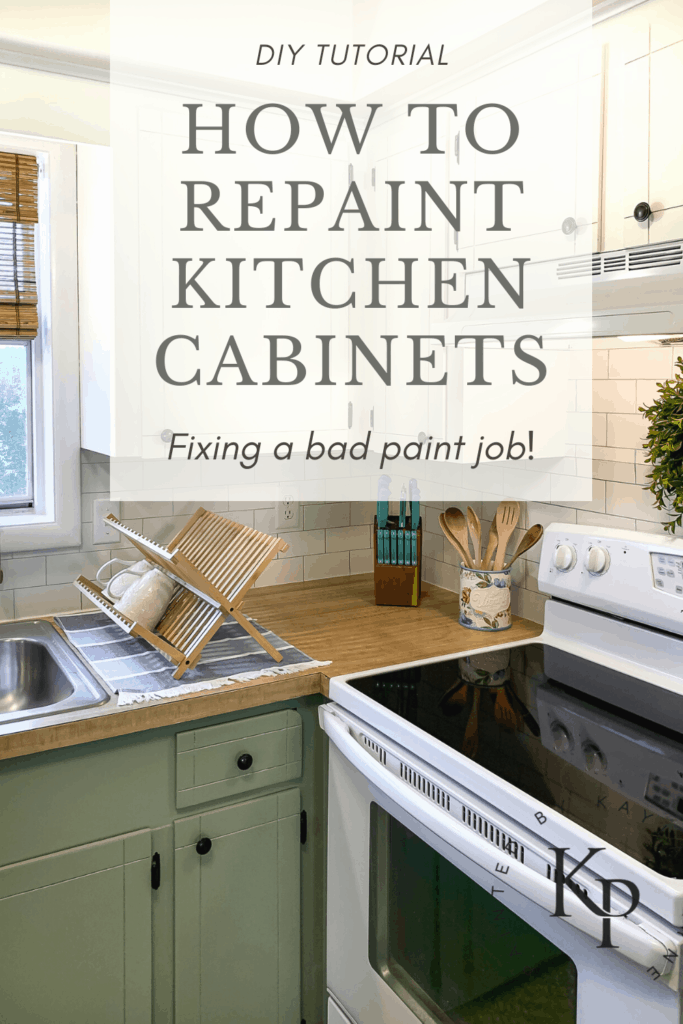
Best before and after of all time, right?!
If you’re wanting to paint or re-paint your kitchen cabinets but find yourself scared or leery of doing it yourself, I have good news! I have a cabinet painting course that was created with a total beginner in mind! Inside the course, I walk through exactly how to do each of step of the process. From cleaning and sanding to priming and painting, I lay out every detail you need to know in a series of videos that answers every question you have, and shows all of the pros tips and tricks you don’t know about! If you want to learn more about my course and how it can help you get from where you are now – unhappy with your cabinets – to where you want to be – in a beautiful kitchen that you didn’t spend a fortune on – Click HERE to find out more!!
For more photos of Kaity’s kitchen and to see the total cost, click here to see this post
Until next time, happy painting!
xo Kayla


Oh this space is so beautiful! I am currently starting to refinish my kitchen cabinets and will definitely be using this as inspiration! Plus, good to know you can save badly painted cabinets!
What did she use on the back splash is it a peel and stick laminate type?
We just painted the backsplash area and used a silver sharpie marker to draw the grout lines! Xo